5.3
Epson Printers
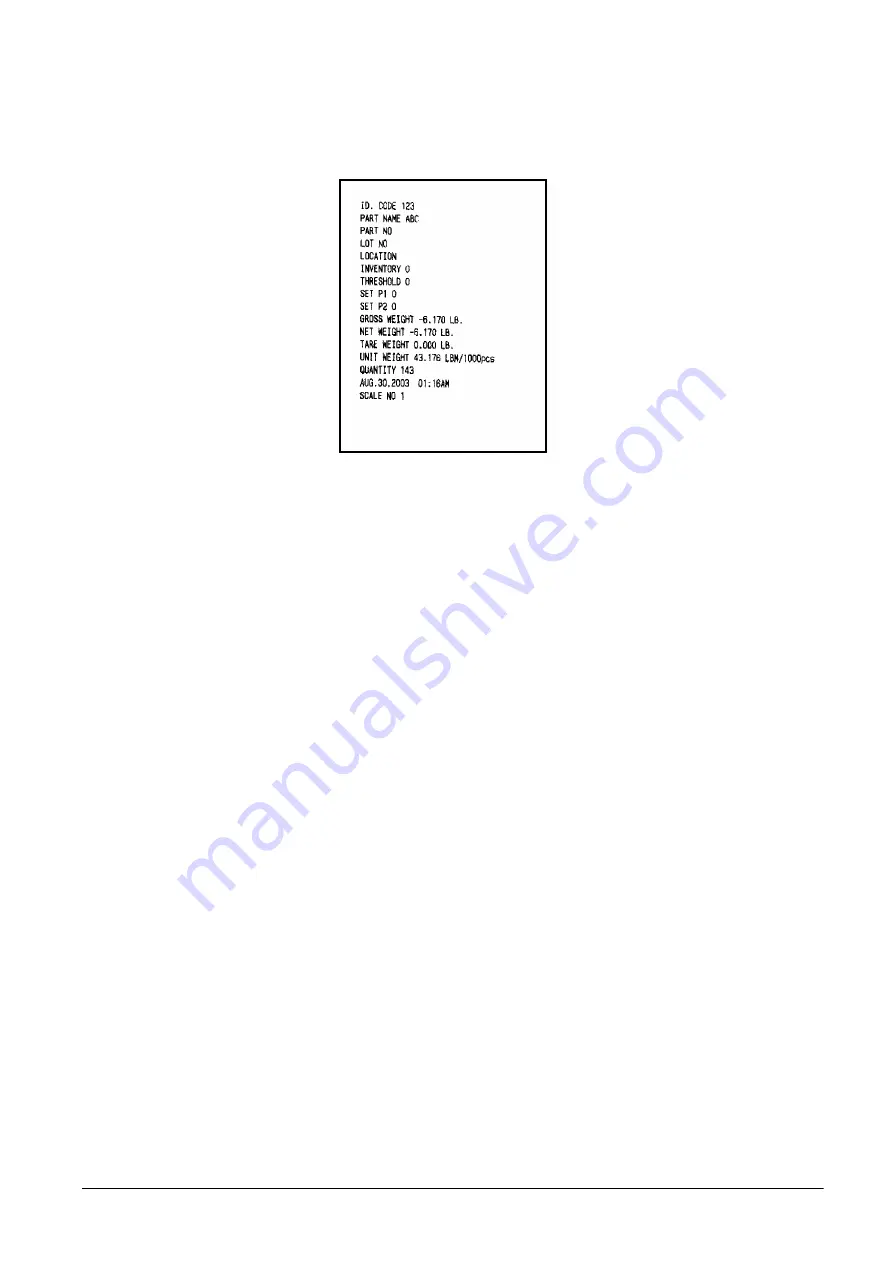
The DC-200/300 also includes a pre-programmed format that works with Epson printers or printers that emulate
Epson printers.
Figure 5-21. Epson Printer Label Format
1. Make sure that the following DC-200/300 spec codes are properly set for printing to the Epson printer as
an external printer.
Note:
For instructions on how to set the customer specifications, please see Section 2.9.
•
If you want to use the label for Epson printers pre-programmed into the DC-200/300, set SPEC62 -
RS-232 - X0N/XOFF to
1: Enable
. This turns on the handshaking between the scale and printer that
allows the label format in the DC-200/300 to be downloaded to the Epson printer at the time you
print.
•
If the printer is connected to the DC-200/300’s main RS-232 port, set SPEC15-SIO Select Job to
3:
Printer
. Then check to make sure that SPEC16 - RS-232C Baud Rate, SPEC17 - RS-232C Data
Length, SPEC18 - RS-232C Parity Bit, and SPEC19 - RS-232C Stop Bit are set to their default
values of 9600 baud, 8 bit data length, parity - none, and 1 stop bit.
•
If the printer is connected to one of the two RS-232 ports on the DC-200/300 option card, set
SPEC20 to
3: Printer/PC
if the printer is on DIN1 or 4: PC/Printer if the printer is on DIN2. Then
check to see that Specs 21 through 24 (in the case where the printer is on DIN1) and Specs 25
through 28 (in the case where the printer is on DIN2) are set to their default values of 9600 baud, 8
bit data length, parity - none, and 1 stop bit.
•
Set SPEC31 - PC/PRN Output Data Method to the conditions on which you want data to be sent to
the printer.
•
Set SPEC32 - Select External Printer Type to
3: Epson
.
•
Set SPEC33 - Download Label Format to
1: Disable
.
•
Set SPEC34 - Print When Press
+/-
key to
0: Disable
or
1: Enable
depending on how you want that
feature to work.
2. After making sure that the power is off on both the Epson printer and the DC-200/300 scale, connect the
cable from the scale to the printer.
3. Turn the scale and printer on again.
4. With the DC-200/300 in weighing mode, perform a weighing or counting operation and press the
Reprint
button on the scale to test print a label.
All manuals and user guides at all-guides.com
Содержание DIGI DC-200
Страница 2: ...All manuals and user guides at all guides com...
Страница 52: ...3 4 2 DC 300 Block Diagram Figure 3 10 DC 300 Block Diagram All manuals and user guides at all guides com...
Страница 53: ...3 4 3 DC 200 Block Diagram Figure 3 11 DC 200 Block Diagram All manuals and user guides at all guides com...


