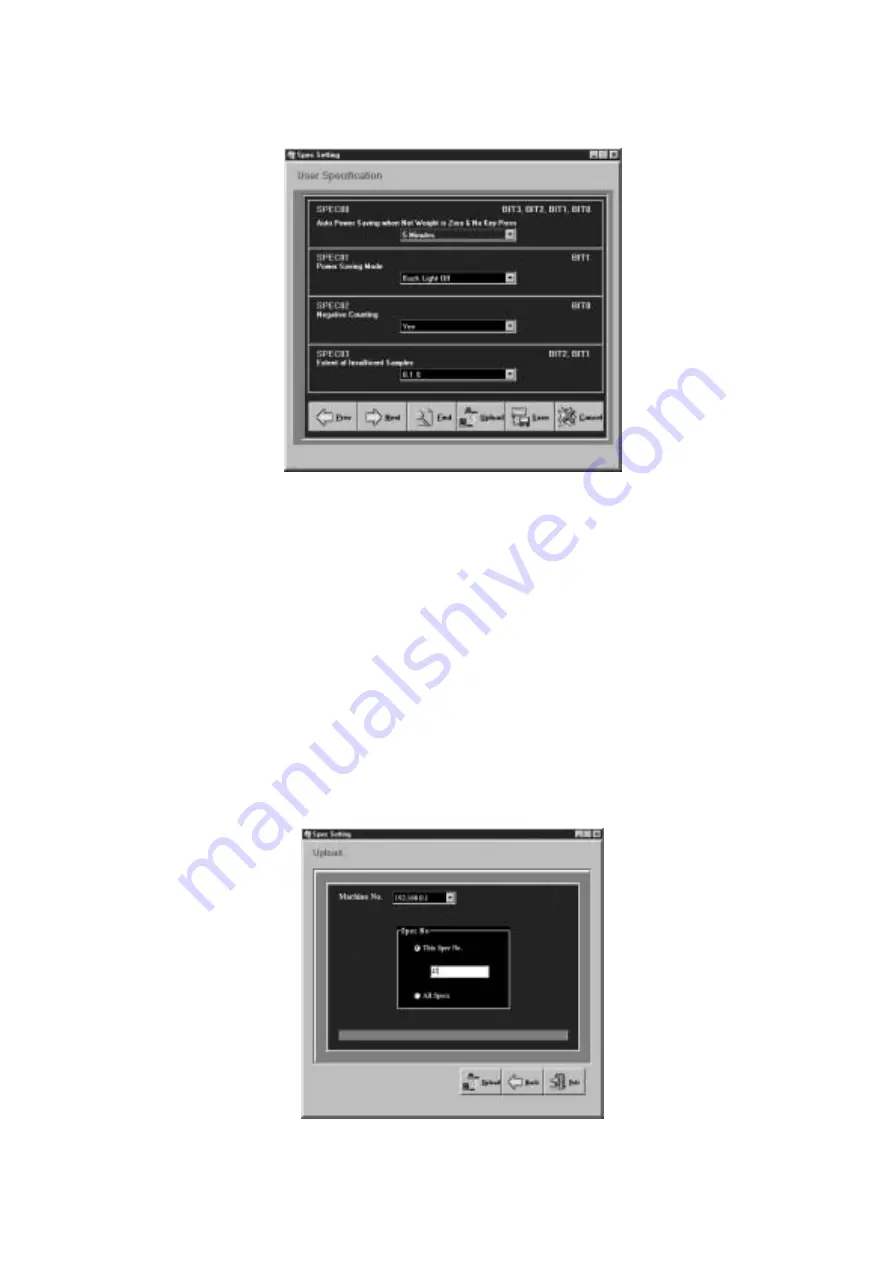
5. In the next screen you have the option to change any of the spec settings saved in this file before
uploading.
Figure 2-9. User Specification Screen
To upload to the scale without making any changes, click on the
Upload
button. To change the setting of
one or more of the first four specs, use the pull down list box for that spec to choose among the available
settings for that specification. To move to the next four specifications, press the
Next
button at the bottom
of the dialog box.
6. Once you have made all the needed changes to the specifications, you can upload the changed specs to
the scale and also save the new configuration to a named file on your computer for future updating of this
scale or matching the specifications on another DC-200/300.
To save the new configuration settings, click on the
Save
button at the bottom of the dialog box. You will
be prompted to give this configuration a file name. The next time you open the DC-300 Spec Upload
program, this file will show as one of the ones available to upload to any DC-200/300. After assigning a
file name, click on the
Save
button to save the file. You will be returned to the main Spec Upload Utility
screen.
7. To upload the changed spec settings to the DC-200/300 currently connected to your computer, click on
the
Upload
button. The utility will ask you whether you want to update one specific spec or all the specs.
To update only one spec, type its number into the box. To update all the specifications, select the radio
button for all specifications. Click the
Upload
button.
Figure 2-10. Upload Spec Settings
All manuals and user guides at all-guides.com
Содержание DIGI DC-200
Страница 2: ...All manuals and user guides at all guides com...
Страница 52: ...3 4 2 DC 300 Block Diagram Figure 3 10 DC 300 Block Diagram All manuals and user guides at all guides com...
Страница 53: ...3 4 3 DC 200 Block Diagram Figure 3 11 DC 200 Block Diagram All manuals and user guides at all guides com...


