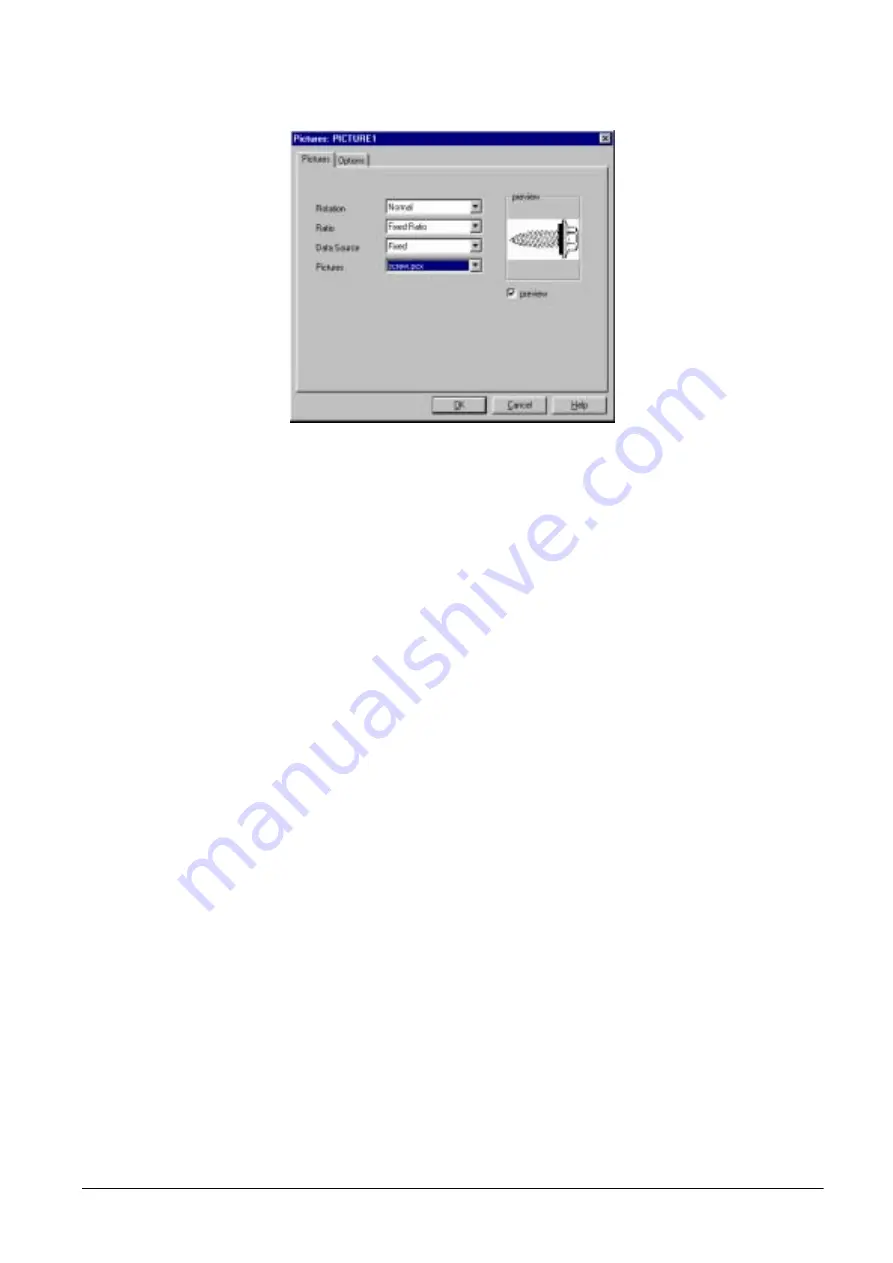
If you have clicked on the preview check box, the graphic or picture will appear in the preview pane.
Figure 5-9. Inserting a Picture or a Graphic
5. After you click the
OK
button in the Pictures dialog box you will be returned to the main label design
screen. The cursor will change to be a box the size of the graphic or picture you are inserting on the label.
Move the box to the place on the label that you want it to appear and click to place it there. You can click
on and drag the graphic to another position on the label and you continue to work on your design.
Resizing it can be accomplished by dragging on the handles around the graphic.
6. Downloading a graphic to the Eltron printer requires an extra step (see Section 5.2.3, Step 2).
5.2.3
Saving the Label Format You Have Made
1. When you have completed the label design, open the File Menu and choose the Save As option. You will
want to rename the file to a name different from the default, both so that you don’t overwrite the basic
DIGI template and so that you can distinguish it from other designs you may format. After you have
renamed the label design, click on the
Save
button.
2. If your label format does not have any pictures or graphics, you can skip to Step 3 of this section. If your
label design contains a picture or graphic, open the File Menu and select Download to Printer. In the
dialog box, select the file name for the label you want to download. Click on the
Download
button to
send the file to the Eltron printer.
Note:
This procedure downloads the picture or graphic to the printer. To download the text and barcode fields to
the printer in a form that will work with the DC-200/300 counting scale, you need to follow Steps 3-10 below.
3. After the label is saved under a new file name, open the File Menu again and select Generate EPL Source
File. A Print To dialog box will appear showing your label file name with a .BIN extension. Click the
OK
button. Next another dialog box will appear showing your label file name with an .EJF extension. Click
the
OK
button.
Note:
The .BIN and .EJF filenames can only be 8 characters long, excluding the .BIN or .EJF extensions.
4. Close the Create-A-Label application.
5. Open the Start Menu, select Programs, then select Accessories. Under Accessories, select either the
Wordpad or Notepad applications.
6. In Wordpad or Notepad, open the .EJF file you created in Step 2 above.
All manuals and user guides at all-guides.com
Содержание DIGI DC-200
Страница 2: ...All manuals and user guides at all guides com...
Страница 52: ...3 4 2 DC 300 Block Diagram Figure 3 10 DC 300 Block Diagram All manuals and user guides at all guides com...
Страница 53: ...3 4 3 DC 200 Block Diagram Figure 3 11 DC 200 Block Diagram All manuals and user guides at all guides com...


