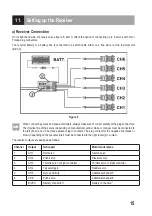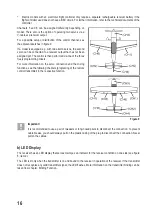
17
c) Installing the Receiver
Installation of the receiver depends on the model. For this reason, you should always follow the recommendations
of the model manufacturer regarding the installation. Regardless of the model, you should always try to install the
receiver so that it is protected from dust, dirt, moisture, heat and vibration in the best possible way.
Keep enough distance from motors and electronic flight or speed controllers. Metal or carbon parts have a shielding
effect and thus may considerably impair reception. In this case, it is sensible to relocate the aerial outwards through
bores in the fuselage.
Two-sided adhesive foam (servo tape) or rubber rings that hold the foam-wrapped receiver securely in place are
suitable for fastening.
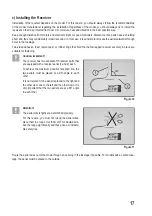
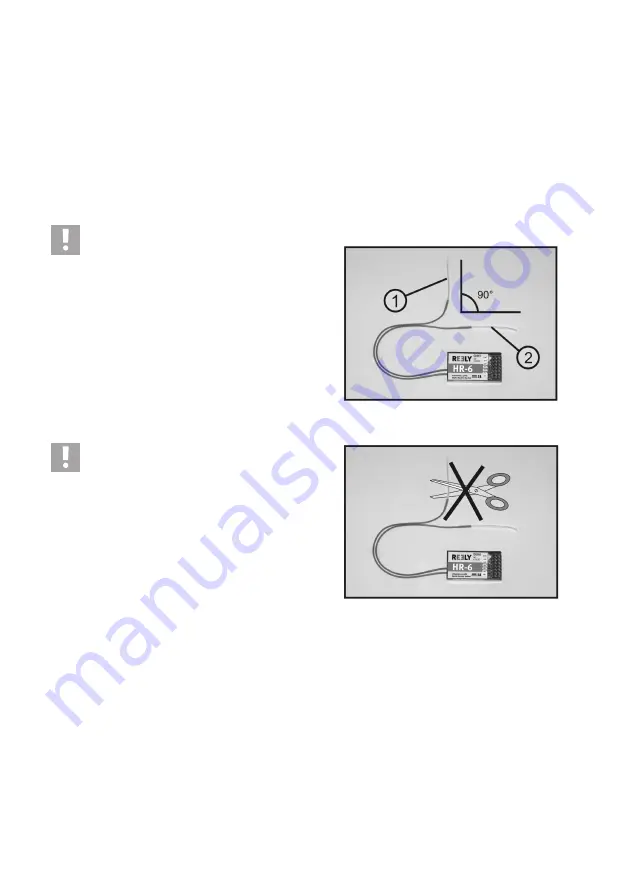
Caution, important!
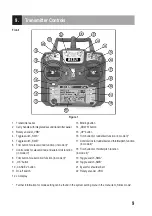
The receiver has two separate HF-receiver parts that
are equipped with a receiver aerial (1 and 2) each.
To achieve the maximum possible reception line, the
two aerials must be placed at a 90°-angle to each
other.
It is not relevant if one aerial is placed to the right and
the other up or one to the left and the other down. It is
only important that the two aerials are at a 90° angle
to each other.
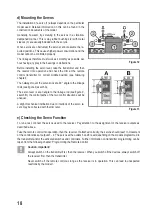
Attention!
The aerial wire lengths are determined precisely.
For this reason, you must not roll up the aerial wires,
place them in a loop or cut them off. This would decre-
ase the range significantly and thus pose a considera
-
ble safety risk.
Route the aerial wires out of the mode through an opening in the fuselage if possible. For models with a carbon fuse-
lage, the aerial must be placed to the outside.
Figure 10
Figure 11
Содержание HT-6
Страница 1: ... Remote Control HT 6 2 4 GHz Item no 1310037 Version 04 15 7 ...
Страница 69: ...69 ...
Страница 70: ...70 ...
Страница 71: ...71 ...

