44
e) Basic Trim „Subtrim“
As previously mentioned when installing the servo, always mount the servo stick at a 90° angle to the linkage rods
(see fig. 13). The trim displays at the transmitter (see fig. 4, items 5 - 8) should be in the centre position. Only then
will you be able to perform fine trimming in both directions using the trim buttons during flight (see fig. 1, item 6, 8,
16 and 18).
However, the cog teeth on servo levers are often so large that the exact 90° angle cannot be set (see figure 13).
This is why the basic trim helps to set the correct centre position of the servo arm without the need to adjust the trim
buttons.
Important!
Before setting the basic trim, check with the operating display whether the four trim displays are set cen-
trally.
Setting the basic trim:
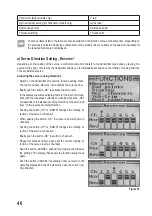
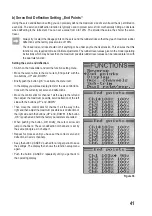
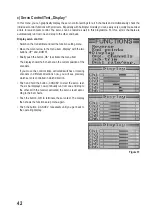
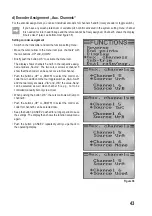
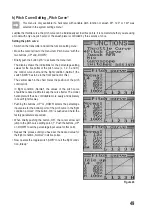
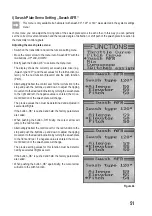
• Switch on the transmitter and call the function setting menu.
• Move the cursor arrow to the menu item „Subtrim“ with the two
buttons „UP“ and „DOWN“.
• Briefly push the button „OK“ to activate the menu item.
In the display you will see display items for the six control func-
tions with the respective currently set trim values.
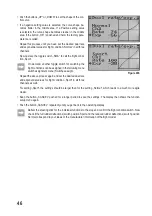
• Push the buttons „UP“ or „DOWN“ to select the base trim for
channel 1.
• Brief pushing of the button „OK“ will cause the cursor arrow to
jump to channel 2. If the button „OK“ is pushed and held, the
factory parameter will be called.
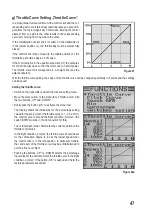
• Push the buttons „UP“ or „DOWN“ to select the base trim for
channel 2.
• Repeat his process until you have set the desired basic trim in
all six channels.
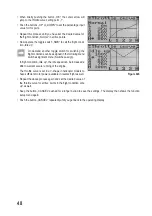
• Keep the button „CANCEL“ pushed for a longer period to save
the settings. The display then shows the function setup menu
again.
• Push the button „CANCEL“ repeatedly until you get back to
the operating display.
Figure 39
Содержание HT-6
Страница 1: ... Remote Control HT 6 2 4 GHz Item no 1310037 Version 04 15 7 ...
Страница 69: ...69 ...
Страница 70: ...70 ...
Страница 71: ...71 ...


