


C
HAPTER
5:
A
DMINISTRATION
T
OOLS
89
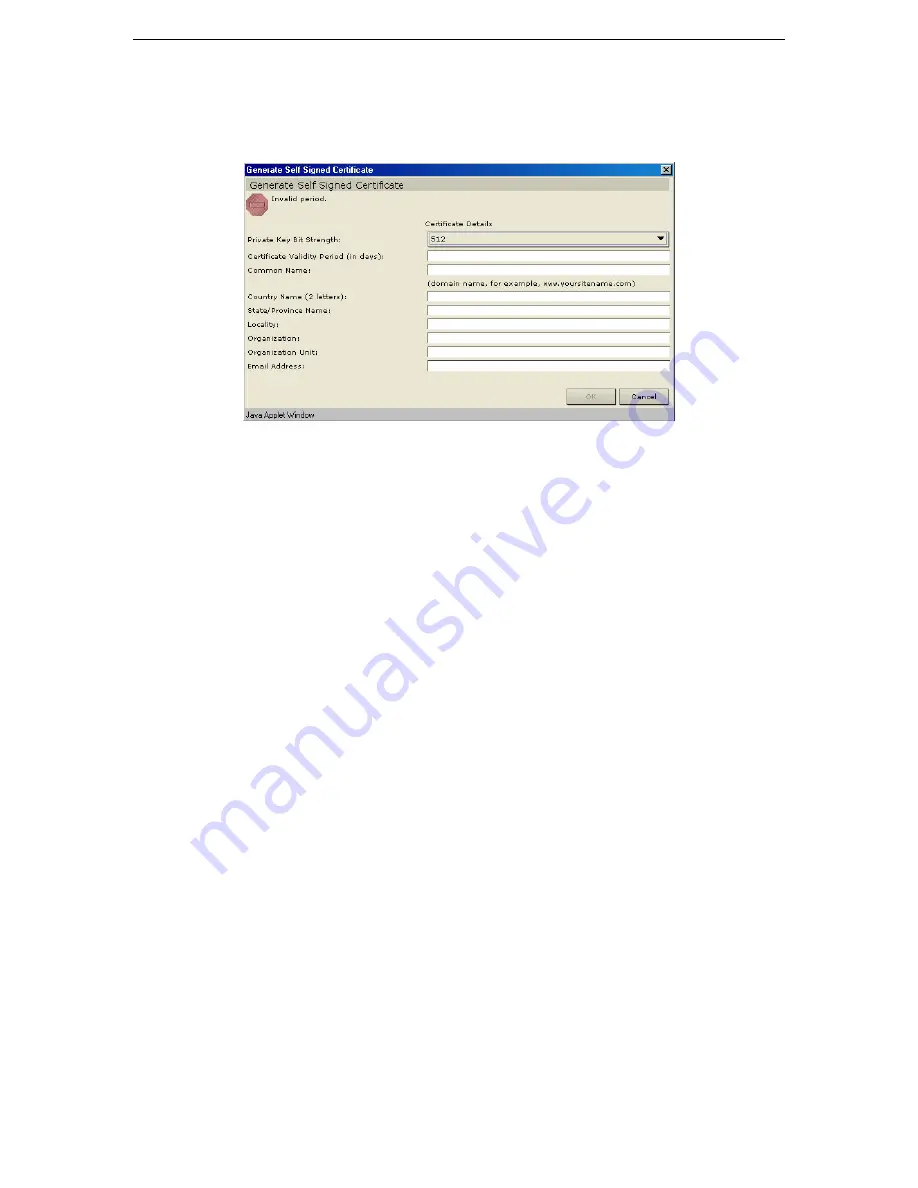
d.
Click on the
Generate Self Signed Certificate
option button and click
Generate
. The
Generate
Self Signed Certificate
window appears. Type the data needed for the self-signed Certificate into
the fields, then click
OK
to generate the certificate or
Cancel
to exit that window. If generated, the
Certificate and Private Key will appear encrypted in the corresponding fields of the
Certificate
screen.
Figure 120 Generate Self Signed Certificate Window
3.
Click
Close
to close the
Security Manager
screen.
Содержание COMMANDCENTER 2.20 -
Страница 2: ......
Страница 4: ...This page intentionally left blank...
Страница 12: ......
Страница 16: ...4 COMMANDCENTER USER GUIDE...
Страница 22: ...10 COMMANDCENTER USER GUIDE...
Страница 138: ...126 COMMANDCENTER USER GUIDE...
Страница 140: ...128 COMMANDCENTER USER GUIDE...
Страница 144: ...132 COMMANDCENTER USER GUIDE...
Страница 150: ...138 COMMANDCENTER USER GUIDE 255 80 3100...


