26
MIDI Control
Overview
The MIDI Control feature in Scratch
LIVE
provides the ability to
map MIDI controls to Scratch
LIVE
controls, and thus control
the functions of Scratch
LIVE
using MIDI controllers such as
keyboards, triggers, sliders, and knobs.
Integrating MIDI controllers into your Scratch
LIVE
setup
can improve live performance usability, such as hitting pads on a
MIDI controller to trigger loops and cue points.
MIDI controller setup
The process of setting up a MIDI controller for use with Scratch
LIVE
will vary depending on the hardware in question. Many de-
vices can connect to a computer using MIDI over USB, and will
either be supported directly by your operating system, or require
installation of drivers and configuration utility software. Follow
the manufacturers instructions for installation.
Other controllers may solely use a MIDI OUT connector to
send control messages, and will require a separate MIDI interface
unit to communicate to software. Generally the MIDI interface
will come with drivers and configuration tools which pass your
controllers output onto an available MIDI channel, which can be
used by Scratch
LIVE
.
Once your controller is installed and functioning correctly,
use the directions for assigning controls below.
Assigning Controls
To enable MIDI assign mode, click the MIDI button
or
press
ctrl+M
.
Hovering the mouse pointer over a control will bring up the
MIDI assignment box, showing the current assignment status.
To assign a MIDI control, click on the control in Scratch
LIVE
, then move the MIDI control. The MIDI assignment box
updates to show it has mapped the controls to one-another.
To un-assign a MIDI control, click on the control in Scratch
LIVE
, and press
return
on your computer keyboard.
Note: Once in MIDI assign mode, Scratch
LIVE
controls will no
longer respond directly to the mouse—if you need to change a control
using the mouse, disable MIDI assign mode.
While in MIDI assign mode, controls which have MIDI
inputs assigned show a green box indicator around them.
MIDI platters
The Scratch
LIVE
virtual decks are not assignable to MIDI con
-
trol. MIDI devices with platters on them all send different data so
user mapping is not possible. Support for specific MIDI devices
with platters on them will be introduced in Scratch
LIVE
1.8.1.
Note: If you have a MIDI controller designed for DJing which
includes platter controls, assigning them to the Scratch
LIVE
decks
may be possible by installing a custom preset
.xml
file. Visit the
Scratch
LIVE
forums to discuss your controller with other users, and
for information regarding writing and trading user presets.
Assigning MIDI to other controls
Controls which aren’t normally visible are available for assign
-
ment in the lower part of the screen when in MIDI assign mode.
These include library navigation controls and the temporary cue
points for either deck.
Assigning Ctrl-Click Functionality
Some Scratch
LIVE
screen controls have additional functionality
assigned to ctrl-click. You can assign ctrl-click functionality to a
MIDI control, alongside the normal functionality.
For example, ctrl-click on the internal mode pitch slider
returns pitch to zero. To assign this to MIDI control, enter MIDI
assign mode, ctrl-click on the slider, and then assign one of the
pads to it. When you press the pad, the pitch goes to 0.
Presets
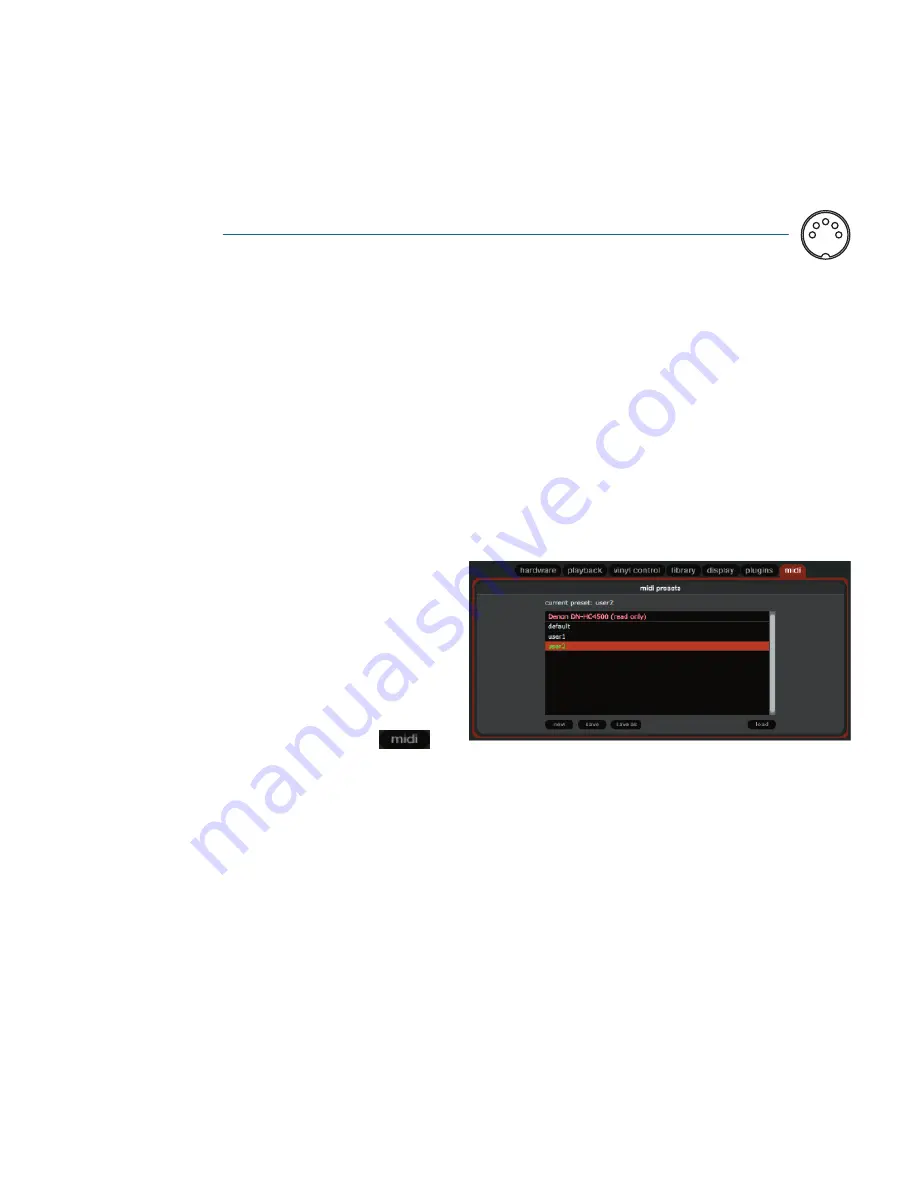
MIDI presets are accessible in the MIDI panel of the setup
screen. By default the current MIDI assignments in Scratch
LIVE
are automatically remembered and loaded the next time you start
the program. The preset screen allows you to save and recall sev-
eral different MIDI setups. This is useful if you are using several
MIDI devices or want to quickly switch MIDI setups without
having to re-assign all your controls.
MIDI implementation
Scratch
LIVE
MIDI Control only supports:
• Note On/Off
• Control Changes (standard 7-bit and 14-bit CC)
• RPN/NRPN (14-bit).
When using an auto-loop, a save button is visible where the lock
loop button normally is.
The A - Slot
A special loop slot 'A' exits for auto-looping. The act of using the
auto-loop buttons sets a loop in the 'A' slot, following the rules
above. Turning a loop off using the auto-loop buttons returns
you to the loop slot that you were previously in at the time you
started auto-looping. Turning the loop off using the 'loop' button
leaves you in the 'A' slot. The 'A' slot is not saved to disk auto
-
matically – pressing '
save
' saves the loop to the first empty slot
in 1-9.
Auto-looping shortcut keys are
alt-1
to
5
for the left deck, and
alt-6
to
9
for the right deck. They correspond to the looping but-
tons as laid out on screen: ie., if the onscreen buttons display
1 2
4 8 16
beat loops,
alt-1
triggers a 1 beat loop, and
alt-5
triggers a
16 beat loop.


