Chapter 3: FRU Removal and Replacement Procedures
Replacing Node Hard Drives
Quantum DXi6900 G2 Field Service Manual
74
Obtaining a Replacement Node Hard Drive
Before beginning the replacement procedure, make sure that you have the required replacement kit. The
appropriate replacement drive will be provided by Quantum Customer Support (see
).
Caution:
Always make sure to use Quantum-supplied new drives as replacement drives. Never insert
a drive that was removed from another system (not even another DXi6900 G2 system).
You will need the following items to perform this procedure:
l
Replacement hard drive kit provided by Quantum Customer Support.
l
ESD grounding wrist strap (included in the replacement kit)
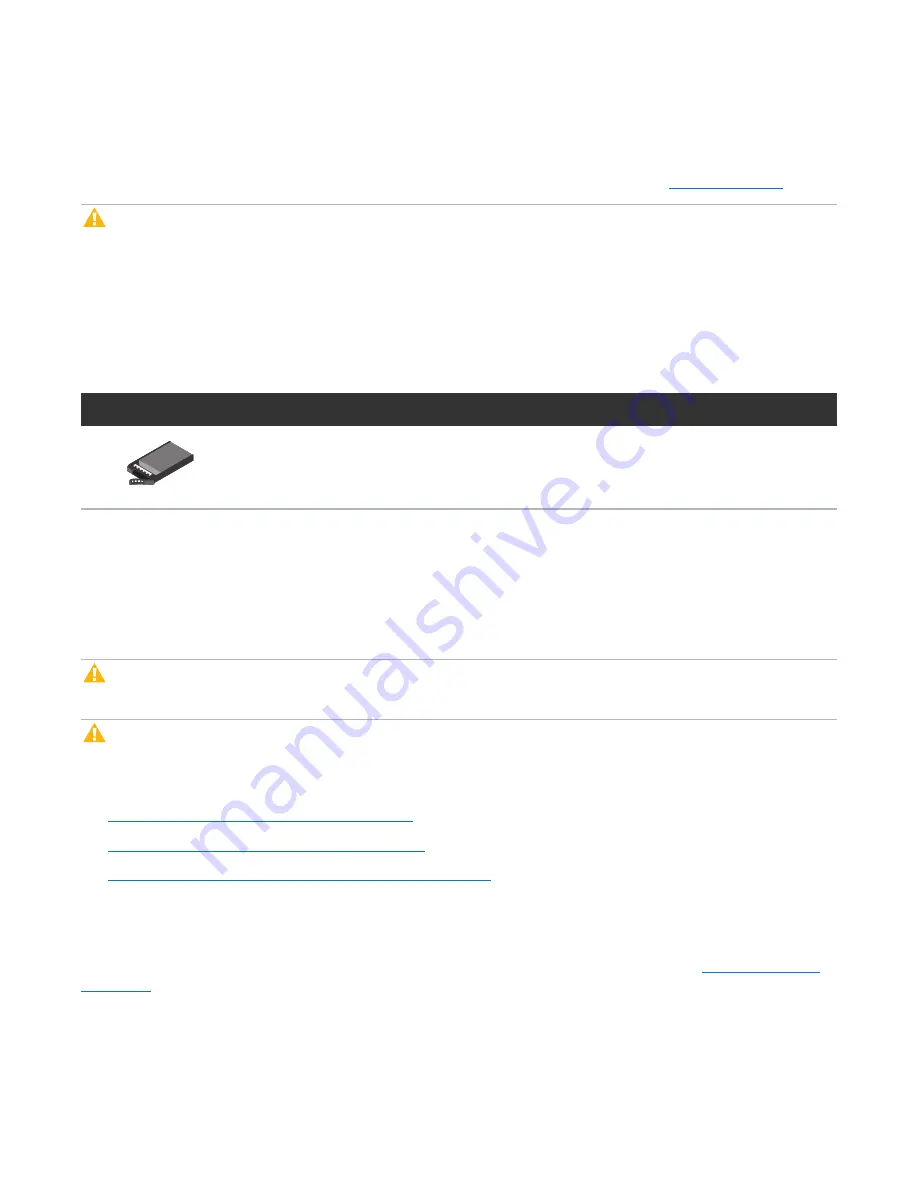
Figure 35:
DXi6900 G2 Node Hard Drive
Illustration
Description
Replacement hard drive for DXi6900 G2 Node (2.5 inch, 1.2 TB HDD)
Replacing a Node Hard Drive
This section describes how to remove and replace a drive in the DXi6900 G2 Node. Hard drives are pre-
assembled in hot-pluggable drive carriers that fit into the drive bays.
Caution:
Do
not
remove a hard drive that has
not
failed. Instead, only remove a drive that has failed. If
you accidently remove a good drive, wait 30 seconds before reinserting the drive.
Caution:
Use appropriate ESD precautions, including the use of a grounding strap, when performing
this procedure.
Removing and replacing a hard drive in the Node includes the following steps:
1.
Identifying a Failed Drive in the Node below
2.
Removing a Drive from the Node on page 76
3.
Installing a Replacement Drive in the Node on page 77
Identifying a Failed Drive in the Node
The DXi6900 G2 Node supports sixteen high capacity (1.2 TB) hard disk drives (HDDs) (
). The Node hard drives are used for the operating system, system software, and indexes needed
for data deduplication, replication, space reclamation.