background image

ReadyNAS

TM

NV 


Getting Started Guide

Package Contents:


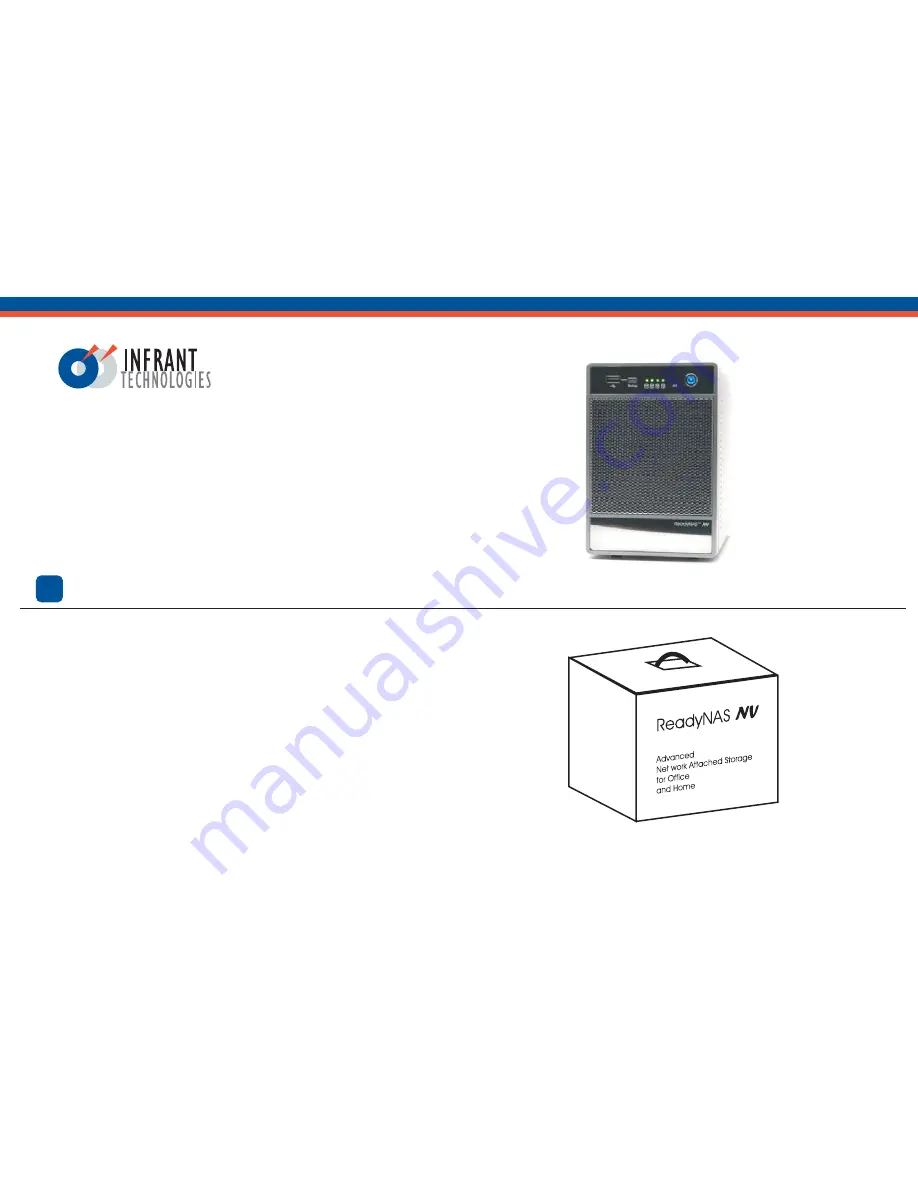
(1)   ReadyNAS NV


(4)   Hard Disk Trays 


(1)   Getting Started Guide


(1)   Warranty Card


(1)   Power Cable


(1)   Ethernet Cable


(1)   ReadyNAS Installation CD


(16) Screws for Hard Disk Installation*

*If you purchased a diskless ReadyNAS NV unit, 
  please read the optional disk installation instruction below
  before connecting ReadyNAS to the network. Please only
use SATA disks from the ReadyNAS Device Compatibility List.

Unpack and Check the Contents

1

p1

Содержание ReadyNAS NV

Страница 1: ...le 1 Ethernet Cable 1 ReadyNAS Installation CD 16 Screws for Hard Disk Installation If you purchased a diskless ReadyNAS NV unit please read the optional disk installation instruction below before connecting ReadyNAS to the network Please only use SATA disks from the ReadyNAS Device Compatibility List Unpack and Check the Contents 1 p1 ...

Страница 2: ...if you purchased a diskless unit Remove disk tray from the Unit Open the door Press to pop out the latch Pull the tray out Set the lock before installing the hard disk into the tray Optional Unlocked Default position To open the tray press the round button Locked the lower position To open the tray insert a paper clip into the pin hole of the round button A B C D E F G H I J K L M N O 2 3 ReadyNAS...

Страница 3: ... With the latch in the open position slide the disk trays into the unit completely close the latch and the door Hard disk connectors on this end SATA Hard Disk Drive Disk Tray Screws Please only use qualified SATA disks from the ReadyNAS Device Compatibility List 4 3 4 1 2 ReadyNASTM NV Backup 1 Act 2 3 4 1 2 3 4 3 p3 ...

Страница 4: ...nd the system is fully redundant During the background RAID synchronization access to the NAS will be slower than normal RAIDar Info column will display the current installation task or error if a problem is detected Refer to the following chart for the expected LED blinking during hard disk drive initialization Volume creation ReadyNAS is not accessible during this time Booting Description RAID s...

Страница 5: ...le Volume mode only if you wish to change the above default configuration Please note that it is not necessary to perform this procedure every time The device will remain in the selected mode until explicitly changed Factory Default will erase all your data on the hard disks Make sure ReadyNAS is connected to the network and RAIDar is running when performing the Factory Default Your ReadyNAS NV co...

Страница 6: ...he 5th and the 30th sec As soon as the LEDs light at the 30th second release the switch If you take no action within 10 minutes the system will default to X RAID with 5 GB reserved for snapshots A ReadyNAS Volume Setup screen pops up after clicking the Setup button Select Expandable Volume X RAID or Flexible Volume RAID 0 1 5 and click Create Volume now to start the volume creation and initializat...

Страница 7: ... unit The ReadyNAS NV supports hotswap bays so you do not need to power down the device Replace failed disk re assemble and slide the disk tray back in The system will perform background RAID synchronization and notify the user by email when it s done Disk 2 failed Replacing a Failed Disk Open the disk tray door Press the button and the latch pops out Pull the disk tray out 4 Install hard disk tra...

Страница 8: ...AID and FrontView are trademarks of Infrant Technologies Inc All other product names are the properties of their respective owner Printed in USA P N IT 05 1 1067 U 02 04 2006 Backup Button and Front USB Port Front USB Port Backup Button USB Hard Drive Front USB Port By default the Backup Button copies the data on backup share on ReadyNAS NV to the USB disk directly connected to the Front USB Port ...

Отзывы: