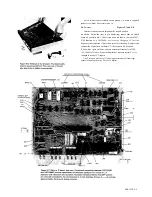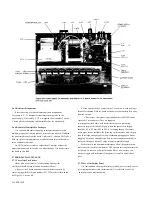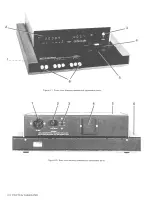
5.6.1 Disassembly. Figures 5-1 through 5-6.
Use the following procedure for access to replaceable
parts and contact points used in trouble analysis.
a. Disconnect the power cord.
b. Remove the top-cover screws from the rear panel of
the main chassis. See Figure 1-2. Slide the top cover forward
about 6 mm, so that its front corners are unhooked. Lift it directly upward
(Figure 5-1). Reassembly note: 2 screws, 13 mm long.
The next step, removal of display board, is recommended (though not
absolutely necessary) before removal of the main circuit board.
c. Remove the 2 support screws, at left and right, that hold the display
board to its brackets. (See Figure 5-8 in para 5.6.2.) Pull the board directly
out of its socket in the main board. Keep the display board in its original
(inclined) plane until it is completely free (Figure 5-2).
SERVICE 5-7
Содержание 1657 RLC Digibridge
Страница 6: ...Table of Contents...
Страница 8: ...1 2 INTRODUCTION...
Страница 9: ...INTRODUCTION 1 3...
Страница 10: ...1 4 INTRODUCTION...
Страница 15: ...OPERATION 3 1...
Страница 24: ...4 2 THEORY...
Страница 30: ...5 4 SERVICE...
Страница 42: ...5 16 SERVICE...
Страница 46: ......
Страница 49: ......
Страница 50: ......
Страница 51: ......
Страница 52: ......
Страница 53: ......
Страница 54: ......
Страница 55: ......
Страница 56: ......
Страница 57: ......


