3
Controlling StudioLive RM-series Mixers
3.6
Home Screen
StudioLive
™
CS18AI
Owner’s Manual
52
Power User Tip:
When you correctly set the delay time for these outputs, you ensure
that the sound from each speaker in the P.A. system arrives at the listening position at
the same time. The delay should be set for the speakers to which your listener will be
closest. For instance, let’s say you are using a StudioLive RM mixer in a large theater
with a balcony, and you have three pairs of speakers: a pair in front of the stage, a pair
in the rear of the auditorium, and a pair at the front of the balcony. You will need to
delay the rear speakers so that the listeners closest to them will hear the audio from
both the rear and stage speakers at the same time. This is also true for the audience
in the balcony. While the balcony speakers will provide the loudest source of audio,
the balcony audience will still be able to hear the stage speakers, so a delay must
be set for the balcony speakers. You will need to calculate approximately 1.1 ms of
delay time per foot of distance from the stage speakers. So if the balcony speakers
in our example are 61 feet from the stage speakers, set their delay time to 67 ms.
Speaker delay can also be used to correct off-axis phasing issues in small clubs. Because
of space restrictions, you can’t always place your main speakers for the best possible
sound reproduction. Sometimes your left-side speaker will need to be closer to the
audience to make room for a pillar or a staircase or the bathroom, so an audience
member standing in the center of the room will not have the best listening experience. By
using a pair of subgroups as the source for your mains, you can factor in that 2 to 4 ms
delay the left speaker needs so that unbalanced speaker placement is no longer an issue.
UC Surface features the Smaart® System Delay wizard, which is designed to calculate
and set this delay automatically by analyzing your main and delay systems with a
measurement microphone. For more information on this powerful feature, as well
as additional information on configuring a delay system,
please review “Smaart
System Delay Wizard” in the StudioLive AI-Series Software Library Manual
.
3.6
Home Screen
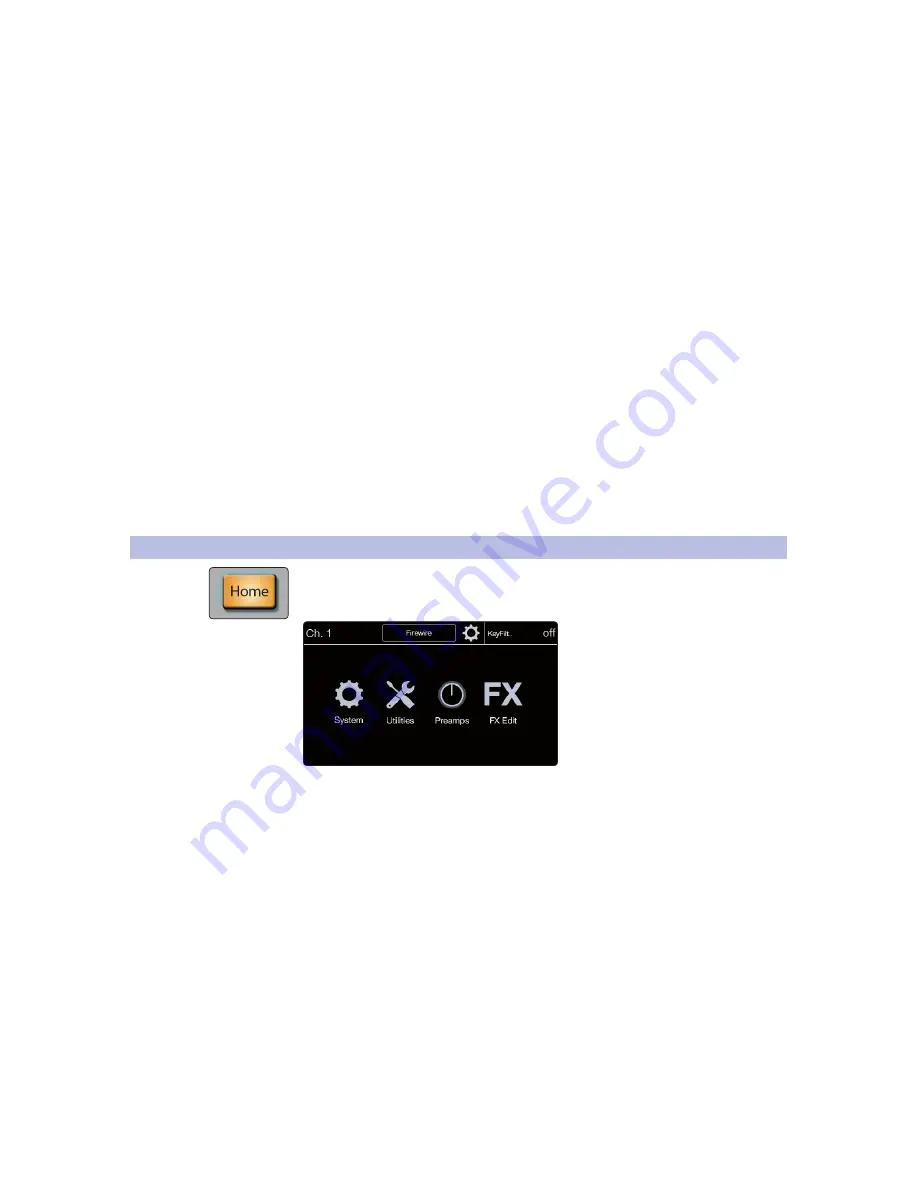
The Home screen is the default screen when the StudioLive CS18AI is powered on.
From here you can navigate to the primary menus and mix options. This screen can
be opened at any time by pressing the Home button.
System. Opens the main system settings for the CS18AI and the
connected RM mixer. This screen is broken into two sections. On the
left are settings and on the right are the additional setup menus.
For details about the System settings, refer to
Section 3.7.1
.
Utilities. Opens CS18AI surface test modes. These allow you
to test the functionality of the screens, LEDs, and faders. For
details about the test modes refer to
Section 3.7.2
.
Preamps. Allows you to change the functionality of the
Fat Channel encoders control the preamp gains for all 16
currently displayed input channels simultaneously.
Power User Tip:
This mode is especially useful when initially gain staging your inputs.
ght down the line of inputs. When you navigate away from the Preamps view, the
CS18AI will exit Preamps mode and return the Fat Channel to its normal state.
FX Edit. Opens the four effects processors. Touching one of them
will open the associated FX view for editing the effects. For more
information on effects refer to
Section 3.9
Internal Effects Mixes.
Содержание StudioLive CS18AI
Страница 4: ......


