13
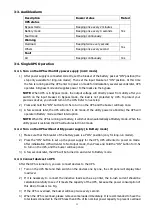
2) In Bypass mode, output voltage of the UPS is still present. In order to cut off the output, switch off
the input breaker. A few seconds later, there is no display shown on the display panel and UPS is
complete off.
3-4-8. Turn off the UPS without utility power supply in Battery mode
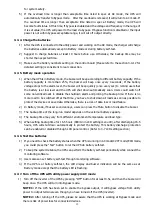
1) Turn off the UPS by pressing “OFF” button for at least 0.5s, and then the buzzer will beep once.
2) Then UPS will cut off power to output and there is no display shown on the display panel.
3-4-9. Mute the buzzer
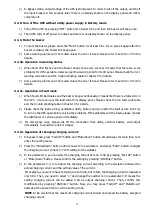
1) To mute the buzzer, please press the “Mute” button for at least 0.5s. If you press it again after the
buzzer is muted, the buzzer will beep again.
2) Some warning alarms can’t be muted unless the error is fixed. Please refer to section 3-3 for the
details.
3-4-10. Operation in warning status
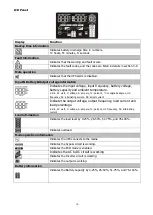
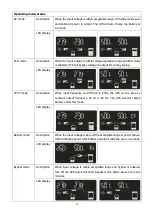
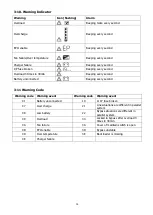
1) When Fault LED flashes and the buzzer beeps once every second, it means that there are some
problems for UPS operation. Users can get the warning code from LCD panel. Please check the 3-11
warning code table and the trouble shooting table in chapter 4 for details.
2) Some warning alarms can’t be muted unless the error is fixed. Please refer to section 3-3 for the
details.
3-4-11. Operation in Fault mode
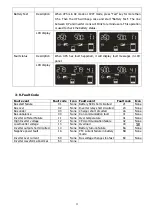
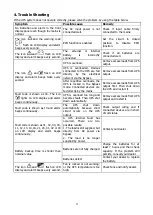
1) When Fault LED illuminates and the buzzer beeps continuously, it means that there is a fatal error in
the UPS. Users can get the fault code from display panel. Please check the 3-9 fault code table
and the trouble shooting table in chapter 4 for details.
2) Please check the loads, wiring, ventilation, utility, battery and so on after the fault occurs. Don’t try
to turn on the UPS again before solving the problems. If the problems can’t be fixed, please contact
the distributor or service people immediately.
3) For emergency case, please cut off the connection from utility, external battery, and output
immediately to avoid more risk or danger.
3-4-12. Operation of changing charging current:
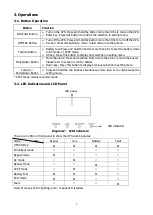
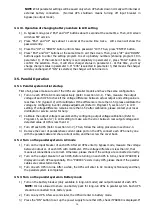
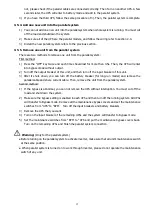
1) In bypass mode, press “Test/UP” button and “Mute/Down” button simultaneous for more than 1s to
enter the setting menu.
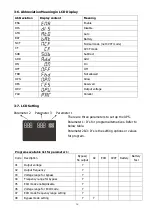
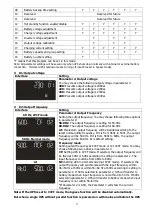
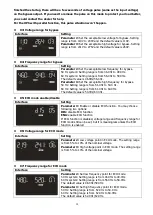
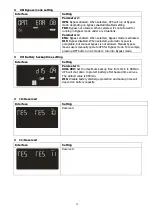
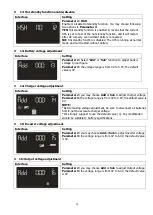
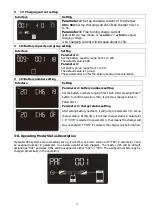
2) Press the “Mute/Down” button until it shows 17 in parameter 1 and press “Enter” button to adjust
the charging current. (Check 3-7 LCD setting for the details.)
3) In the parameter 2, you can select the charging current from 1A to 4A by pressing “Test/UP” button
or “Mute/Down” button. Please confirm the setting by pressing “ON/Enter” button.
4) In the parameter 3, it is to adjust the charging current according to the deviation between the
actual charging current and the setting value of the current.
For example, you want to have charging current in 4A, but in fact, the charging current is measured
only 3.6A. Then, you need to select “+” and change the number to 4 in parameter 3. It means the
setting charging current will be added 0.4A as output charging current. Then, confirm this
modification by pressing “ON/Enter” button. Now, you may press “Test/UP” and “Mute/Down”
buttons at the same time to exit the setting mode.
NOTE 1: Be careful that the maximum charging current should not exceed the battery accepted
charging current.
Содержание Centurion RT 6000VA
Страница 1: ......
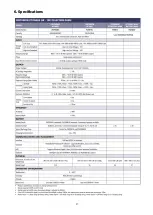
Страница 30: ...27 6 Specifications...

