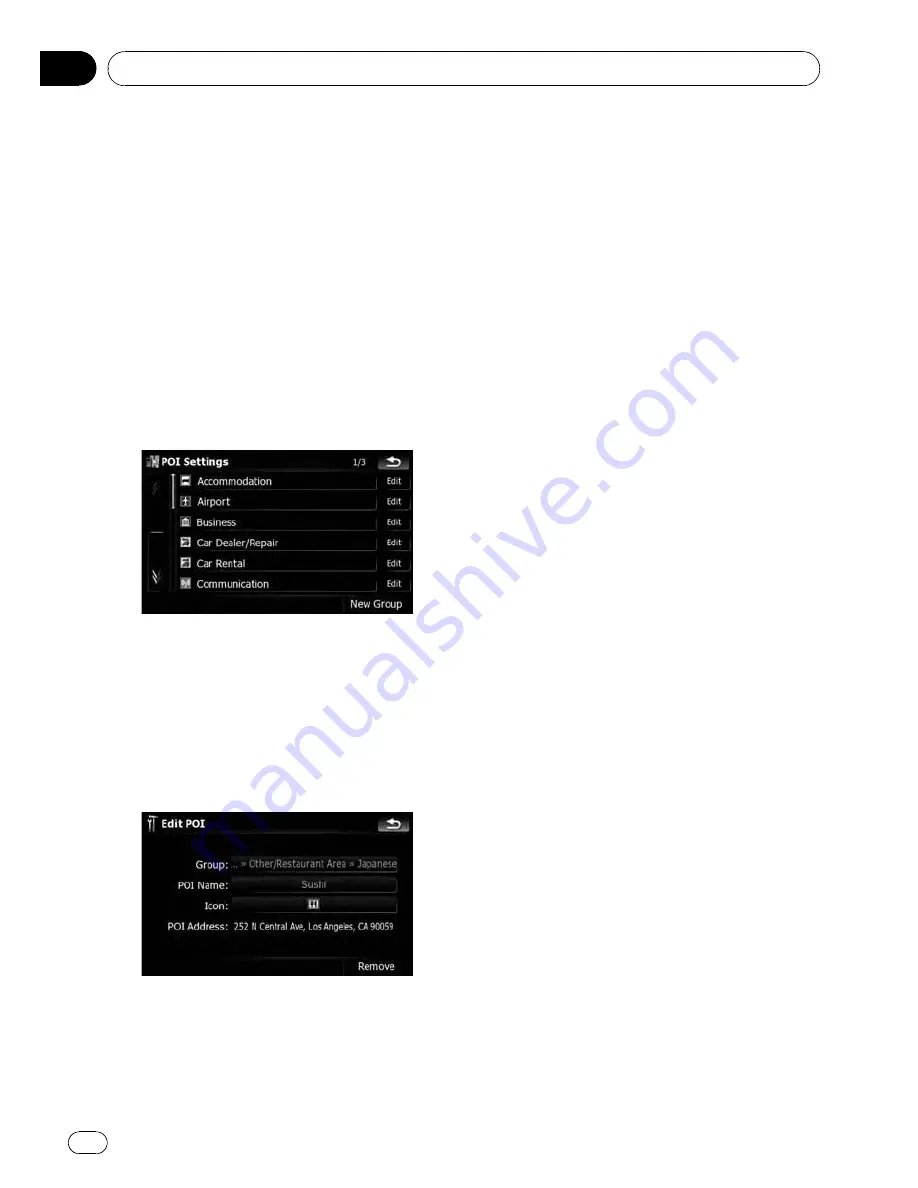
Editing your customized POI
If you have already stored the customized POI,
you can edit its POI properties.
p
If the custom POI is found on an external
storage device (USB, SD), the navigation
system will show a POI list which includes
them.
1
Touch [Map Visual] on the
“
Navi Set-
tings
”
menu.
The
“
Map Visual Settings
”
screen appears.
2
Touch [POI Settings].
3
Touch the category you want to edit.
If there are more detailed categories within the
selected category, repeat this step until the de-
sired POI appears.
4
Touch the POI you want.
The
“
Edit POI
”
screen appears.
5
Touch the desired key to customize it.
Available options;
!
“
Group:
”
The category that the item currently se-
lected belongs to can be changed. Touch-
ing the key shows the options available.
Touch one of them to set the desired cate-
gory.
!
“
POI Name:
”
Touching the key displays the screen for en-
tering a new POI name. Enter the name
and then touch [
Done
] to complete the
entry.
!
“
Icon:
”
Touch this key to show options. Touch one
of them to set the desired icon.
!
[
Remove
]:
Touching the key allows you to delete the
selected POI.
p
[
Remove
] is available only for POIs that are
created on this navigation system.
p
The POI address is not editable.
Recording your travel history
Activating the track logger enables you to re-
cord your driving history (called
“
track log
”
below). You can review the travel history later
and replay the travel for your reference.
Activating track logger temporarily
One-time activation is useful if you want to
create a log only for that trip.
1
Touch [Map Visual] on the
“
Navi Set-
tings
”
menu.
The
“
Map Visual Settings
”
screen appears.
2
Touch [Manage Track Logs].
A list of track logs already recorded appears. A
blank list appears if you have not recorded it
yet.
Customizing preferences
En
152
Chapter
25


