176
PDP-433CMX
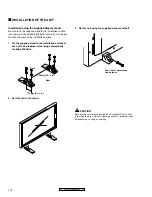
Installation using the supplied display stand
Be sure to fix the supplied stand to the installation surface.
Use commercially available M8 bolts that are 25 mm longer
than the thickness of the installation surface.
1
Fix the supplied stand to the installation surface at
each of the 4 prepared holes using commercially
available M8 bolts .
2
Set this unit in the stand.
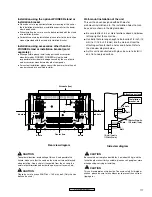
Front
Rear
768 mm (30-
1
/
4
in.)
110 mm (4-
5
/
16
in.)
Use a 6 mm hex wrench
to bolt them.
CAUTION
Because this unit weighs about 88 lbs 3 oz (about 30 kg) and the
lack of depth makes it fairly unstable, please use 2 people or more
when packing, carrying or installing.
3
Fix this unit using the supplied washer and bolt.
INSTALLATION OF THE UNIT
Содержание PDP 433CMX
Страница 14: ...14 PDP 433CMX Upper side 8 9 1 Upper side Upper side 9 7 5 6 2 10 10 8 8 2 5 UNDER LAYER SECTION 4 ...
Страница 26: ...26 PDP 433CMX 2 13 UPPER LAYER SECTION 2 10 10 12 SW101 100V 200V P4 P7 P3 P5 P6 P2 P1 VM1 6 7 4 8 5 1 9 3 ...
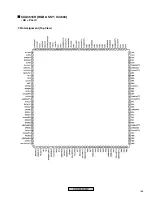
Страница 165: ...165 PDP 433CMX Pin Assignment Top View CXA3516R RGB ASSY IC4603 AD PLL IC ...
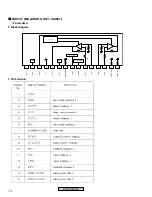
Страница 166: ...166 PDP 433CMX Block Diagram ...
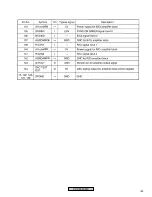
Страница 167: ...167 PDP 433CMX Pin Function ...
Страница 168: ...168 PDP 433CMX ...
Страница 169: ...169 PDP 433CMX ...


