143
Performing adjustments on the plasma display operation panel
and remote control
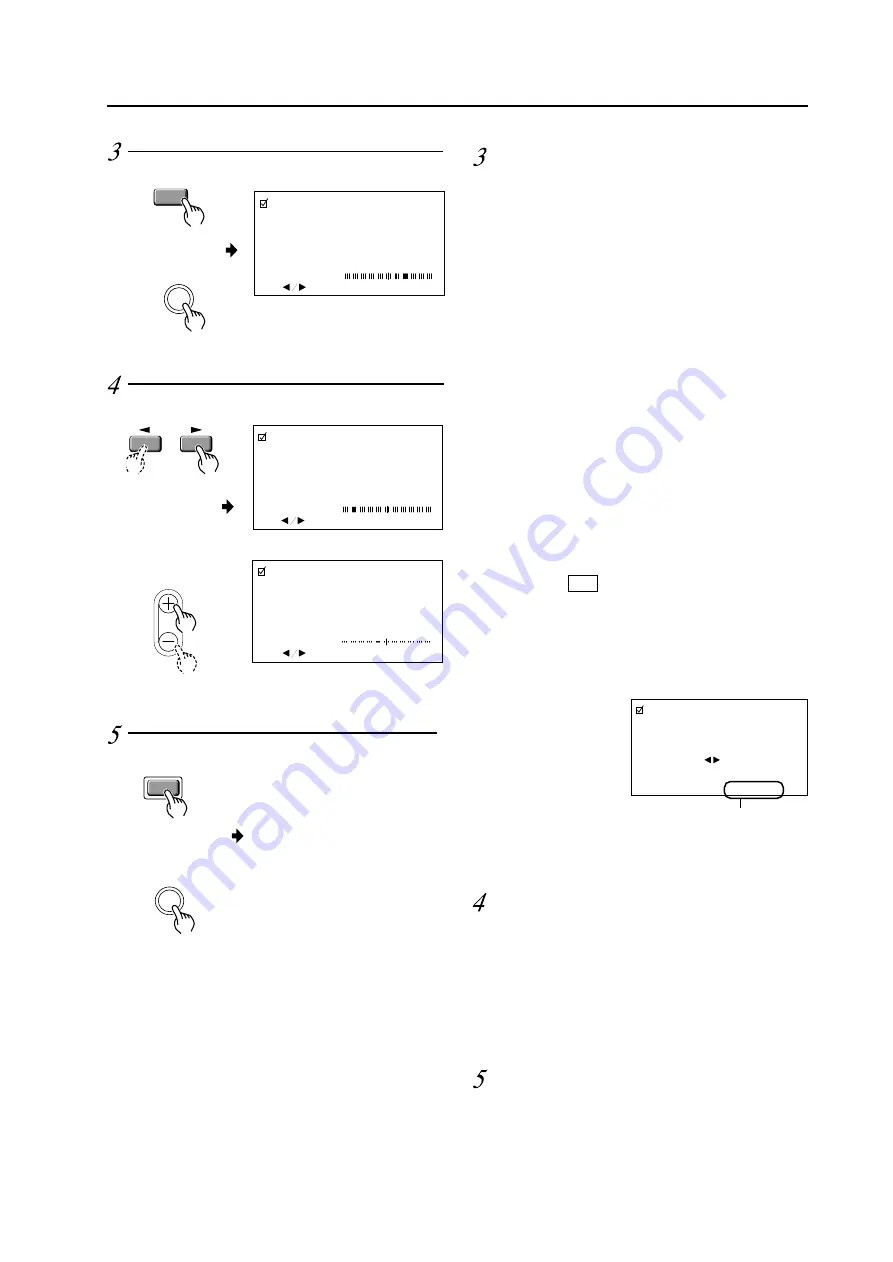
Adjust the picture quality concerning
the selected item.
P I CTURE PARAMETER
: ADJ.
SET : EXIT
CONTRAST
P I CTURE PARAMETER
T I NT
: ADJ.
SET : EXIT
ADJUST
To return to the step-2 screen, press the SET button.
Repeat Steps 2 through 4 to adjust the other items.
MENU
MENU
• Returns to the normal screen.
When you have completed the setting,
return to the normal screen.
1
In case of the items other than TINT:
2
In case of TINT:
1
2
SET
SET
P I CTURE PARAMETER
: ADJ.
SET : EXIT
CONTRAST
Finalize your choice.
Make adjustments for each item as follows:
CONTRAST ........ Adjusts the contrast of the picture
according to the brightness of the
environment so that you can watch
the picture easier.
BRIGHT ............... Adjusts the brightness of the picture
so that you can watch the darker
parts of the picture, (such as night
scenes and dark hair), easier.
COLOR ................ Adjusts the color of the picture as
desired. (Set it to a little lower posi-
tion than that you want, to obtain
natural pictures.)
TINT .................... Adjusts the tint of the picture so that
the face color looks natural.
(Possible to adjust when the NTSC
signal is inputted.)
SHARPNESS ...... Normally set to their center values.
But if you want images to be dis-
played in softer tones, adjust it to the
left from the center position.
INIT ..................... Returns the above picture settings
to their center values. *1
* 1
When you select INIT. , the message on the right is displayed.
Select “YES” or “NO” by using the
2
or
3
button.
Selecting “YES” and pressing the SET button sets back all
picture quality settings to their default values.
When “NO” is selected, all settings will remain as they are.
P I CTURE PARAMETER
SET : EX I T
I N I T I AL I ZE?
YES
NO
If “NO” has been selected, SET:EXIT
will be displayed here.
If “YES” has been selected, SET:INIT
will be displayed.
Remote control
Main unit
Remote control
Main unit
Remote control
Main unit
• Only in the NTSC mode
Содержание PDA-4002
Страница 5: ...5 Features ...
Страница 21: ...21 Installation procedure ...
Страница 57: ...57 Special installation Installation under the floor ...
Страница 69: ...69 Mounting standard metal fixtures PDK 4001 ...
Страница 75: ...75 Mounting standard metal fixtures PDK 4002 ...
Страница 81: ...81 Mounting standard metal fixtures PDK 4004 ...
Страница 131: ...131 Mounting standard metal fixtures Precautions for installing the optional speaker ...
Страница 135: ...135 Before making adjustments ...


