29
En
En
g
lis
h
▶
Setting the alert point warnings
You can set an alert for the different alert point categories, individually.
Important
The warning for road safety cameras (like speed cameras) is disabled when you are in certain countries
where warnings for road safety cameras are prohibited. However, you are fully responsible for ensuring
that this feature is legal in the country where you intend to use it.
1
Press
then touch
.
2
Touch
, and then touch [Settings].
3
Touch [Warnings].
4
Touch [Alert Points].
5
Touch [Alert Point Warnings] to turn it on.
6
Touch the item you want to set from [Alert Types] or [Speed Camera Types].
7
Touch any of the items to change the setting.
8
Touch [Warning Type] and then touch one of the options.
[Outside Towns: ***%
of the Speed Limit]
Set the percentage of the speed limit warning message in
rural areas.
[Within Towns: ***% of
the Speed Limit]
Set the percentage of the speed limit warning message in
urban areas.
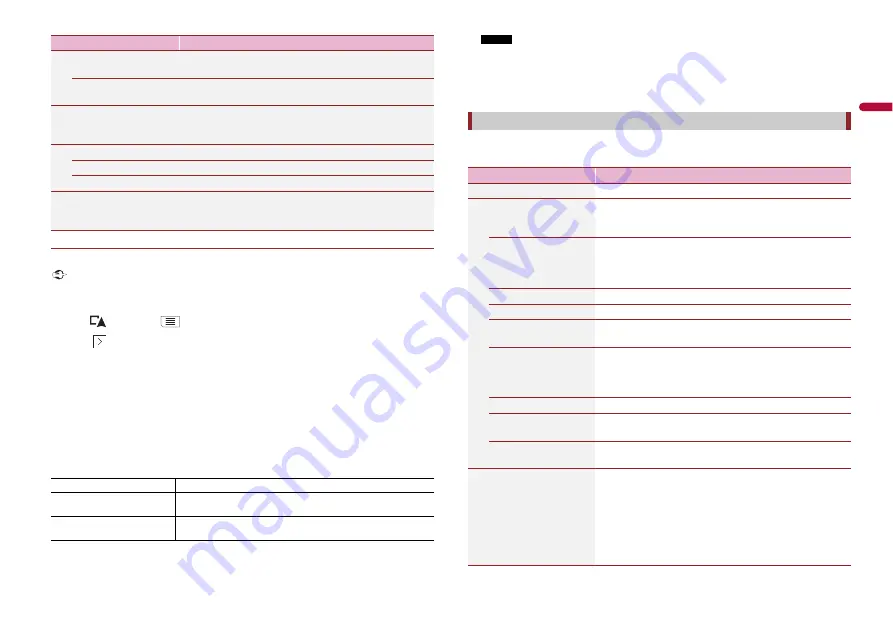
[Alert Points]
This setting allows you to receive a warning when
approaching alert points like school zones or railroad
crossings (page 29).
[Alert Point Warnings]
Set to on to enable to adjust a variety of alert warnings.
[Alert Types]
Set the type of alert point.
[Speed Camera Types]
Set the type of speed camera.
[Warning Road Signs]
Touch this key to turn on or off warnings and to set the
distance from the hazard to receive the warning at. These
can be set individually for the different warning types.
[Disabled]
The system does not warn you of the alert points for this category.
[Visual]
You will receive a visible warning while you are approaching the
points in this category.
[Audio and Visual]
You will receive audible and visible warnings while you are
approaching the points in this category.
Menu Item
Description
NOTE
If you select [Audio and Visual] in the warning type setting, you can change the reception timing of
the audio alert. If you select [Only When Speeding], the audio alert is only played when you exceed
the given speed limit. If you select [When Approaching], the audio alert is always played when
approaching one of these alert points. In order to draw your attention, the alert is different when
you exceed the speed limit.
Fine-tunes the appearance of the map screen and adjusts how the software helps you
navigate with different kinds of route-related information on the map screen.
[Navigation Map]
Menu Item
Description
[Map Display]
See the effect when you change a setting.
[Viewpoint]
[Far] [Normal] [Close]
[Manual]
Adjust the basic zoom and tilt levels to your needs. Some
preset levels are available. If you select [Manual], you can
store adjusted map scales and view angles.
[Colour Mode]
[Auto] [Day] [Night]
Switches between daytime and nighttime colour modes or
let the software switch between the two modes
automatically a few minutes before sunrise and a few
minutes after sunset.
[Day Map Colour]
Select the colour scheme used in the daytime map.
[Night Map Colour]
Select the colour scheme used in the nighttime map.
[Landmarks]*
Shows or hides 3D landmarks which are 3D artistic or block
representations of prominent or well-known objects.
[Buildings]*
Shows or hides 3D city models which are 3D artistic or
block representations of complete city building data
containing actual building sizes and actual positions on the
map.
[3D Terrain]
Shows or hides the 3D elevation of the surrounding terrain.
[Track Logs]
Turns on or off track log saving which saves the sequence
of the locations you go through on your journeys.
[Place Markers]
Select which POI icons to show on the map while
navigating.
[Data Fields]
Choose to have different values displayed for when
navigating a route to a select destination and for when just
cruising around without any particular destination
(page 13).
[First], [Second] and [Third] selects items displayed in the
data fields shown when the route exists. [Without Route]
selects the items displayed in the data fields shown when a
route does not exist.


