30
DIGITAL VIDEO RECORDER
Basic Recording (
Normal Recording)
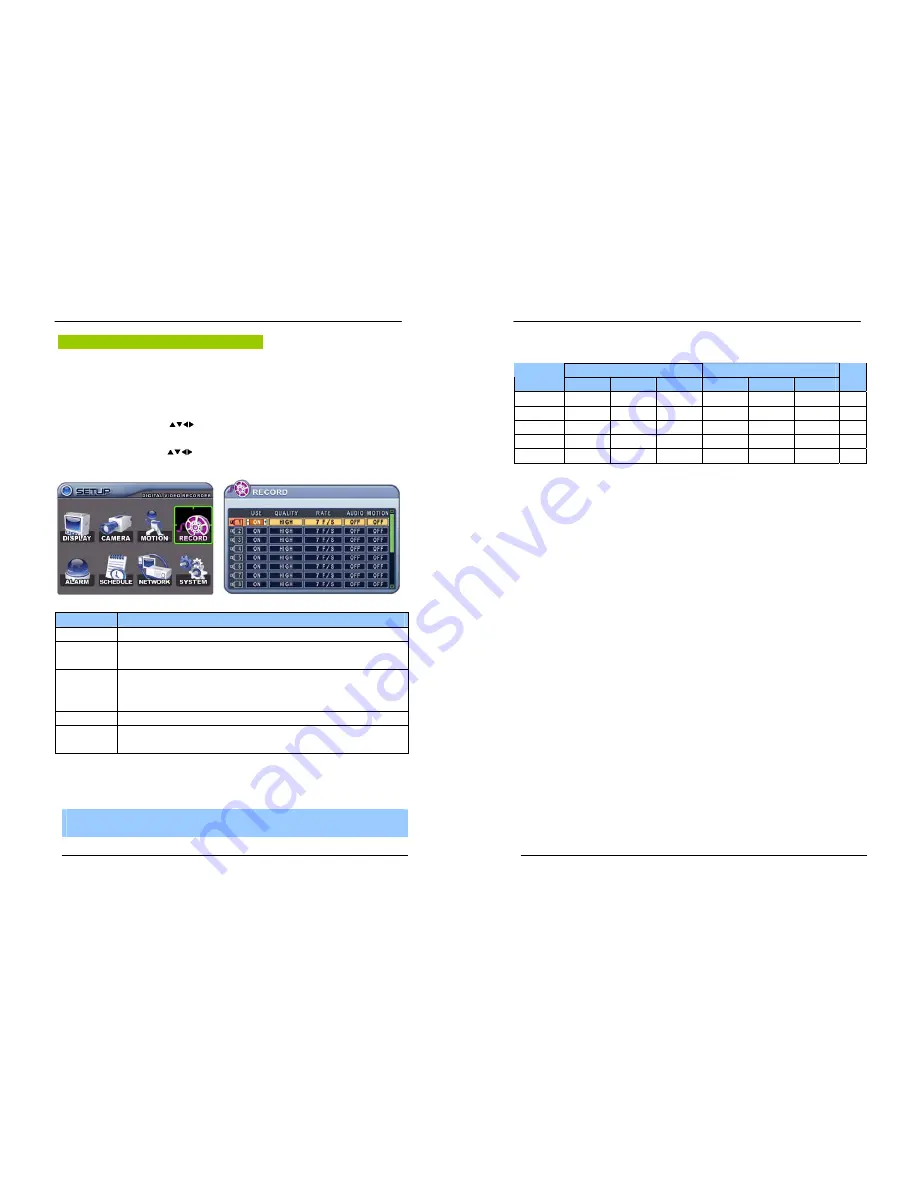
The DVR comes with a certain preset settings from the factory. Therefore once the
DVR is installed, immediate recording is possible after pressing the record buttons. By
default , audio alarm, motion recording are off.
1
.
Use Direction buttons [
] to select “RECORD” menu. Then, press [ENTER] button to
display “RECORD”.
2
.
Use Direction buttons [
] to select the Camera you wish to configure.
3
.
Use [-, +] button to change the value.
ITEM
ADJUSTMENT
USE
y
Enable or Disable Recording on a per camera.
QUALITY
y
Specify the record picture quality for each camera.
ULTRA
Æ
SUPER
Æ
HIGH
Æ
MIDDLE
Æ
LOW
RATE
y
Select recording speed for each camera.
:
Recording resolutions is changed to Frame, Field and CIF mode.
<Refer to
System
>
AUDIO
y
Select audio recording: ON or OFF.
MOTION
y
Select Motion Recording ON or OFF. Camera does not record under normal
conditions. It is discussed on Motion Recording Section.
<Note> Press [
MENU]
button on each Item at first line to apply all setting for the rest channel.
5.
Save changes
and exit the menu, press
[ENTER]
button.
6. Press [
REC]
button. Then, the red REC LED lights on the front panel and recording starts.
7. To Record stop, press the “
STOP
” button.
<Note>
Estimated Recording Time varies due to picture quality and capture rate and is updated
every 10 seconds due to variation of picture size.
31
DIGITAL VIDEO RECORDER
< Approximate File Size>
NTSC
PAL
Quality
720*480
720*240
360*240
720*576
720*288
360*288
UNIT
LOW
6.5 4 2.5 8 4.8 3
KB
MIDDLE
9 5.5 3.5
10.8
6.6 4.2
KB
HIGH
13 8 5 15.6
9.6 6
KB
SUPER
19 12 7.5 22.8
14.4 9
KB
ULTRA
30 19 12 37 22.8
14.4
KB
* It is calculated by theoretical, therefore it may be different depends on Video Signals or other
conditions in actual.


