7
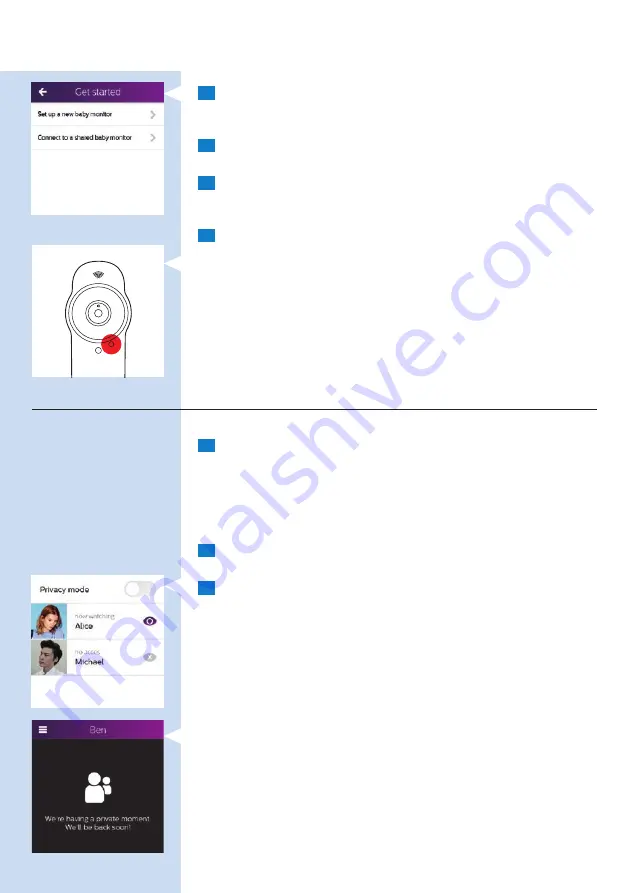
The guest selects the ‘Connect to a shared baby monitor’ option
during the setup process. This opens the page on which the invitation
is validated.
8
The guest enters the invitation code, his email address and confirms.
The code and the email address are checked.
9
The admin receives an email that confirms that the guest has been
connected to the baby monitor and that the admin can now grant
the guest access.
10
When the admin has granted the guest access, the guest can view
the baby.
- When one or more people watch the baby, the red viewing indicator
lights up red.
Note: Although up to ten people (eight or nine guests and one or two admins)
have viewing rights to the same baby monitor, only three people can watch
the baby at the same time. If guests try to access the baby monitor while
three viewers are already watching, they will receive the message ‘Too many
connections’. Admins can always override the access of the guests if they want
to watch the baby.
Giving and removing access
Users with admin rights can determine who can watch the baby.
1
To remove access for a guest viewer, go to the right tray, tap the
guest whose access you want to remove and tap the eye icon next
to the guest’s name.
Tip: If there are already three people watching your baby and you want to give
someone, e.g. the babysitter, access to the baby monitor, you can remove access
for one of the current viewers and give someone else access instead.
2
To give a guest viewer access, go to the right tray, tap the guest you
want to give access and tap the eye icon next to the guest’s icon.
3
If you want to remove access for all viewers simultaneously, tap the
privacy mode button. This will deny everyone except yourself access
to the baby monitor until you tap the privacy mode button again.
Tip: You can use the privacy mode button to have a moment of privacy with
your baby, e.g. to breastfeed or bathe the baby or to change its nappy.
The guests who try to access the baby monitor receive an on-screen notification.
ENGLISH
17


