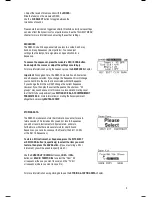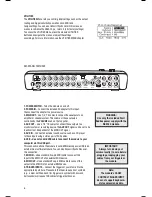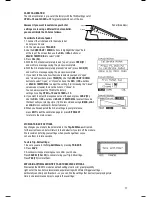
5. You can use the following controls to edit your Sequence in this screen:
• CURSOR UP / DOWN
scrolls up or down, allowing you to view other parts of the editing grid.
• You can move through the Sequence in several ways:
•
by bar:
Press and hold
STOP
and press either
PLAY or RECORD
to step through
the Sequence bar by bar.
•
by event:
Use
CURSOR < / >
(F3 and F4) or press and hold
STOP
and use the
DEC- / INC+
to step through the
Sequence
event by event. Each event will play as it is selected.
•
“Scrubbing”:
Press and hold STOP and turn the
VALUE / TEMPO DIAL
to move fluidly through the Sequence.
The Sequence will play back at the speed with which you rotate the
VALUE / TEMPO DIAL
.
• DEC- / INC+ or the VALUE / TEMPO DIAL
will either shift the event
in time (earlier or later) or adjust its velocity (higher or lower),
depending on the setting of the F2 button.
• TIME / VELO (F2)
lets you toggle between two views of the editing
grid. When TIME is selected, using the
DEC- / INC+
buttons
or the
VALUE / TEMPO DIAL
will adjust the timing of the selected event,
moving it forward or backward in the Sequence (the current “click”
number will be shown in the upper right-hand corner of the LCD).
When VELO is selected, using the
DEC- / INC+
buttons or
the
VALUE / TEMPO DIAL
will adjust the velocity of the selected event,
moving it higher or lower (the current velocity will be shown in the
upper right-hand corner of the LCD).
• DEL (F1)
will delete the selected event from the
Sequence. A window will ask you to confirm this choice before
deleting it – select YES (F4), NO
(F3), or
TRAK (F1)
, which will delete the entire Sequence.
6. When you have finished making your edits, you can press
EXIT
or any button that will enter another screen
(e.g.,
KIT SELECT, UTILITIES,
etc.). Your edits will be retained in the Sequence for this session. If you want to save
your changes for future sessions, though, you will need to store them (see STORING & COPYING DATA for more
information).
EDITING SEQUENCES (ACCOMPANIMENT)
The editing screen for a Sequence’s Accompaniment is different
from the one used to edit drums.
1. Press
SEQ/SONG
to enter the main screen of the Sequencer.
2. Use the
CURSOR UP / DOWN
buttons to select the “Seq”
field at the top of the LCD, then use the
DEC- / INC+
buttons or the
VALUE / TEMPO DIAL
to select the Sequence you
want to edit.
3. Press REC (F1). Use the
CURSOR UP / DOWN
buttons to
select the “Track” field, then use the DEC- / INC+
buttons or the
VALUE / TEMPO DIAL
to select
“ACCOMP.”
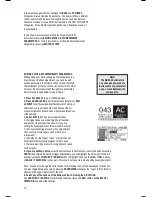
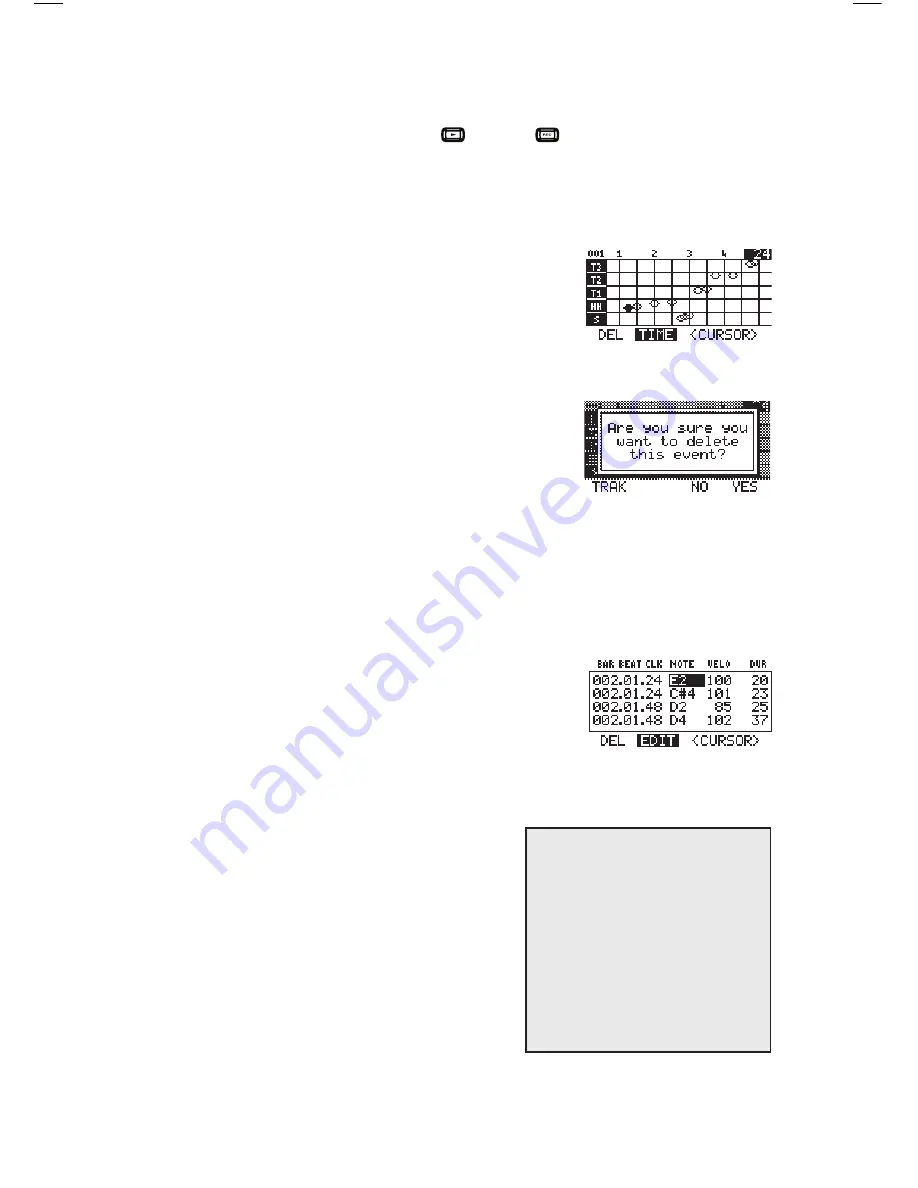
4. Press EDIT (F2). You will see a table of values.
Each row represents a note or “event” in the Sequence.
Each column represents the events’ positions and parameters:
• Bar / Beat / Clk *
: The position of that event in the
Sequence by bar, beat (within that bar), and click (within
that beat). As you move down the table, you move
through the Sequence.
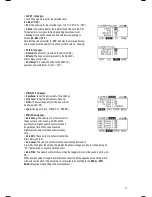
• Note:
The MIDI note being sent. (See next page for an
explanation of how the sequencer refers to MIDI note numbers.)
• Velo:
The velocity of the note (1-127).
• Dur:
The duration of the note, measured in clicks (1-9999).
* Note:
A “click” is just a
subdivision of a quarter note in the
RBM-20’s sequencer, which defines
its resolution. The RBM-20’s resolution
is 96 PPQN (pulses per quarter note),
meaning each quarter note contains
96 clicks. This is helpful to know while
editing Sequences’ Accompaniment
tracks if you are trying to shift a note
into a precise position within a beat
19
Содержание Red Box RBM 20
Страница 1: ...R B M 2 0 O W N E R S M A N U A L ...
Страница 44: ...Copyright 2010 Pearl Corporation All rights reserved ...

