Note
: If the Tempo field of the
UTILITIES
Menu’s main page
is set to
“GLOBAL,”
the letter “G” will be shown.
If the Clock In field of the
UTILITIES
Menu’s MIDI page is set to
“RECEIVE,”
the letter “E” will be shown.
•
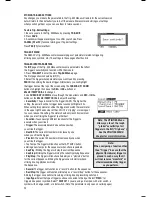
Time Sig
(Time Signature): The time signature of the sequence. The first number indicates how
many beats there are in a measure; the second number indicates the note value of those beats.
(Example: “3/4” means one measure is three quarter notes long. “12/8”
means one measure is twelve eighth notes long.)
• #Bars:
The number of bars in the Sequence, which you can set from 1 to 99.
• Loop:
You can set the Sequence to loop or to play only once.
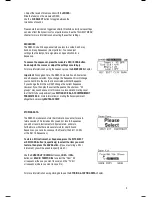
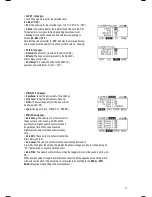
5. Press
PLAY t
o play the Sequence. A
“PLAY BUTTON”
will appear on the
upper right-hand corner of the LCD. To mute the drums or Accompaniment in
the Sequence, press the
MUTE DRUMS
or
MUTE ACCOMP
button,
respectively. The upper right-hand corner of the LCD indicates whether
the drums (“D”) and Accompaniment (“A”) are muted. When unmuted,
the letter is highlighted.(This is a useful tool when you want to play your
own drum patterns to the Accompaniment or vice versa.)
RECORDING SEQUENCES
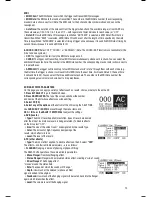
1. Press
SEQ/SONG
to enter the main screen of the Sequencer.
2. Press the
REC
tab (F1).
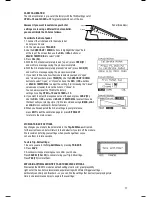
3. Use the
CURSOR UP / DOWN
buttons to select
settings to edit for that Sequence. Use the
DEC- / INC+
buttons or the
VALUE / TEMPO DIAL
to change the settings:
• Track:
The track of the Sequence over which you
will be recording –
“DRUMS” or “ACCOMP.”
• Rec Type:
How the performance will be recorded. When
“RECORD”
is selected, the
performance you record will replace the recording on that Track of the Sequence. When
“OVERDUB”
is selected, the performance you record will be added to the existing recording on
that Track of the Sequence.
• Quantize:
The quantization level of the recording. When on, this function will “snap” all recorded
notes to the nearest interval of that measure, which you select. (For instance, if you select “1/8,”
any notes you record that do not fall on an eighth-note pulse will be shifted automatically to the
nearest one.) The range is 1/4 – 1/64 (regular or triplet) and “OFF.”
• Swing:
The amount of swing applied to the recording – 54%, 58%, 62%, or “OFF.”
6. Press the module’s
REC
button and record your performance.
7. When you are finished recording, press
STOP.
EDITING SEQUENCES (DRUMS)
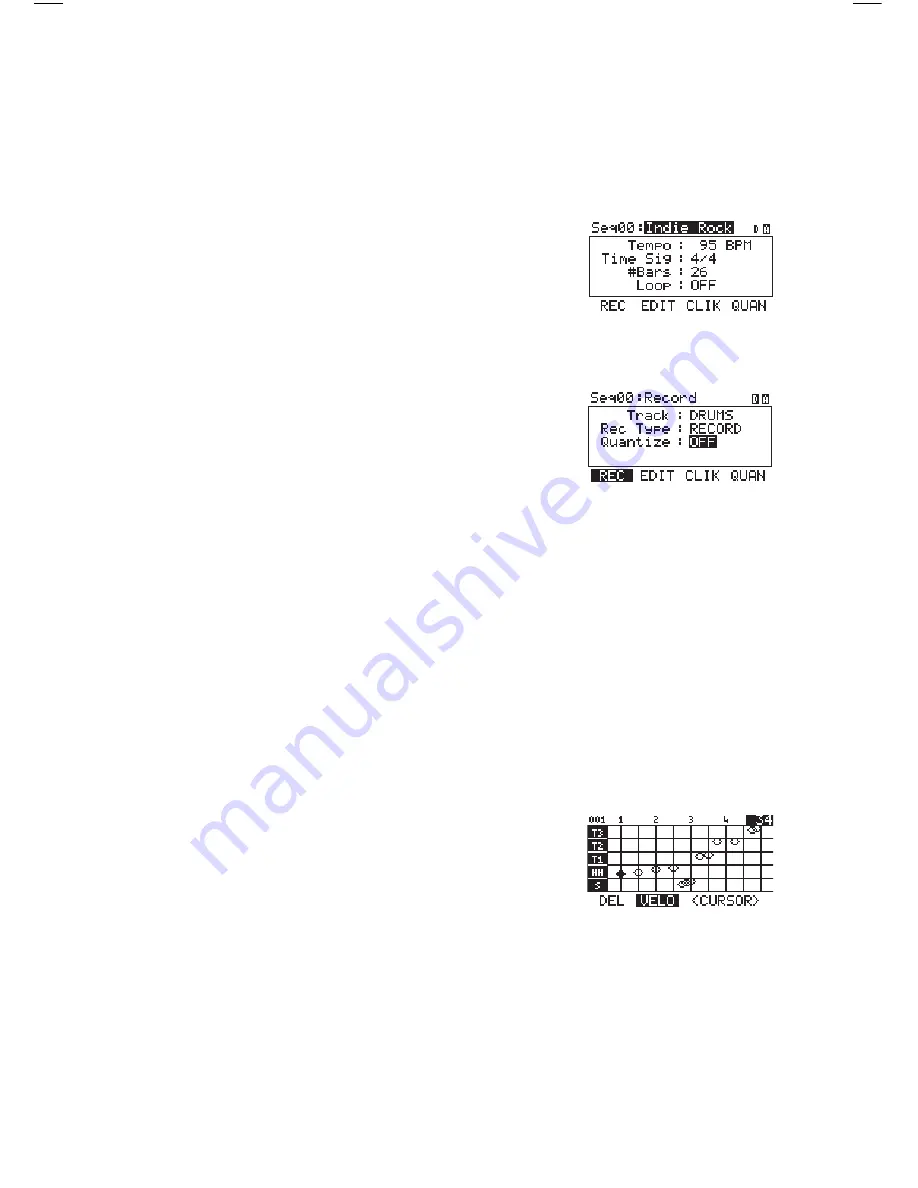
The editing screen for a Sequence’s drum part allows you to see a
visual representation of the drum pattern.
1. Press
SEQ/SONG
to enter the main screen of the Sequencer.
2. Use the
CURSOR UP / DOWN
buttons to select the
“Seq” field at the top of the LCD, then use the VALUE
UP / DOWN buttons or the
VALUE / TEMPO DIAL
to select the
Sequence you want to edit.
3. Press REC (F1). Use the
CURSOR UP / DOWN
buttons to select the “Track” field, then use the
VALUE
UP / DOWN buttons or the
VALUE / TEMPO DIAL
to select “DRUMS.”
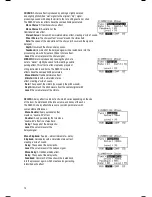
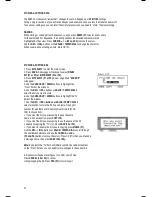
4. Press
EDIT (F2).
You will see a grid on the screen. The diamonds indicate triggered notes or “events”; the black
diamond is the currently selected event. Each column represents an interval/subdivision of the bar. Each row of the
grid represents a drum Voice:
• K = kick drum
• S = snare drum
• HH = hi-hat
• T1 = 1st tom
• T2 = 2nd tom
• T3 = floor tom
• C = crash cymbal
• R = ride cymbal
• A1 = Ride2 / Acc1 trigger
• A2 = Acc2 trigger
• A3 = Acc3 trigger
• A4 = Acc4 trigger
• The numbered rows correspond to available MIDI note numbers.
18
Содержание Red Box RBM 20
Страница 1: ...R B M 2 0 O W N E R S M A N U A L ...
Страница 44: ...Copyright 2010 Pearl Corporation All rights reserved ...

