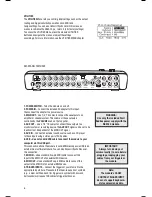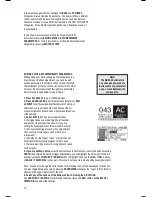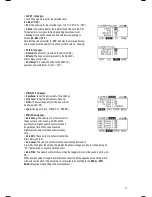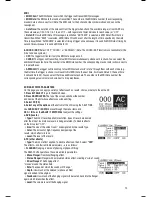
MIDI
•
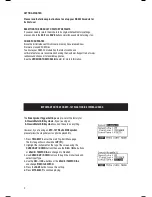
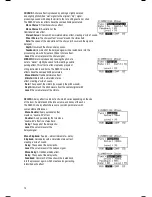
MIDI Chan:
The MIDI channel over which the trigger will transmit MIDI messages.
•
MIDI Note:
The MIDI note that will be transmitted. The number is the MIDI Note number; the corresponding
musical note is shown next to it. (Note: The MIDI note for the hi-hat and ride cymbals is fixed and can not be
reassigned.)
•
Gate Time:
The duration of the note sent from the trigger when struck. The available range is from 00-99 ms,
then note values (1/32, 1/16, 1/8, 1/4, and 1/2 – with regular and triplet divisions for each value), or “OFF.”
•
Note Off:
How the MIDI Note Off message is sent. When “NOT SENT” is selected, a MIDI Note Off will not be
transmitted. When “SENT” is selected, a MIDI Note Off will be sent after the length of time specified by the Gate
Time (above). When “ALTERNATE” is selected, striking a trigger once will cause it to send its MIDI Note; striking it a
second time will cause it to send a MIDI Note Off.
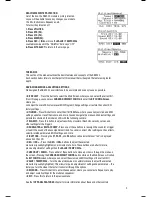
b. CHORD / ARP:
Select “OFF,” “CHORD,” or “ARPEGGIO.” (Note: The CHORD / ARP function is not available for the
hi-hat and ride cymbals.)
•
OFF:
The trigger will transmit only the MIDI note assigned to it.
•
CHORD:
The trigger will transmit up to four MIDI notes simultaneously whenever it is struck. You can select the
additional three notes here. The number is the MIDI Note number; the corresponding musical note is shown next to
it in parentheses.
•
ARPEGGIO:
The trigger will transmit up to four MIDI notes but will “rotate” through them with each strike (e.g.,
the first time the trigger is struck, it will send its first MIDI note; the next time, it will send Note #2; the next time,
it will send Note #3). You can select the three additional notes here. The number is the MIDI Note number; the
corresponding musical note is shown next to it in parentheses.
EDITING EFFECTS PARAMETERS
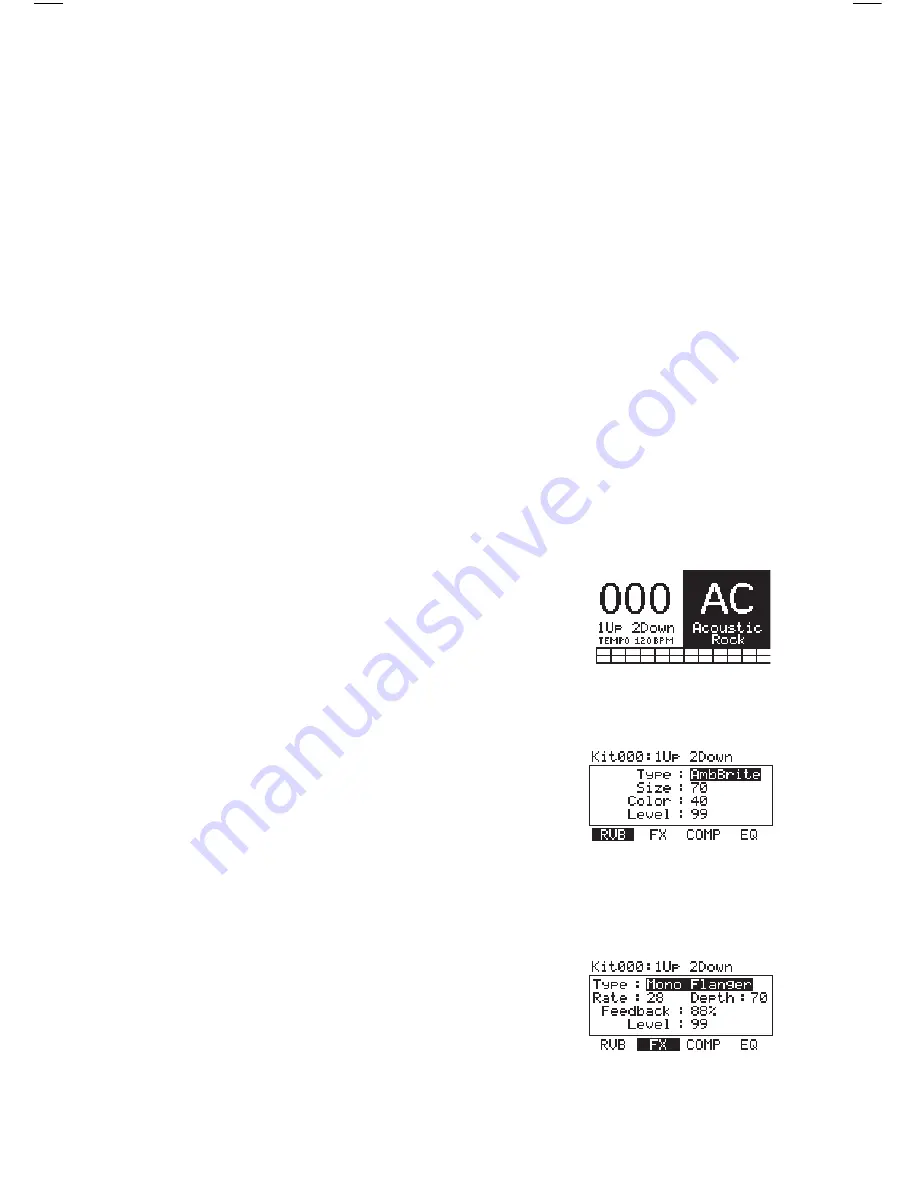
On this page, you can apply a variety of effects such as reverb, chorus, or delay to the entire Kit:
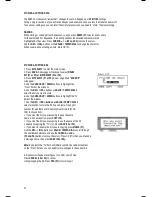
1. Press KIT SELECT
to go to the Main Screen.
2. Press DRUM/LAYER.
The top of the screen will show the number
and name of the Kit whose effects you will be editing.
3. Select FX (F4).
4. Select any of the options
at the bottom of the LCD using the F-BUTTONS.
Use
CURSOR UP / DOWN
to move through the menu items and
DEC- / INC+ or the VALUE / TEMPO DIAL
to adjust the settings:
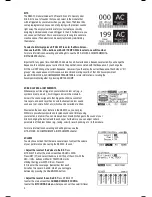
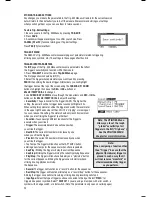
a. RVB (reverb)
•
Type:
The kind of reverb applied (most often, types of reverb are named
after the kind of room whose reverb is being emulated). To disable effects
on the Kit, select “OFF.”
•
Size:
The size of the virtual “room” as designated by the reverb Type.
•
Color:
The amount of high-frequency dampening of the
reverb, which affects its tone.
•
Level:
The level of the reverb.
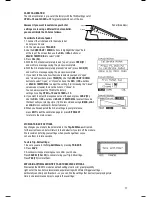
b. FX (other effects)
•
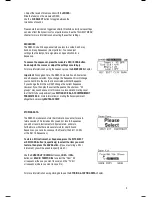
Type:
The kind of effect applied. To disable effects on the Kit, select
“OFF.”
The effects –and their editable parameters – are as follows:
•
FLANGER:
Flanging is a kind of phasing or phase-shifting.
The RBM-20’s flangers have the same editable parameters.
•
Mono Flanger:
Traditional flanging effect.
•
Stereo Flanger:
Flanger with a simulated stereo effect, creating a “wider” sound.
•
XOver Flanger:
The flanging effect
“moves” around the stereo field.
• Rate:
The speed at which the sound will “flange.”
• Depth:
How much of the delayed (or phase-shifted)
signal is added to the original.
• Feedback:
How much of the flanging signal will be routed back into the flanger
again, which intensifies the effect.
• Level:
The volume level of the flanging signal.
13
Содержание Red Box RBM 20
Страница 1: ...R B M 2 0 O W N E R S M A N U A L ...
Страница 44: ...Copyright 2010 Pearl Corporation All rights reserved ...


