Maintenance
65
Model 2960/2996 RAS Getting Started Guide
5 • Troubleshooting and maintenance
5.
Type
superuser
as the default username and password, then press <RETURN>. The
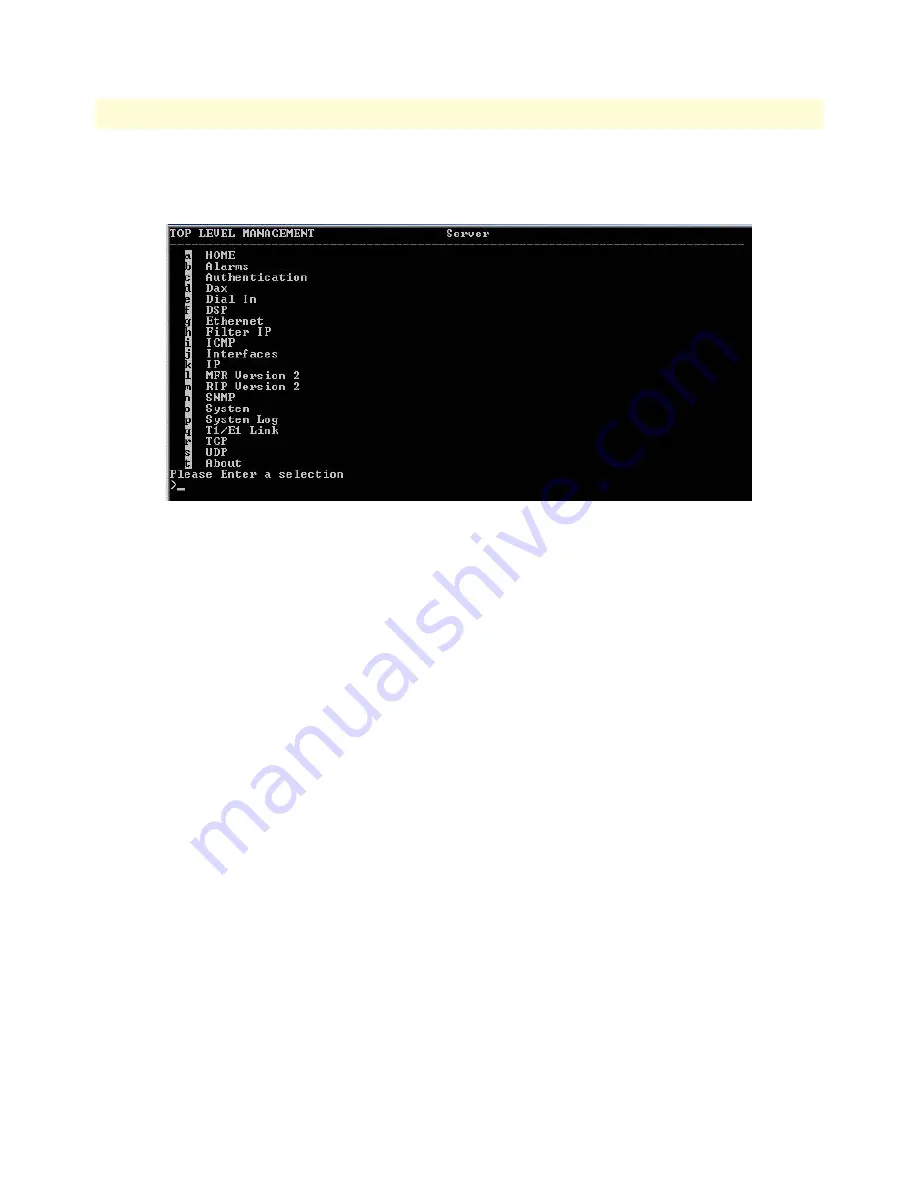
Top Level Man-
agement
window displays (see
figure 44
).
Figure 44. VT-100 Top Level Management window
6.
Select option
g
Ethernet.
7.
Select
a
PrimaryIpAddress
to set the Ethernet IP address
.
8.
Type the IP address at the > prompt, then press <RETURN>.
9.
Use the left arrow key to return to the previous menu.
10.
Select
b
PrimaryIpMask
to set the Ethernet IP subnet mask.
11.
Type the IP netmask at the > prompt, then press <RETURN>.
12.
Use the left arrow key to return to the top level management page.
13.
Select
a
Home
.
14.
Select
1 StoreConfig
to save your IP address and netmask. The RAS is now prepared for configuration using
a Web browser.
15.
To import a saved configuration, connect your Web browser to the Administration Pages, then click on
Import/Export
under the
Configuration Menu
to display the
Import/Export
main window (see
figure 37
on
page 59).
16.
To import a configuration file into the RAS, type the complete path and filename for the configuration file
you wish to load or click on the
Browse…
button to select the desired file, then click on the
Submit Query
button (see
figure 37
on page 59).
Upon successfully importing the file, the access server will display
Configuration Load Complete
, indicating
that the new operating parameters have been loaded into flash memory.
17.
Click on
HOME
under the
Configuration Menu
, then click on the
Hard Reset
button under
Immediate
Actions
.
Содержание NetLink 2960 RAS
Страница 6: ...Contents Model 2960 2996 RAS Getting Started Guide 6...
Страница 12: ...About this guide Model 2960 2996 RAS Getting Started Guide 12...
Страница 28: ...2 Hardware installation Model 2960 2996 RAS Getting Started Guide 28 Completing the hardware installation...
Страница 52: ...3 Configuring the RAS for operation Model 2960 2996 RAS Getting Started Guide 52 Completing the installation...


