Configuring the RAS with a Web browser
39
Model 2960/2996 RAS Getting Started Guide
3 • Configuring the RAS for operation
3.
Add the desired username and password.
4.
Click on the
Submit Query
button.
5.
Click on
Modify
. The Authentication Configuration window appears (see
figure 22
on page 38).
6.
Change
Validation
to
StaticUsers(1)
.
7.
Click on the
Submit Query
button.
Note
Static Users or RADIUS are not used if validation is set to
noValidation(0)
.
Configuring dial-in user information
1.
Click on
Dial-in
in the
Configuration Menu
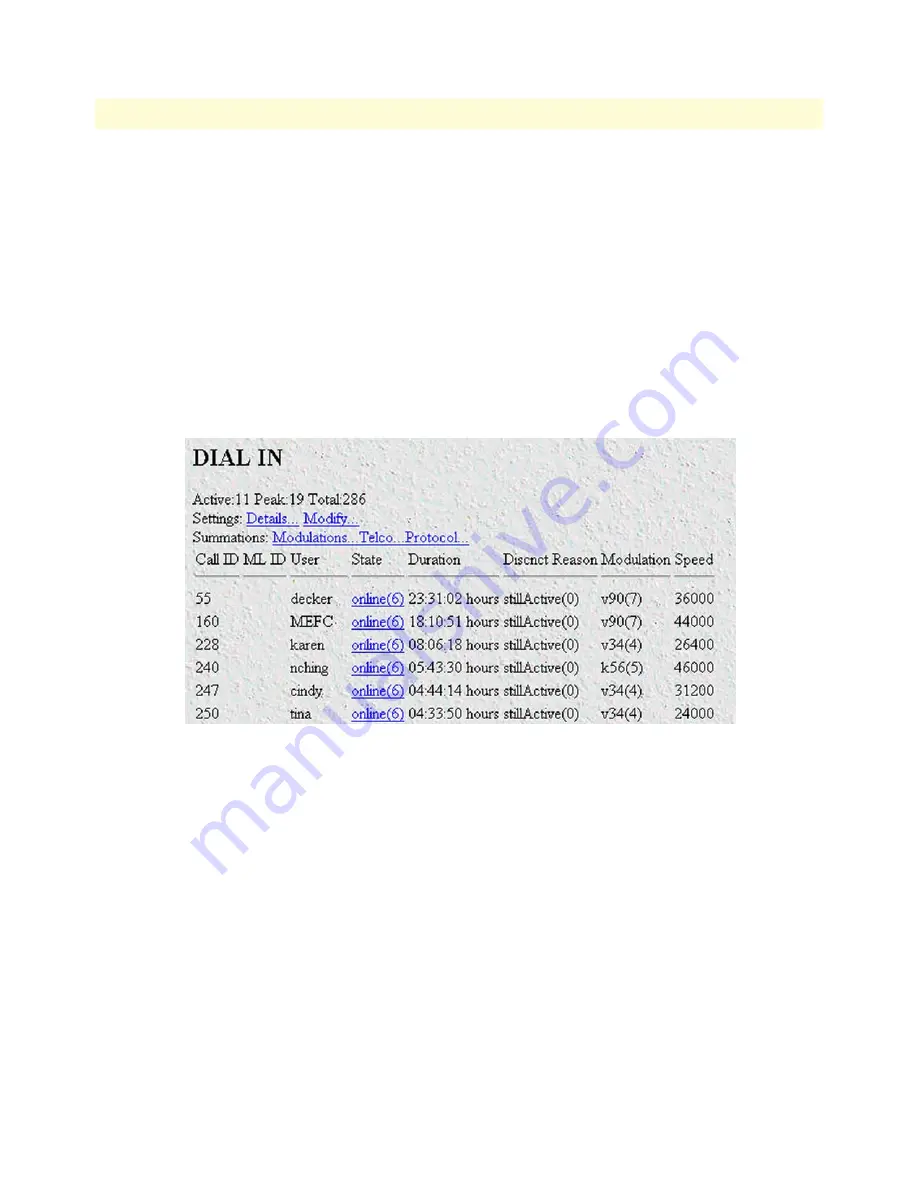
. The Dial-In main window appears (see
figure 24
).
Figure 24. Dial-in main window
Содержание NetLink 2960 RAS
Страница 6: ...Contents Model 2960 2996 RAS Getting Started Guide 6...
Страница 12: ...About this guide Model 2960 2996 RAS Getting Started Guide 12...
Страница 28: ...2 Hardware installation Model 2960 2996 RAS Getting Started Guide 28 Completing the hardware installation...
Страница 52: ...3 Configuring the RAS for operation Model 2960 2996 RAS Getting Started Guide 52 Completing the installation...


