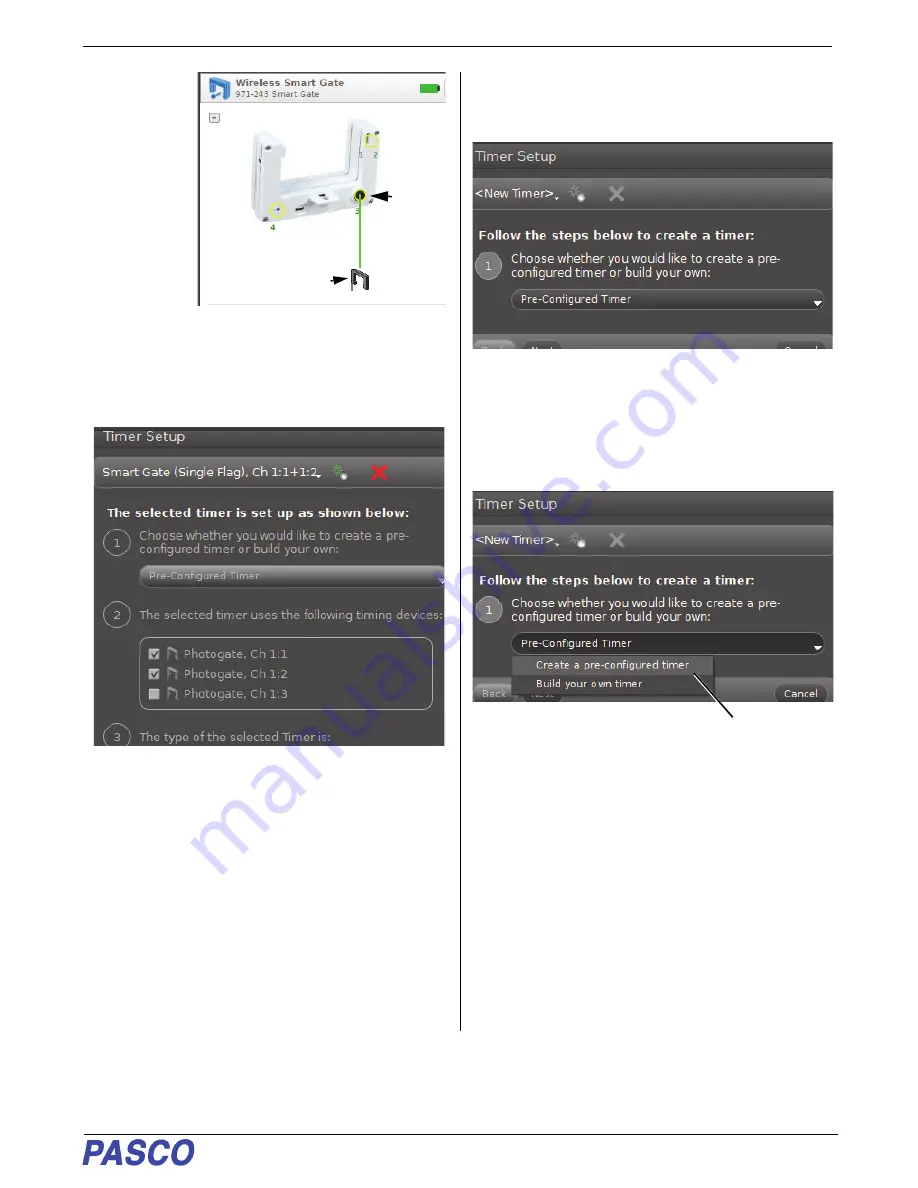
PS-3225
Port 3, Auxiliary Port Setup
25
013-16123A
•
The
Hardware
Setup
panel
changes to
show the
Photogate
icon under
Port 3.
3.
Click the
Hardware
Setup icon
to close the
Hardware Setup panel. Click the Timer Setup icon
to re-open the Timer Setup panel.
•
The Timer Setup panel is revealed.
.
•
T
he
updated
Timer Setup panel
shows
something
different
u
nder
Step 2
“
. There
is
another photogate, “Photogate, Ch 1:3”.
However, Step 2 is not yet active
and
Photogate, Ch 1:3
is not selected
.
The rest of
the Timer Setup panel is unchanged.
•
You will need to build a new timer in order to use
the extra photogate along with the Smart Gate.
One option is to create a new pre-configured timer
that uses features of other timers. Another option is
to create a custom timer.
4.
Click the small green star-shaped button to create
a new timer that is labeled “New Timer” by default.
•
Step 1 is now active. You can choose whether to
create a pre-configured timer or build you own.
5.
Click the Pre-Configured Timer menu to see the
choices.
.
6.
Select Create a pre-configured timer.
Port 3
Photogate Icon


