Chapter 2
Getting Started — Connecting
ENGLISH - 53
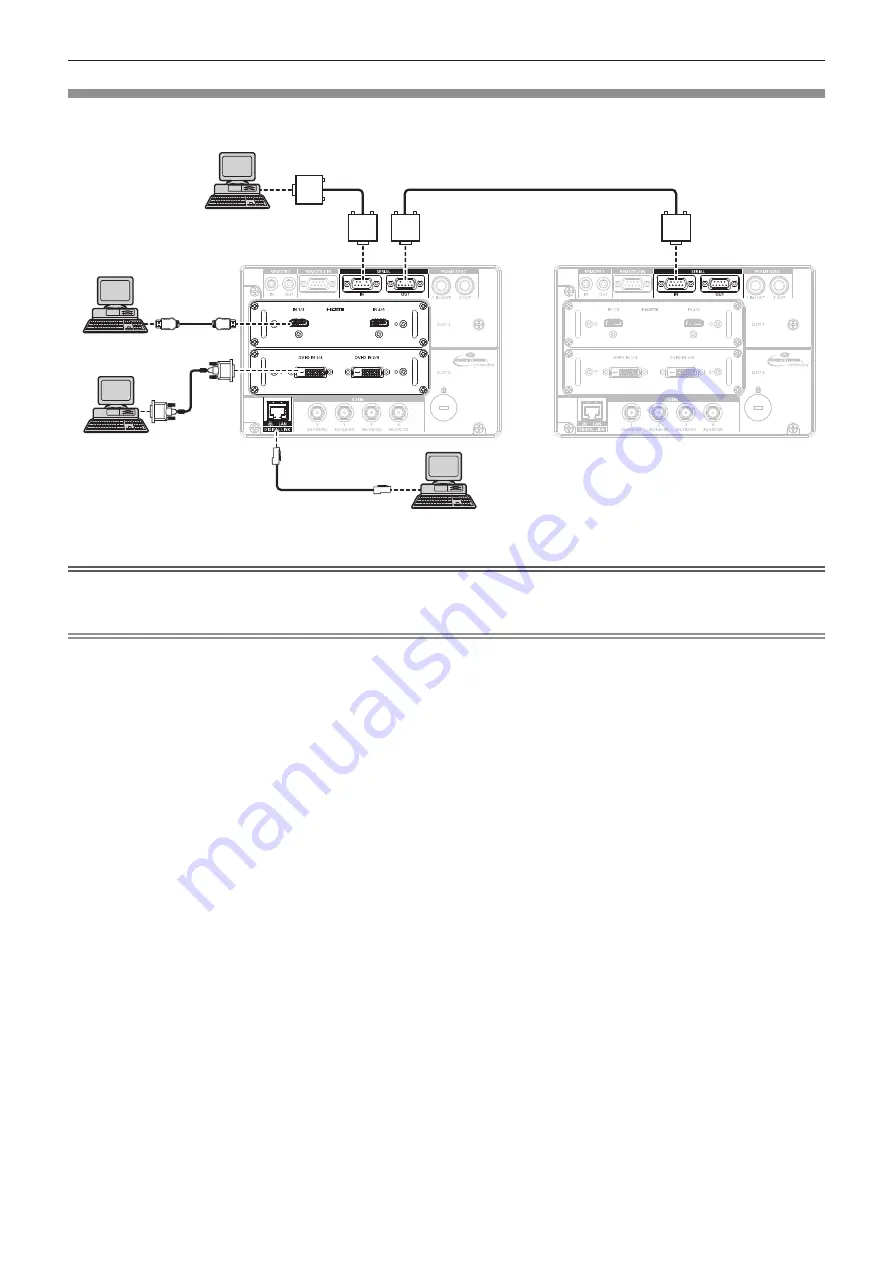
Connecting example: Computers
This is an example of installing the optional Interface Board for HDMI 2 input (Model No.: ET-MDNHM10) to
<SLOT 1>, and the optional Interface Board for DVI-D 2 input (Model No.: ET-MDNDV10) to <SLOT 2>.
Control computer
Computer
Computer
Control computer
Attention
f
When connecting the projector to a computer or an external device, use the power cord supplied with each device and commercially
available shielded cables.
Note
f
Setting the [DISPLAY OPTION] menu
→
[SLOT IN] is required depending on the connected external device or the input signal.
f
For the HDMI cable, use an HDMI High Speed cable that conforms to the HDMI standards. However, when the following 4K video signal
exceeding the supported transmission speed of the HDMI High Speed cable is to be input, use the HDMI cable supporting the high speed
transmission of 18 Gbps such as the one with Premium HDMI cable authentication.
g
A video signal with high specification color depth and gradation such as 3840 x 2160/60p 4:2:2/36-bit or 3840 x 2160/60p 4:4:4/24-bit
Images may be disrupted or may not be projected when a video signal exceeding the supported transmission speed of the HDMI cable is
used.
f
The <HDMI IN 1>/<HDMI IN 2>/<HDMI IN 3>/<HDMI IN 4> terminals can be connected to the external device with a DVI-D terminal by
using the HDMI/DVI conversion cable. However, this may not function properly for some external devices, and image may not be displayed.
f
The <DVI-D IN 1>/<DVI-D IN 2>/<DVI-D IN 3>/<DVI-D IN 4> terminals support the single link for DVI 1.0. They do not support the dual link
for DVI 1.0.
f
If you operate the projector using the computer with the resume feature (last memory), you may have to reset the resume feature to operate
the projector.


