


112
5. USING THE EDITING FUNCTIONS
5
1. IMAGE SHIFT
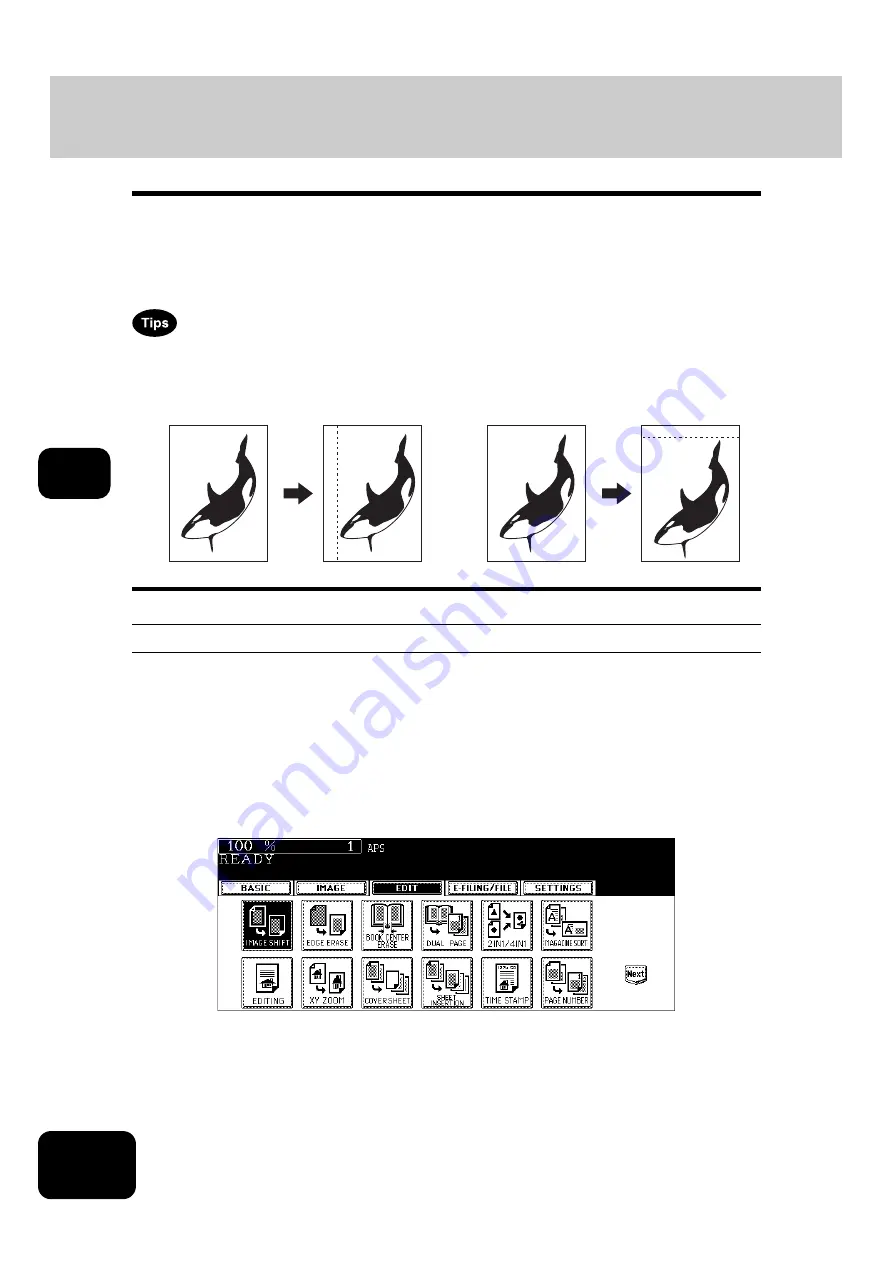
A margin for binding can be created. The following types are available.
1. Created by shifting the original image to either the right or left side (Right or Left margin)
2. Created by shifting the original image to either the upper or lower side (Top or Bottom margin)
3. Created binding margins in the center (inner margin) (Bookbinding margin)
Select this setting when using “Book-type original -> 2-sided copy” (
•
The ‘Top or Bottom margin’ can be used in combination with the ‘Right or Left margin’ or the
‘Bookbinding margin’.
•
When the ‘Top or Bottom margin’ and ‘Right or Left margin’ are used together, the value of the margin
width is determined by the value set last.
Creating a right or left margin
1
Place paper in the drawer(s).
• When using this mode in bypass copying (
P.61), be sure to specify the paper size.
2
Place the original(s).
3
Press the [EDIT] button to enter the edit menu, and then press the
[IMAGE SHIFT] button.
1
2
Содержание DP-7240
Страница 6: ...4 CONTENTS Cont ...
Страница 73: ...71 3 2 Press the APS button 4 Press the START button ...
Страница 109: ...107 4 4 IMAGE ADJUSTMENT 1 Background Adjustment 108 2 Sharpness 109 ...
Страница 112: ...4 110 4 IMAGE ADJUSTMENT ...
Страница 119: ...117 5 4 Press the ENTER button Set Book type original 2 sided copy P 100 in duplex copying as well ...
Страница 151: ...149 5 5 Press the ENTER button Select other copy modes as required 6 Press the START button ...
Страница 153: ...151 5 5 Press the ENTER button Select other copy modes as required 6 Press the START button ...
Страница 178: ...176 6 e FILING 3 Changing Data of User Boxes Cont 6 7 Press the ENTER button The box settings are updated ...
Страница 192: ...6 190 6 e FILING ...
Страница 222: ...7 220 7 TEMPLATE ...
Страница 260: ...8 258 8 JOB STATUS ...
Страница 291: ...289 10 3 Press the GENERAL button 4 Press the TONER NEAR EMPTY DETECTION button 5 Press the YES button ...
Страница 315: ...313 11 11 MAINTENANCE 1 Daily Inspection 314 2 Simple Troubleshooting 315 ...
Страница 320: ...11 318 11 MAINTENANCE ...
Страница 335: ......


