27
1
2. Turning Power On / Shutdown
Turning power ON
Open the switch cover, and then turn the power switch on.
•
The equipment starts warming-up. “Wait Warming Up” appears during warm up.
•
While the equipment is warming up, you can use the auto job start function.
(
P.57 “3. Auto Job Start (Job Preset)”)
The equipment will be ready for copying after about 130 seconds and “READY” appears.
When controlling use of equipment with department code
You can restrict users or manage copy volumes made by an individual group or department in your com-
pany using the department code. See the
Operating Instructions (For User Functions)
for setting and
registration of the department code.
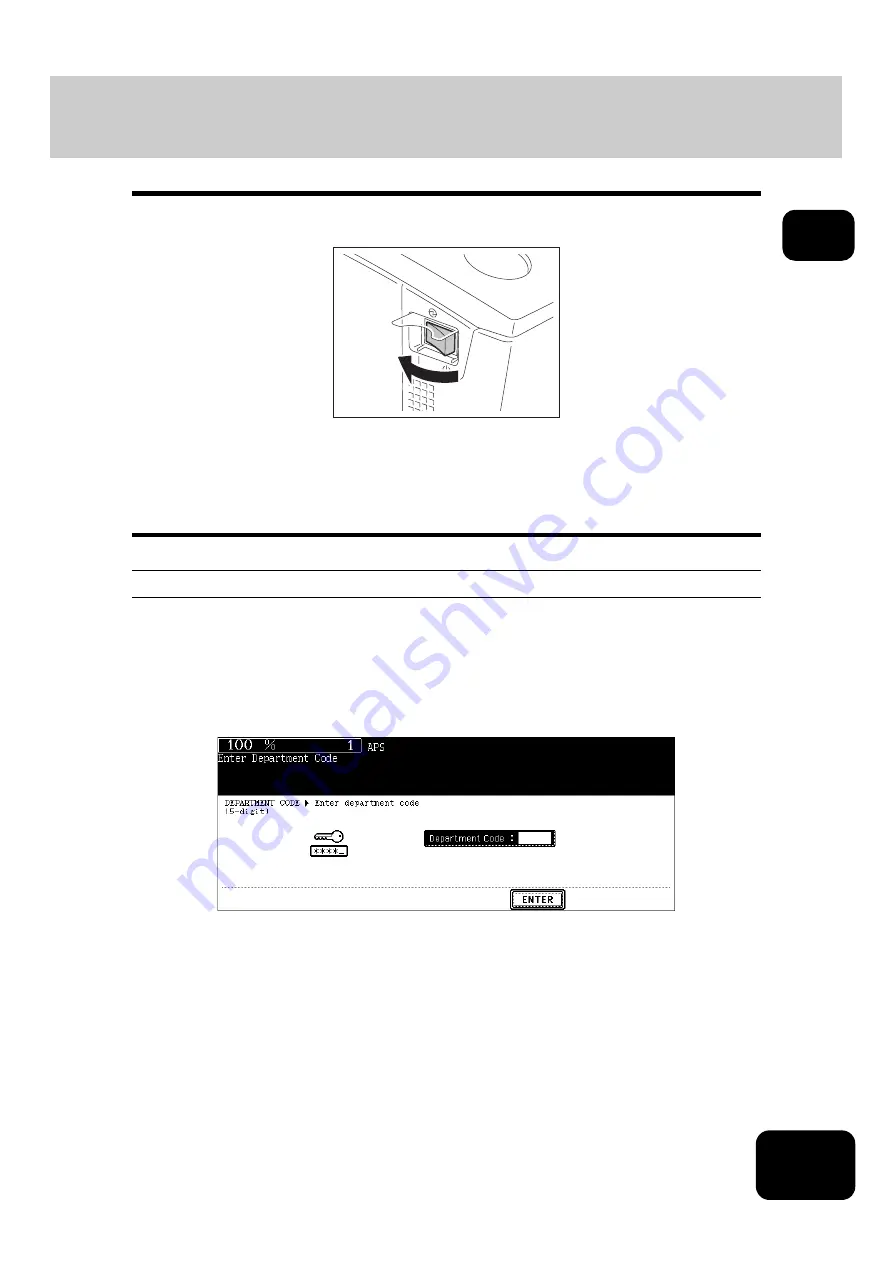
When the power is turned ON, the following menu appears.
•
This menu also appears when the [ACCESS] button is pressed or the automatic function clear has
worked.
Key in a department code (5 digits) previously registered and press the [ENTER] button. The menu will
switch and the equipment will be ready to be used.
•
If the department code keyed in is incorrect, the menu does not change. In this case, press the [FUNC-
TION CLEAR] button and then key in the correct code.
When copying is finished
When you finish all operations, press the [ACCESS] button to prevent unauthorized use of the equipment.
The display returns to the department code input menu.
Содержание DP-7240
Страница 6: ...4 CONTENTS Cont ...
Страница 73: ...71 3 2 Press the APS button 4 Press the START button ...
Страница 109: ...107 4 4 IMAGE ADJUSTMENT 1 Background Adjustment 108 2 Sharpness 109 ...
Страница 112: ...4 110 4 IMAGE ADJUSTMENT ...
Страница 119: ...117 5 4 Press the ENTER button Set Book type original 2 sided copy P 100 in duplex copying as well ...
Страница 151: ...149 5 5 Press the ENTER button Select other copy modes as required 6 Press the START button ...
Страница 153: ...151 5 5 Press the ENTER button Select other copy modes as required 6 Press the START button ...
Страница 178: ...176 6 e FILING 3 Changing Data of User Boxes Cont 6 7 Press the ENTER button The box settings are updated ...
Страница 192: ...6 190 6 e FILING ...
Страница 222: ...7 220 7 TEMPLATE ...
Страница 260: ...8 258 8 JOB STATUS ...
Страница 291: ...289 10 3 Press the GENERAL button 4 Press the TONER NEAR EMPTY DETECTION button 5 Press the YES button ...
Страница 315: ...313 11 11 MAINTENANCE 1 Daily Inspection 314 2 Simple Troubleshooting 315 ...
Страница 320: ...11 318 11 MAINTENANCE ...
Страница 335: ......


