61
2
6. Bypass Copying
Bypass copying
When you want to make copies on OHP film, sticker labels, or non-standard size paper, place the sheets
of paper on the bypass tray.
Bypass copying is also recommended for copying on tab paper or standard size paper which is not in any
of the drawers.
The following features can be used by specifying the paper size even in the bypass copy mode.
•
2-sided copying
•
Image shift
•
Edge erase
•
Dual-page
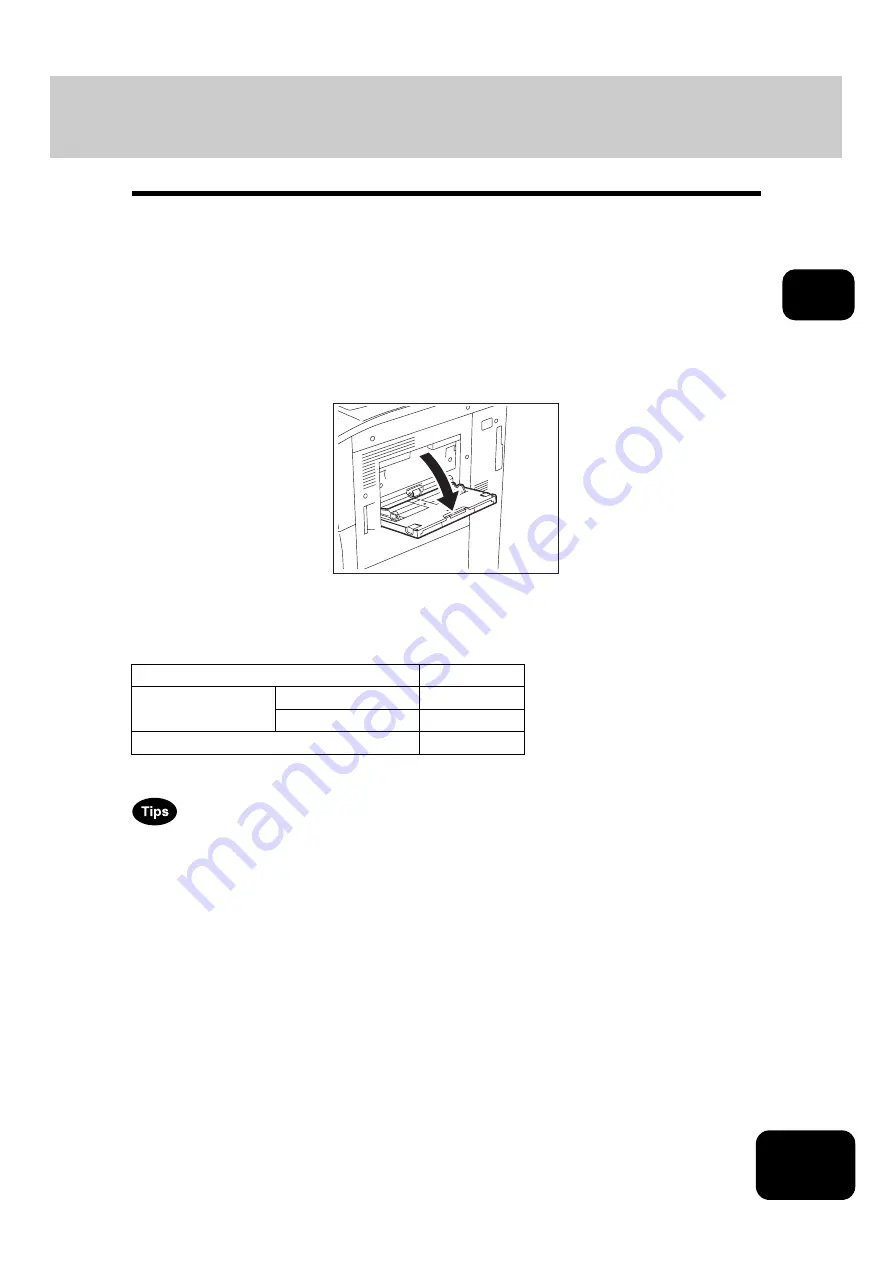
To carry out bypass copying, open the bypass tray.
The operating procedure of bypass copying differs depending on the paper size used. See the corre-
sponding page for the operating procedure of each size. The table below shows these pages.
To set tab paper on the bypass tray,
P.157 “ Setting tab paper on the bypass tray”.
•
Bypass copying stops when the paper placed on the bypass tray runs out during copying, even if the
same size paper is in any of the drawers. Copying is resumed when paper is supplied to the bypass
tray.
•
When bypass copying has completed, the [FUNCTION CLEAR] button on the control panel blinks.
Press this button to switch it to default copying using the drawers. (Bypass copying is automatically
canceled after a certain period by automatic function clearing without the need to press the [FUNC-
TION CLEAR] button. The bypass copying returns to default copying using the drawers after this auto-
matic function clearing.)
Paper size
Procedure
Standard size
LD, LT, LG, ST-R
Other than the above
Others (Non-standard size)
Содержание DP-7240
Страница 6: ...4 CONTENTS Cont ...
Страница 73: ...71 3 2 Press the APS button 4 Press the START button ...
Страница 109: ...107 4 4 IMAGE ADJUSTMENT 1 Background Adjustment 108 2 Sharpness 109 ...
Страница 112: ...4 110 4 IMAGE ADJUSTMENT ...
Страница 119: ...117 5 4 Press the ENTER button Set Book type original 2 sided copy P 100 in duplex copying as well ...
Страница 151: ...149 5 5 Press the ENTER button Select other copy modes as required 6 Press the START button ...
Страница 153: ...151 5 5 Press the ENTER button Select other copy modes as required 6 Press the START button ...
Страница 178: ...176 6 e FILING 3 Changing Data of User Boxes Cont 6 7 Press the ENTER button The box settings are updated ...
Страница 192: ...6 190 6 e FILING ...
Страница 222: ...7 220 7 TEMPLATE ...
Страница 260: ...8 258 8 JOB STATUS ...
Страница 291: ...289 10 3 Press the GENERAL button 4 Press the TONER NEAR EMPTY DETECTION button 5 Press the YES button ...
Страница 315: ...313 11 11 MAINTENANCE 1 Daily Inspection 314 2 Simple Troubleshooting 315 ...
Страница 320: ...11 318 11 MAINTENANCE ...
Страница 335: ......


