6
Main Mode: Recording/Playback Screen
Main Mode
Recording/Playback Screen
Use the recording/playback screen for the following.
• Playing back all cards in the order they were recorded
• Recording to P2 cards
Use the steps below to record audio and video clips.
Recording is available only in the record/playback screen.
Before you can start recording, you have to set the recording
frequency, format and input signal in a menu.
(
➝
Setup Menu “SYSTEM” page 71)
◆
NOTE:
• Recording is not possible on the thumbnail screen or the screens
other than the record/playback screen. On the thumbnail screen,
press the THUMBNAIL button to close the thumbnail screen.
• Selecting analog audio creates an 8-channel audio file where
channels 3 to 8 are mute.
1
Insert a P2 card.
2
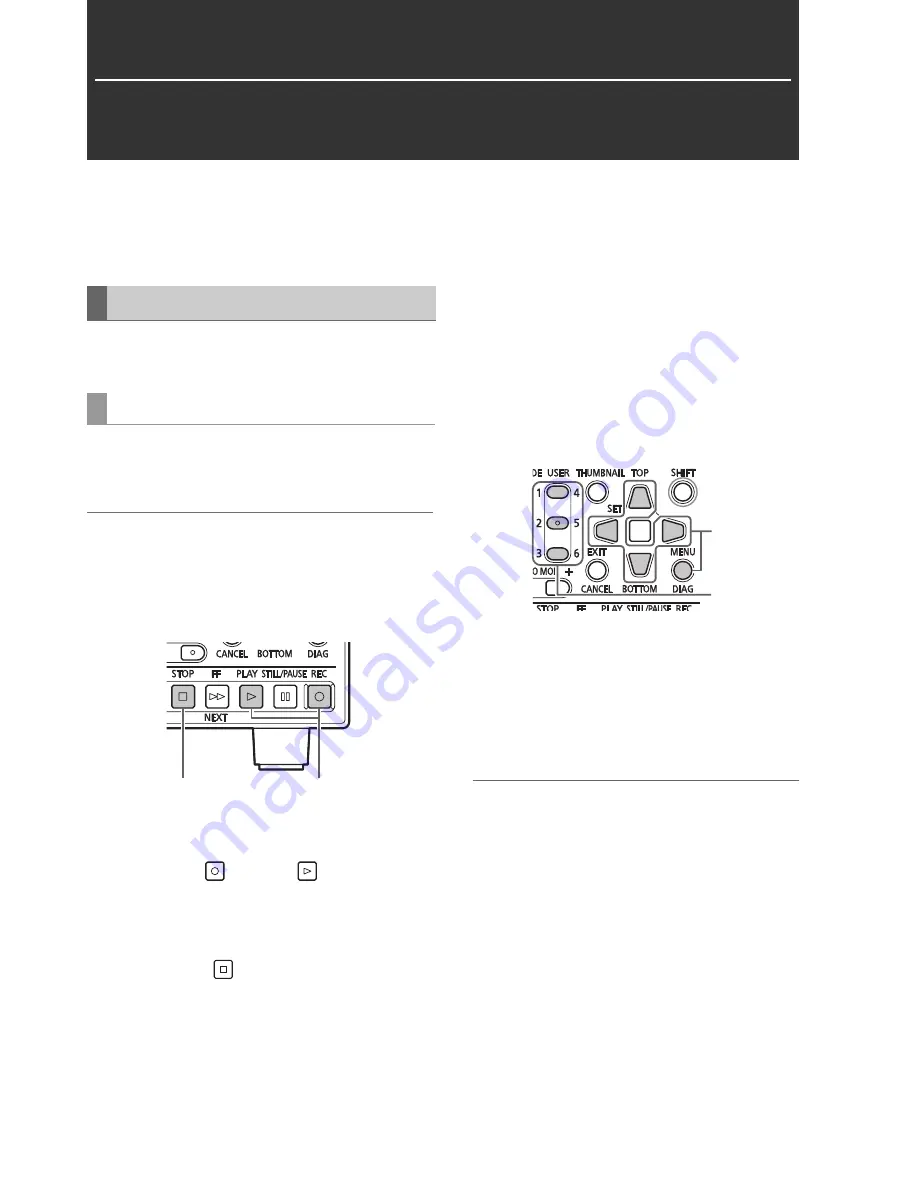
Press the REC
and PLAY
buttons
simultaneously.
Recording begins on the P2 card in the slot with its access lamp
lit orange.
3
Press the STOP
button to stop recording.
■
Adjusting the recording volume
The level meters show CH1 and CH2 recording volume when
you press the REC VOLUME button (assigned to a USER
button) while the menu setting SETUP - AUDIO - INPUT SEL is
set to analog audio input.
Use the Up/Down cursor buttons to select CH1 or CH2 level
display. Use the Left/Right cursor buttons to adjust the level.
Use the RESET button to restore the UNITY level.
Use the SET and EXIT buttons to return to normal display.
■
Changing slots used for recording
Slots used for recording can be changed during pauses in
recording.
1.
Assign the SLOT SEL function to a USER button
choosing menu SETUP - USER BUTTON.
(
➝
Setup Menu “USER BUTTON” page 70)
2.
Press the USER button during a pause in recording.
The slot used for recording changes at each press of the
button.
◆
NOTE:
• When SLOT SELECT is not performed right after changing the
P2 card used for recording and the SETUP - DISPLAY - OSD TC
SELECT menu setting is set to T&S&M, the message “SLOT SEL
INVALID” will appear on the third line of the OSD.
Recording Clips
Recording clips
2
3
1
2


