Control Reference Guide: Controls
19
Cont
rol
Ref
e
re
nce G
u
ide
RESET/TC PRESET
button:
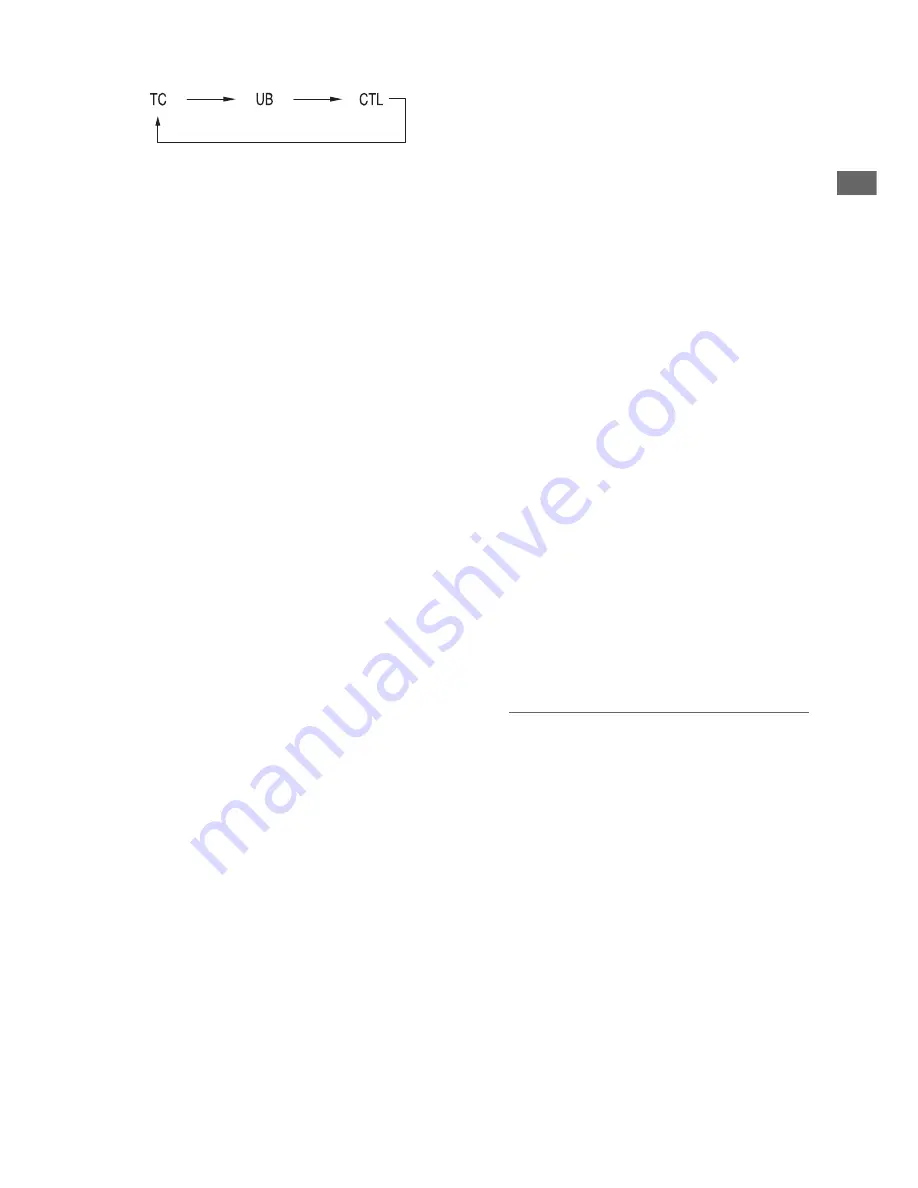
Resets the CTL counter when displayed.
When the counter displays TC or UB, presets
the time code/user bits.
3.
AUDIO MON button
Monitor audio volume adjustment:
Press either the + or –, AUDIO MON button to
display the loudspeaker/headphone audio
volume level, and hold the button to adjust.
Wait a short time or press SET or EXIT to
return the display to normal.
Recording audio volume adjustment:
(
➝
“Recording Clips” Vol. 2, page 6)
4.
USER1-3,
4-6
buttons
Users can assign any functions to these
buttons.
(
➝
“Setup Menu” Vol. 2, page 50)
5.
THUMBNAIL button
Selects whether to show or hide the
thumbnail screen.
(
➝
“Thumbnail Screen Display” page 34)
6.
SHIFT
button
Hold this button while pressing another
button to perform the alternate function of that
button.
Functions of the SHIFT button that are not
indicated by orange button labels:
To select the group of clips from immediately
before the select clip to the clip at the current
cursor position
SHIFT + SET buttons
(
➝
“Selecting and Deselecting Clips” Vol. 2,
page 16)
Combine display of selected storage device
partition/folder thumbnails
SHIFT + SET buttons
(
➝
“Operations in the EXPLORE screen”
Vol. 2, page 32)
Moving storage device partitions/folders
SHIFT + +/
–
buttons
(
➝
“Displaying thumbnails of clips on storage
devices and viewing video on the monitor”
Vol. 2, page 33)
7.
Cursor control buttons
Up/Down/Left/Right cursor buttons:
• Controls cursor movement for thumbnails
and menus.
• During playback, press the Left/Right
cursor buttons to activate SHTL mode to
change playback speed.
(
➝
“Playing Back at Variable Speed” Vol. 2,
page 43)
• Press the SET button to pause variable
speed playback.
• While paused, press the Up/Down cursor
buttons to step one frame forward or back.
(
➝
“Frame-by-frame playback” Vol. 2, page 8)
• These buttons also adjust recording audio
volume.
(
➝
“Recording Clips” Vol. 2, page 6)
TOP
/
BOTTOM
buttons:
Move the cursor to the first (TOP) or last
(BOTTOM) thumbnail.
SET button:
Selects thumbnails or menu items.
◆
NOTE:
• No selection occurs if SET is held too long.
8.
MENU,
DIAG
button
MENU button:
This button displays the menu.
DIAG
button:
When the menu is not displayed, pressing
this button displays a diagnostics screen
showing various conditions.
(
➝
“Deck Information (DIAG) Icons” Vol. 2, page
45)
9.
EXIT,
CANCEL
button
EXIT button:
Closes the menu, or returns from the storage
explorer to normal display.


