ChartScan User’s Manual
ChartScan - Unit Startup and ChartView Tutorial 1-5
5. Apply Power to ChartScan
ChartScan can be powered from a standard AC outlet. Use the following steps to connect power to
your unit.
1.
Make sure ChartScan’s power switch is in the “0” (OFF) position.
2.
Plug power cord CA-1 into ChartScan’s power connector, located on the rear panel. Plug the other
end of the cord into an appropriate receptacle.
3.
Turn ChartScan’s power switch to the “1” (ON) position. The
Power
LED should light up.
At initial power-up ChartScan performs automatic self-tests to ensure that it is fully functional. The
rear panel LEDs indicate errors, if they occur. Possible error conditions and their corresponding
indicator light patterns are shown in the following table. Any pattern not shown is an internal error that
is not field-serviceable; in this case, contact the factory. When only the POWER and ERROR LEDs
are on, a configuration error exists as a result of the setup information in NV-RAM.
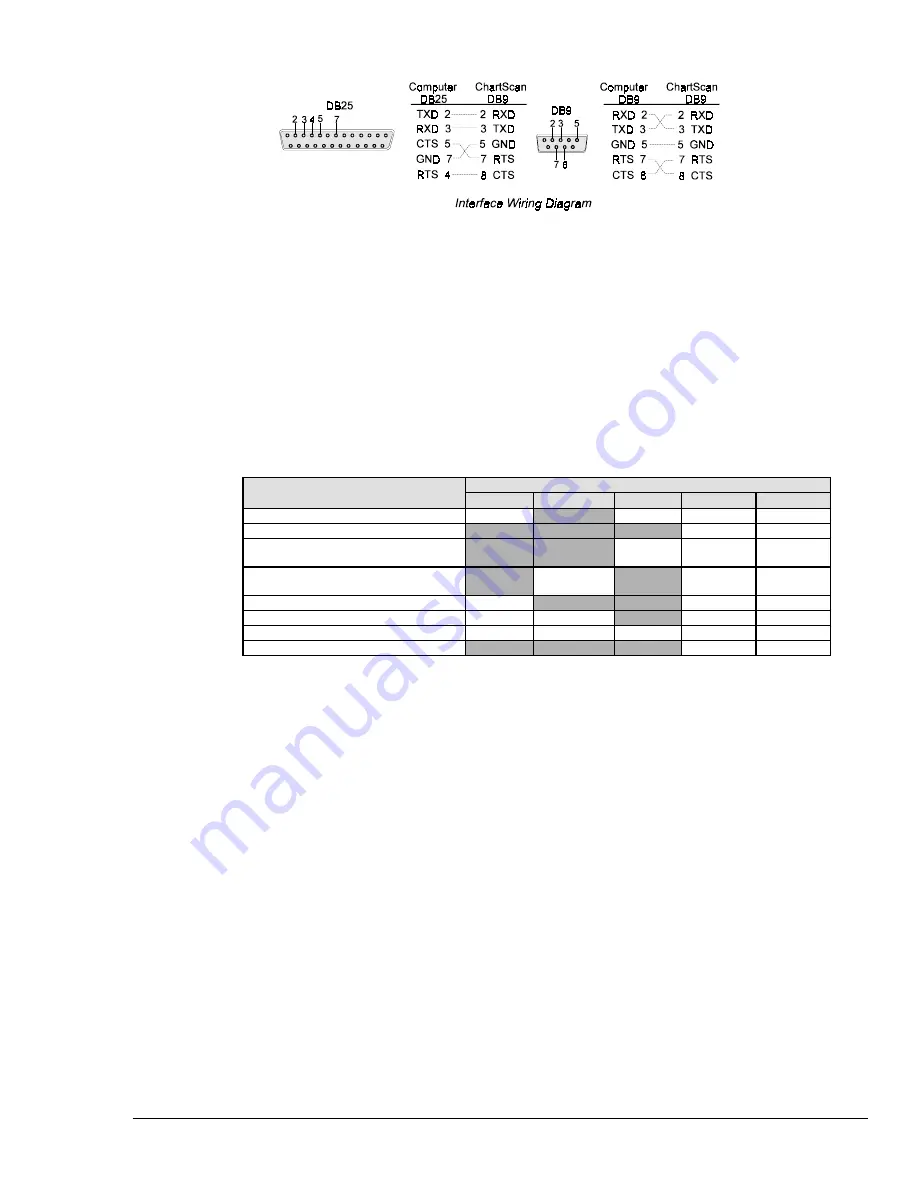
Error Condition
LED Indicators
ALARM
TRIGGER
SCAN
ERROR
POWER
General Hardware Failure
ON
ON
-Flash-
ON
ROM Invalid for U22, COMM2
-Flash-
ON
ROM Checksum Error for
U21 Comm1
ON
-Flash-
ON
ROM Checksum Error for
U22 COMM2
ON
-Flash-
ON
Non-Volatile RAM Error
ON
-Flash-
ON
Dynamic RAM Error
ON
ON
-Flash-
ON
Interprocessor COM Error
ON
ON
ON
-Flash-
ON
Configuration Error
ON
ON
If you observe a
configuration error
, perform an error status query (see
E?
in Appendix A). If you
observe any other type of error condition, make note of the error and contact your service
representative.
If no problems are found ChartScan will begin its power-up initialization. This self-test is performed
each time the unit is powered up regardless of whether power-on was caused by the power switch or the
Power-On Reset (
*R
) command.
During initialization, ChartScan self test performs the following steps:
•
Checks for errors at power-up.
•
Checks the flag in the NV-RAM to determine if it should power-up with factory default
settings or a user-defined configuration.
•
Loads appropriate registers with corresponding values in NV-RAM.
•
Checks a flag to see if alarms should be enabled at power-up, and if so, enables them.
•
Loads channel configuration registers.
•
Loads program sequencer with appropriate channel configurations.
•
Resets computations processor to begin acquiring scans.
The self-test takes approximately 5 seconds to complete; after which, ChartScan is ready for normal
operation.
6. Connect Channel Signal Inputs
Connect channel inputs to your signal conditioning cards. Each signal conditioning card can support
up to 16 Channels. With use of the expansion chassis, you can have up to 8 signal conditioning cards.
Depending on the type(s) of cards used, your connections will be made via one or more of the
following: screw terminal, mini-plug, BNC, or safety jack type input connector.
Содержание OMB-CHARTSCAN 1400
Страница 1: ...August 2002 OMB CHARTSCAN 1400 Portable Data Recorder p n OMB 483 0901 Rev 3 1...
Страница 6: ...iv ChartScan User s Manual...
Страница 24: ...ChartScan User s Manual...
Страница 32: ...2 8 General Information ChartScan User s Manual Notes...
Страница 56: ...3 24 ChartScan User s Manual Notes...
Страница 117: ...ChartScan User s Manual Calibration 6 13 1 Connect an applicable calibration harness to each card Refer to figure below...
Страница 124: ...6 20 Calibration ChartScan User s Manual...
Страница 126: ...A ii ChartScan User s Manual...
Страница 136: ...API Commands Appendix A A 10 ChartScan User s Manual Notes...
Страница 176: ...API Commands Appendix A A 50 ChartScan User s Manual...
Страница 230: ...Appendix C Registers Data Formats Queries ChartScan User s Manual C 13...
Страница 237: ...Registers Data Formats Queries Appendix C C 20 ChartScan User s Manual Notes...
Страница 257: ...E 2 ChartScan User s Manual Notes...
Страница 265: ...ASCII Code Summary Appendix F F 8 ChartScan User s Manual Notes...
Страница 269: ...Abbreviations Appendix H H 2 ChartScan User s Manual Notes...
Страница 271: ...ChartScan User s Manual...


