3 - 2
GETTING
STARTED
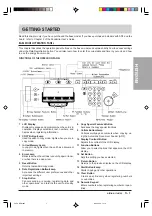
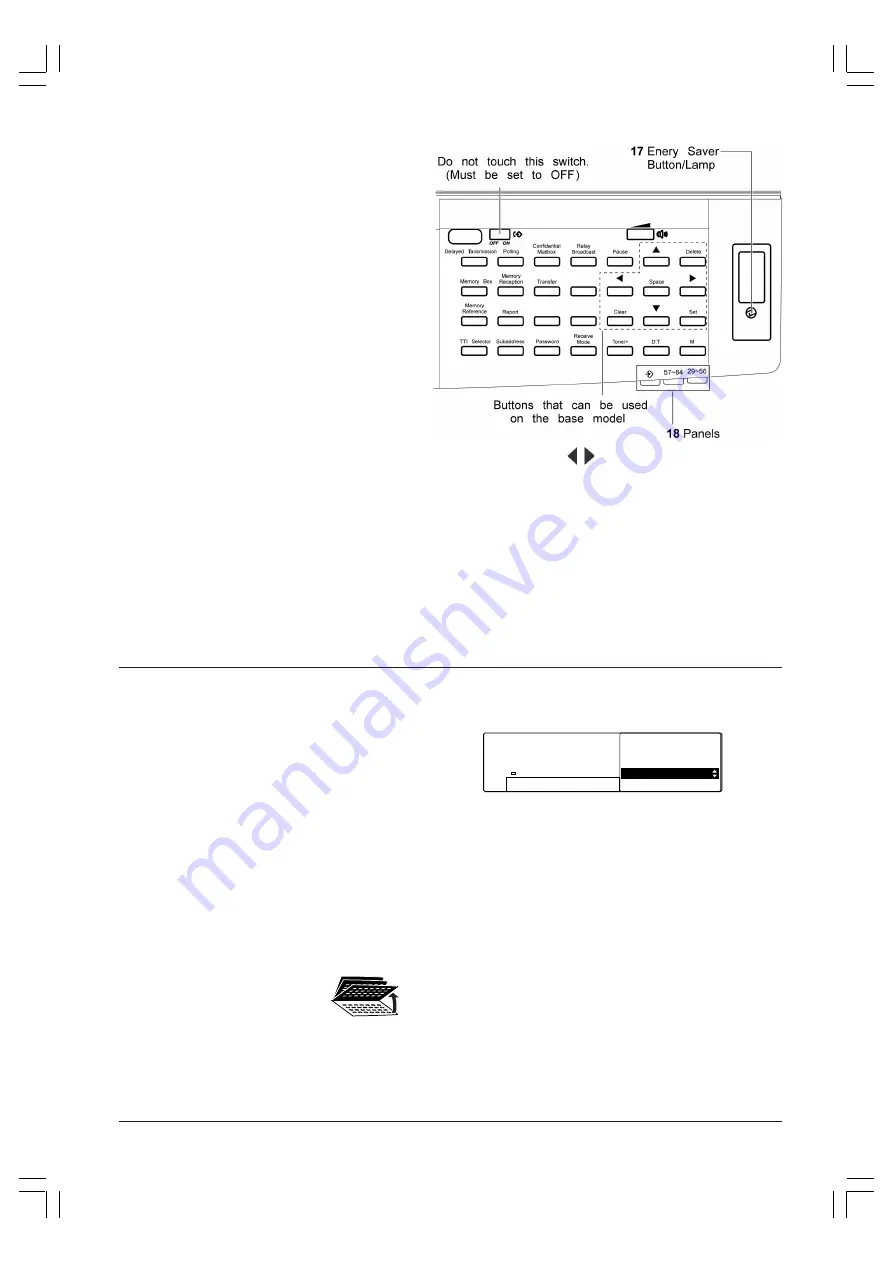
FUNCTION BUTTONS (PANELS OPEN)
17 Energy Saver Button/Lamp
Cancels energy saver mode.
18 Panels
The bottom panel displays the special function
buttons described on the following pages.
▲ ▼
(Search) Buttons
Scroll the display so you can see other options and
selections in the menus during data registration.
Delete Button
During a step when you are registering or entering a
number, press this button to delete the number. (This
button deletes number entries only.)
Cursor Buttons
Moves the cursor left or right during data registration.
Space Button
Enters a space between letters and numbers on the
LCD display when registering information.
Clear Button
Clears an entire entry when registering numbers.
Set Button
Saves the setting you have selected.
USING THE OPERATION PANEL TO PERFORM
SETTINGS
The following explanation is only for the base model. If
you have purchased a model with ADF and fax board,
refer to “General Guidelines for Registering Information”
of the Facsimile User’s Guide.
This section provides a brief overview of how to select
and adjust settings using the
Data Registration
button.
These settings allow you to set up different features for
the general operation of your unit as well as customise
the copier features.
To access the above settings using the
Data
Registration
button, follow the general procedure below.
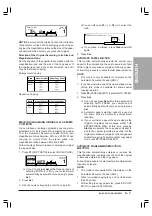
1. Press
Data Registration
.
❏
The different settings are displayed.
2. Open all three panels to expose
the function buttons.
3. Use the search buttons (
▲ ▼
) to select the setting
you want.
REGISTRATION/SETTING
SELECT AN ITEM
01 DATE/TIME SETTING
02 VOLUME CONTROL
03 NAME STACK SIZE
04 CASSETTE ELIGIBLTY
05 SELECT PAPER
❏
Press the
▼
button to select the next setting.
(The list will wrap from the last setting in the list
to the first.)
❏
Press the
▲
button to select the previous
setting. (The list will wrap from the first setting
in the list to the last.)
4. Press
Set
to display the sub-settings under the
setting you selected.
5. Again,
use
the
search
buttons
(
▲▼
) to display the sub-setting you want, then
press
Set
to select the setting, or to access addi-
tional sub-settings.
❏
If you access additional sub-settings, repeat this
step to select and set other additional settings.
6. When you have finished setting, press
Stop
to return
to standby mode.
Содержание Copia 9916
Страница 1: ......
Страница 12: ...2 6 SETTING UP YOUR UNIT BACK VIEW...


