Print & Go Media Installation
12/9/04
3-23
14.
Pull on both sides of the media evenly. A second person can press the + button to
advance the media until you are able to get it over the top of the empty take-up core.
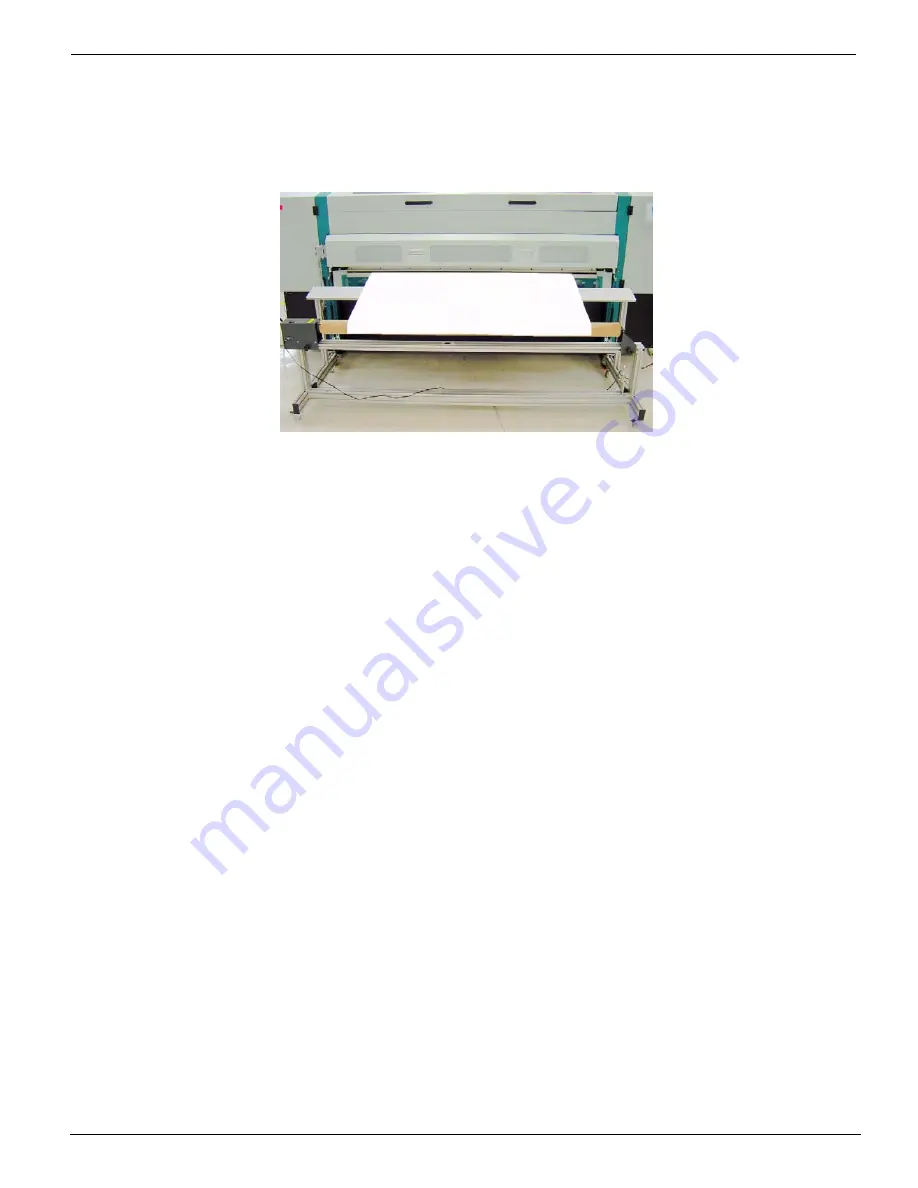
Secure the media firmly with tape along the core in five places. Tape the leading edge
of the media to the core at the right side, the far left side, and in three more places
equally spaced at the middle (see Figure 3-22).
Figure 3-22 Attaching Media to the EMTU Core
15.
Turn the take-up core with the taped media one full revolution.
16.
Close the top cover and the front and rear doors, and press the ACCEPT button on
the control panel. You then see:
PRINT SIDE
print side: first side
If you select the first side, go to step 20.
17.
Use the +/- buttons to select the second side. You then see:
PRINT SIDE
print side: second side
You only select this option if you are printing the second side of a double-sided
image.
18.
Press ACCEPT. You then see:
SECOND SIDE
Supply Core OD: (3.10” - 4.0”)
Use the +/- buttons to enter the correct core diameter. The value is increased or
decreased in .01-inch increments. If you do not know the diameter, use a ruler and
measure the outside diameter of the core, and enter the value in this submenu.
19.
Press ACCEPT. You then see:
SECOND SIDE
condition media: OFF
Содержание Arizona 600
Страница 1: ...Oc Arizona 600 User Manual Revision E December 9 2004 Using ColorBlend six color printing technology...
Страница 2: ...Oc Display Graphics Systems 2004 All Rights Reserved...
Страница 6: ...Oc Ordering Printer Supplies vi...
Страница 34: ...Oc Media System 3 6 Figure 3 6 Secure the Mandrel Media Assembly...
Страница 58: ...Oc Media System 3 30...
Страница 110: ...Oc Printer Maintenance 5 20...
Страница 118: ...Oc Error Messages and Troubleshooting 6 8...
Страница 120: ...Oc Menus A 2 Figure A 1 Copies Reprints Menu...
Страница 121: ...12 9 04 A 3 Figure A 2 Print Parameters Menu...
Страница 122: ...Oc Menus A 4 Figure A 3 Test Prints Menu...
Страница 123: ...12 9 04 A 5 Figure A 4 Maintenance Menu Part 1...
Страница 124: ...Oc Menus A 6 Figure A 5 Maintenance Menu Part 2...
Страница 126: ...Oc Menus A 8 Figure A 7 About Printer Menu...
Страница 127: ...12 9 04 A 9 Figure A 8 Units Menu...
Страница 128: ...Oc Menus A 10 Figure A 9 Set Clock Menu...
Страница 129: ...12 9 04 A 11 Figure A 10 Ink Menu...
Страница 130: ...Oc Menus A 12 Figure A 11 Configure I O Menu...
Страница 137: ...12 9 04 B 7 Photo 2 Photo 3...
Страница 138: ...Oc Printer Maintenance B 8 Photo 4...
Страница 148: ...Oc Index Index 4...


