SPLITMUX Quad Screen 4K 18GB Multiviewer
16
USE AND OPERATION VIA WEB INTERFACE
A user may configure the settings of the SPLITMUX using the Web Interface via any web browser (see page 2 for supported web
browsers). To access the Web Interface, connect the SPLITMUX to the Ethernet (page 9). Use the Device Discovery Tool (page
15) to setup the network settings. Then, to access the web interface controls, the user must log in.
Note: In order to view all of the graphics in the Web Interface, the browser’s JavaScript and Java must be enabled.
By default, the SPLITMUX is configured to dynamically assign network settings received from a DHCP server on the network it is
connected to. (This can be changed to a static IP address to manually enter these settings in the Network Settings on page 20.)
The SPLITMUX will search for a DHCP server to automatically assign its IP address each time the unit is powered up. If the
SPLITMUX does not find a DHCP server, the address entered into the static IP address field (page 20-default address shown
below) will be used. If a DHCP server on the network has assigned the IP address, use the Device Discovery Tool to identify the
IP address to enter when logging in to the SPLITMUX, or use the OSD menu to view the System Info page.
Note: The computer using the Device Discovery Tool and the NTI Device must be connected to the same subnet in order
for the Device Discovery Tool to work. If no devices are found, the message “No Devices Found” will be displayed.
Log In and Enter Password
To access the web interface, type the current IP address into the address bar of the web browser. (The default IP address for the
SPLITMUX is shown below):
To open a SSL-encrypted connection, type:
Address
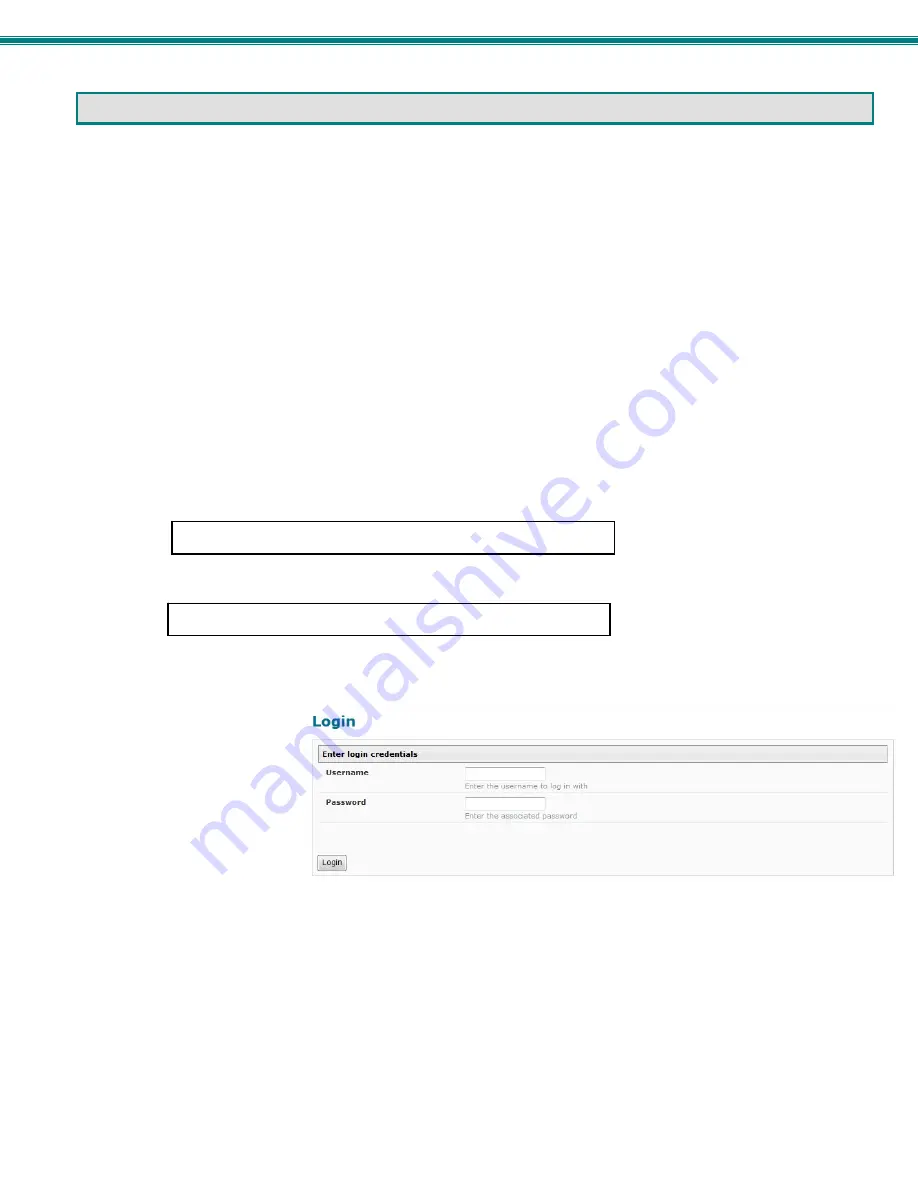
A log in prompt requiring a username and password will appear:
Username = root
Password = nti
(lower case letters only)
Note: usernames and passwords
are case sensitive
Figure 11- Login prompt to access web interface
http://192.168.1.30
https://192.168.1.30


