OnTime Clock
Installation and User Guide
Firmware Version 1
All claims based on information publicly available at time of printing. All other product or service names mentioned
in this document may be trademarks of the companies with which they are associated.
© 2015 Novanex, Inc. | All rights reserved | page 15
8.
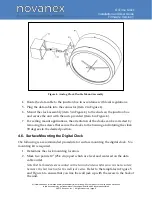
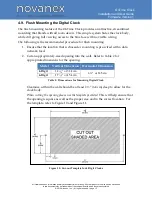
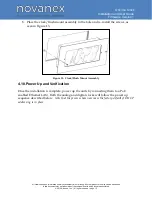
Place the clock/flush mount assembly in the hole and re-install the screws, as
seen in Figure 13.
Figure 13: Clock/Flush Mount Assembly
4.10. Power Up and Verification
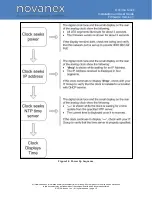
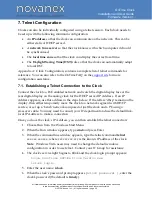
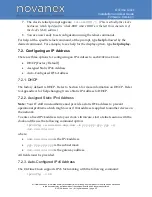
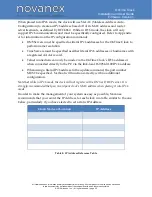
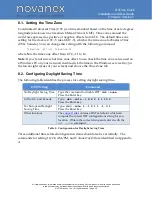
Once the installation is complete, power up the units by connecting them to a PoE
enabled Ethernet LAN. Both the analog and digital clocks will follow the power up
sequence described below.
Note that the process shown assumes the factory default of DHCP
addressing is in place.

