OnTime Clock
Installation and User Guide
Firmware Version 1
All claims based on information publicly available at time of printing. All other product or service names mentioned
in this document may be trademarks of the companies with which they are associated.
© 2015 Novanex, Inc. | All rights reserved | page 14
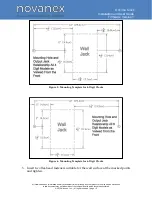
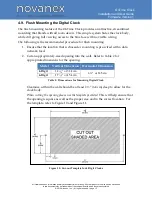
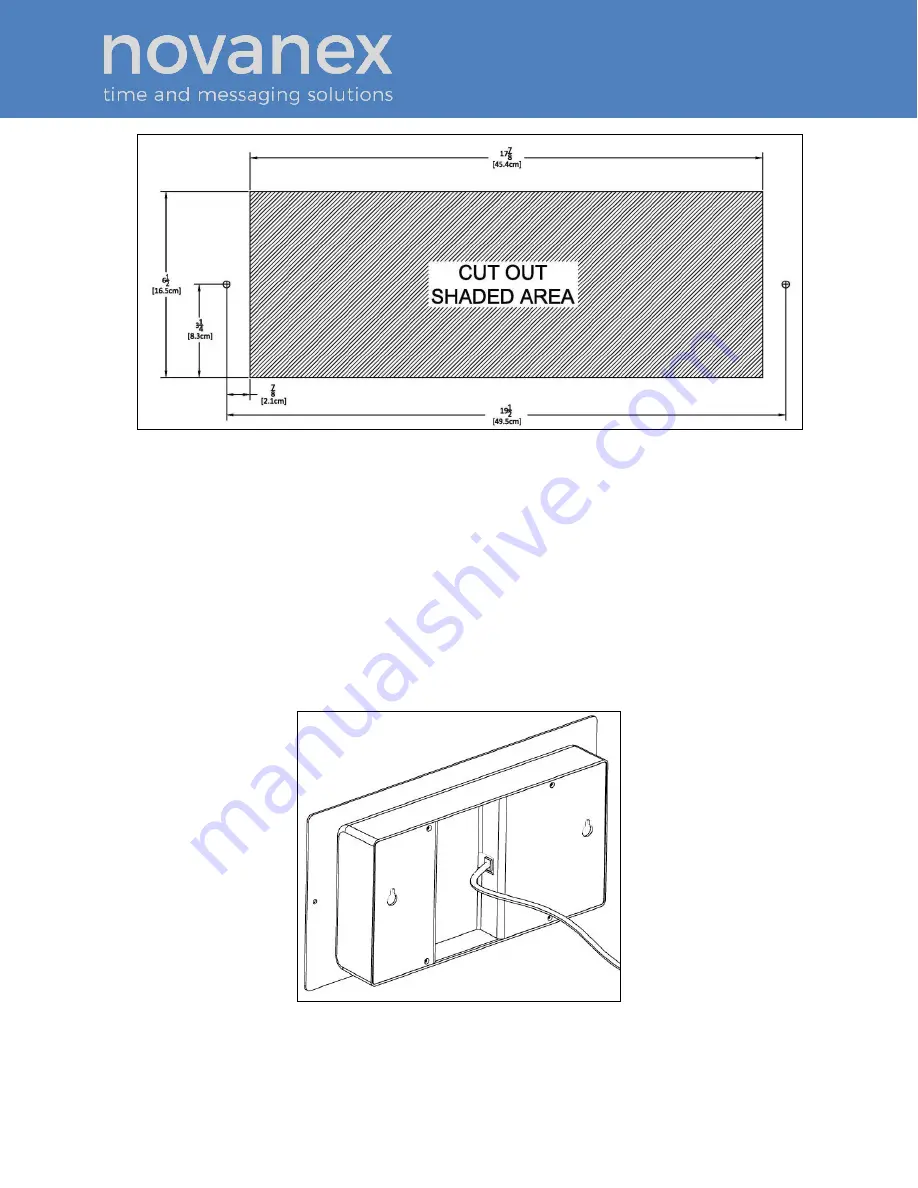
Figure 11: Template for 6-Digit Clocks
3.
Using the template provided, locate the holes for the customer supplied
hardware.
4.
Drill two 5/16” holes.
5.
Once holes for the bolts have been made, install #6 molly anchors in the holes,
tighten until they expand, and then withdraw the screws.
6.
Cut out the shaded area indicated on the template.
7.
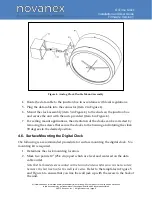
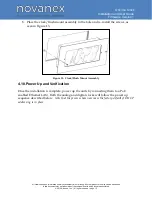
Install the data cable in the rear of the clock as shown in Figure 12. The clock is
now ready for installation.
Figure 12: Data Cable Installation


