


LAN Configuration
95
NETGEAR ProSAFE VPN Firewall FVS318G v2
a.
In the address field of any of the qualified web browsers, enter
https://192.168.1.1
.
The NETGEAR Configuration Manager Login screen displays.
b.
In the
Username
field, enter
admin
and in the
Password / Passcode
field, enter
password
.
Use lowercase letters. If you changed the password, enter your personalized
password. Leave the domain as it is (geardomain).
c.
Click the
Login
button.
The Router Status screen displays. After five minutes of inactivity, which is the default
login time-out, you are automatically logged out.
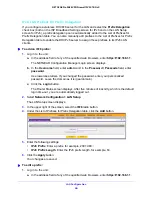
2.
Select
Network Configuration > LAN Setup > LAN Multi-homing
.
The LAN Multi-homing screen displays.
3.
In the upper right of the screen, select the
IPv6
radio button.
4.
In the Action column for the secondary IP address that you want to modify, click the
Edit
button.
The Edit LAN Multi-homing screen displays.
5.
Modify the IP address or prefix length, or both.
6.
Click the
Apply
button.
Your changes are saved.
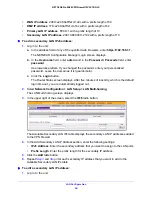
To delete one or more secondary LAN IP addresses:
1.
Log in to the unit:
a.
In the address field of any of the qualified web browsers, enter
https://192.168.1.1
.
The NETGEAR Configuration Manager Login screen displays.
b.
In the
Username
field, enter
admin
and in the
Password / Passcode
field, enter
password
.
Use lowercase letters. If you changed the password, enter your personalized
password. Leave the domain as it is (geardomain).
c.
Click the
Login
button.
The Router Status screen displays. After five minutes of inactivity, which is the default
login time-out, you are automatically logged out.
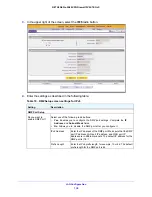
2.
Select
Network Configuration > LAN Setup > LAN Multi-homing
.
The LAN Multi-homing screen displays.
3.
In the upper right of the screen, select the
IPv6
radio button.
4.
Select the check box to the left of each secondary IP address that you want to delete or click
the
Select All
table button to select secondary IP addresses.
5.
Click the
Delete
table button.
The information is deleted.


