Firewall Protection
156
NETGEAR ProSAFE VPN Firewall FVS318G v2
3.
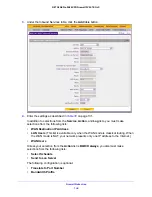
To view the DMZ WAN Rules screen for IPv6 rules, in the upper right of the screen, select
the
IPv6
radio button.
4.
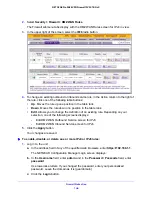
Select the check box to the left of each rule that you want to enable, disable, or delete, or
click the
Select All
table button to select all rules.
5.
Click one of the following table buttons:
•
Enable
.
Enables the rule or rules. The ! status icon changes from a gray circle to a
green circle, indicating that the selected rule or rules are enabled. (By default, when a
rule is added to the table, it is automatically enabled.)
•
Disable
.
Disables the rule or rules. The ! status icon changes from a green circle to a
gray circle, indicating that the selected rule or rules are disabled.
•
Delete
.
Deletes the selected rule or rules.
6.
Click the
Apply
button.
Your changes are saved.
Create LAN DMZ Outbound Service Rules
You can change the default outbound policy or define rules that specify exceptions to the
default outbound policy. By adding custom rules, you can block or allow access based on the
service or application, source or destination IP addresses, and time of day. An outbound rule
can block or allow traffic between the DMZ and any internal LAN IP address according to the
schedule created on the Schedule screen.
IPv4 LAN DMZ Outbound Service Rules
To create an IPv4 LAN DMZ outbound rule:
1.
Log in to the unit:
a.
In the address field of any of the qualified web browsers, enter
https://192.168.1.1
.
The NETGEAR Configuration Manager Login screen displays.
b.
In the
Username
field, enter
admin
and in the
Password / Passcode
field, enter
password
.
Use lowercase letters. If you changed the password, enter your personalized
password. Leave the domain as it is (geardomain).
c.
Click the
Login
button.
The Router Status screen displays. After five minutes of inactivity, which is the default
login time-out, you are automatically logged out.
2.
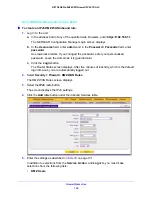
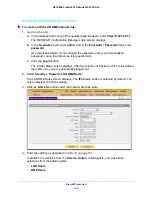
Select
Security > Firewall > LAN DMZ Rules
.
In the upper right of the LAN DMZ Rules screen, the
IPv4
radio button is selected by
default. The screen displays the IPv4 settings.

