Camera Options Menu
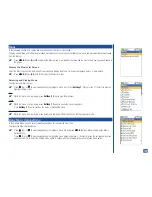
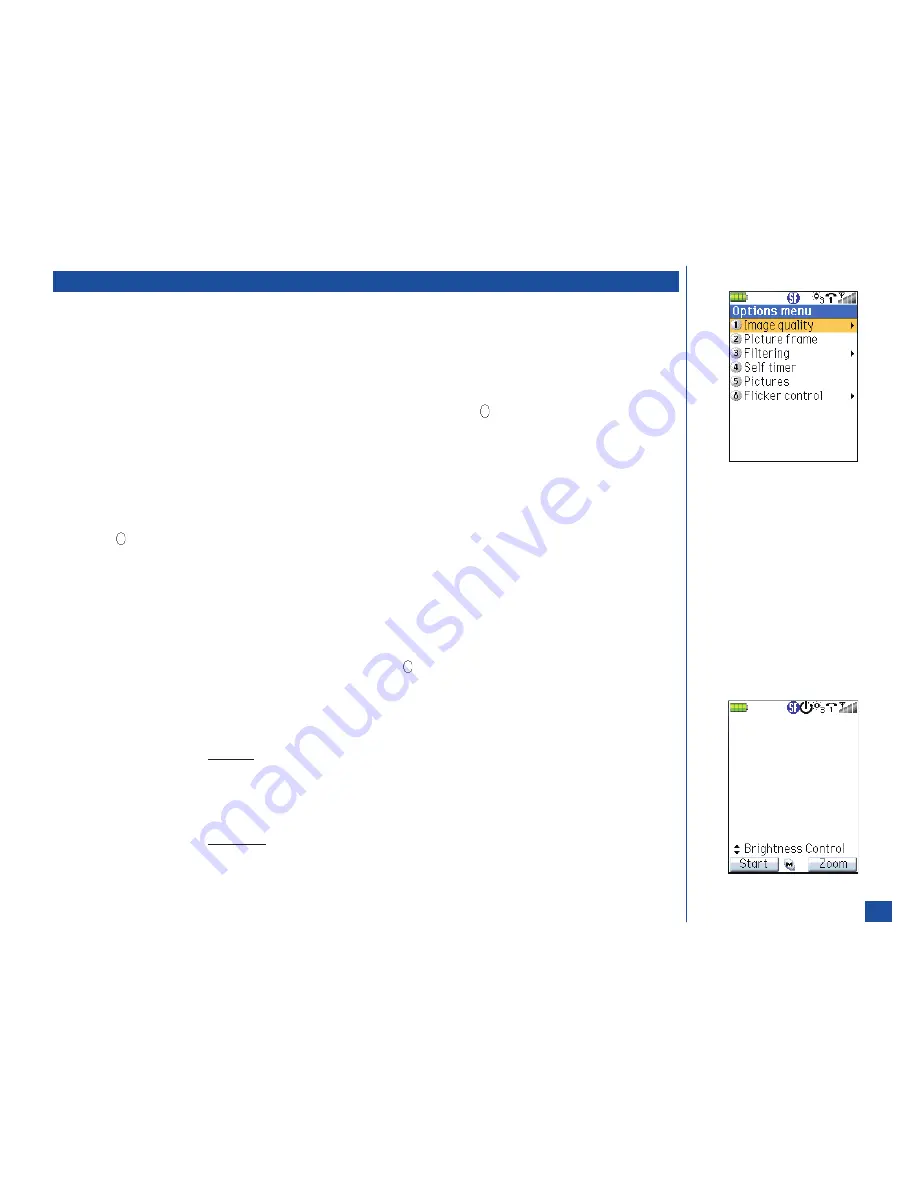
The Camera options menu include the settings for image quality, picture frame, filtering, self-timer, pictures menu to view or delete,
and flicker control.
Image Quality
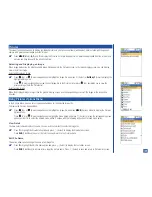
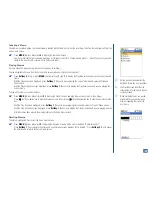
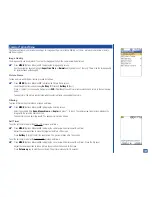
The image quality can be adjusted. To set up the image quality from the camera view finder screen:
*
Press
MENU
(Options Menu) and
1
to display the Image quality screen.
Use the navigation keys to highlight
Super fine
,
Fine
, or
Normal
quality and press
(Select). This will be the image quality
for pictures taken until changed.
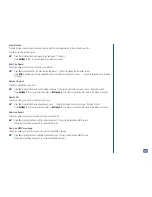
Picture Frame
To take a picture with different frames, proceed as follows:
*
Press
MENU
(Options Menu) and
2
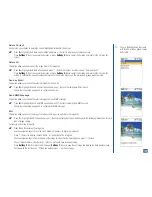
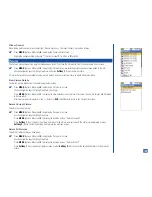
to display the Picture frame screen.
Look through the frames by pressing
Softkey 1
(Prev) and
Softkey 2
(Next).
Press
(Select) on the suitable frame or press
CLR
(Clear/Back) to exit Picture frame selection and return to the camea view
finder.
Take a picture. The picture will be taken with the selected frame surrounding the picture.
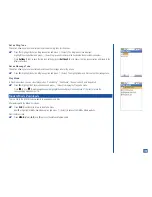
Filtering
To place a filter on the picture taken, proceed as follows:
*
Press
MENU
(Options Menu) and
3
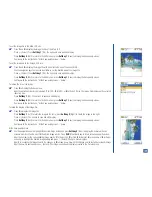
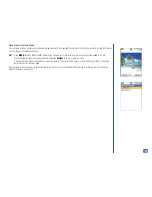
to display the Filtering screen.
Select the suitable filter
None, Monochrome,
or
Sepia
and press
(Select). The camera view finder screen displays the
image with the selected filter condition.
Take a picture as you normally would. The saved picture will be filtered.
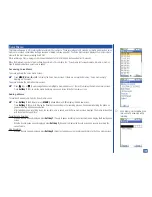
Self Timer
To set the self timer mode for the Main LCD, proceed as follows:
*
Press
MENU
(Options Menu) and
4
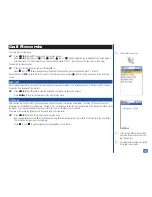
to display the camera view finder screen with self timer.
Adjust the camera position to place the target on the Main LCD screen.
Press
Softkey 1
(Start) to start the count down. The picture is taken after 10 seconds.
To set the self timer mode for the Second LCD, proceed as follows:
*
Press
MENU
(Options Menu) and
4
to display the camera view finder screen with self timer. Close the flip cover.
Adjust the camera position to take a picture of yourself on the Second LCD screen.
Press
Volume up
key to start the count down. The picture is taken after 10 seconds.
134


