© National Instruments
|
1-13
NI cDAQ-9132/9133/9134/9135/9136/9137 User Manual
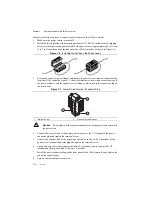
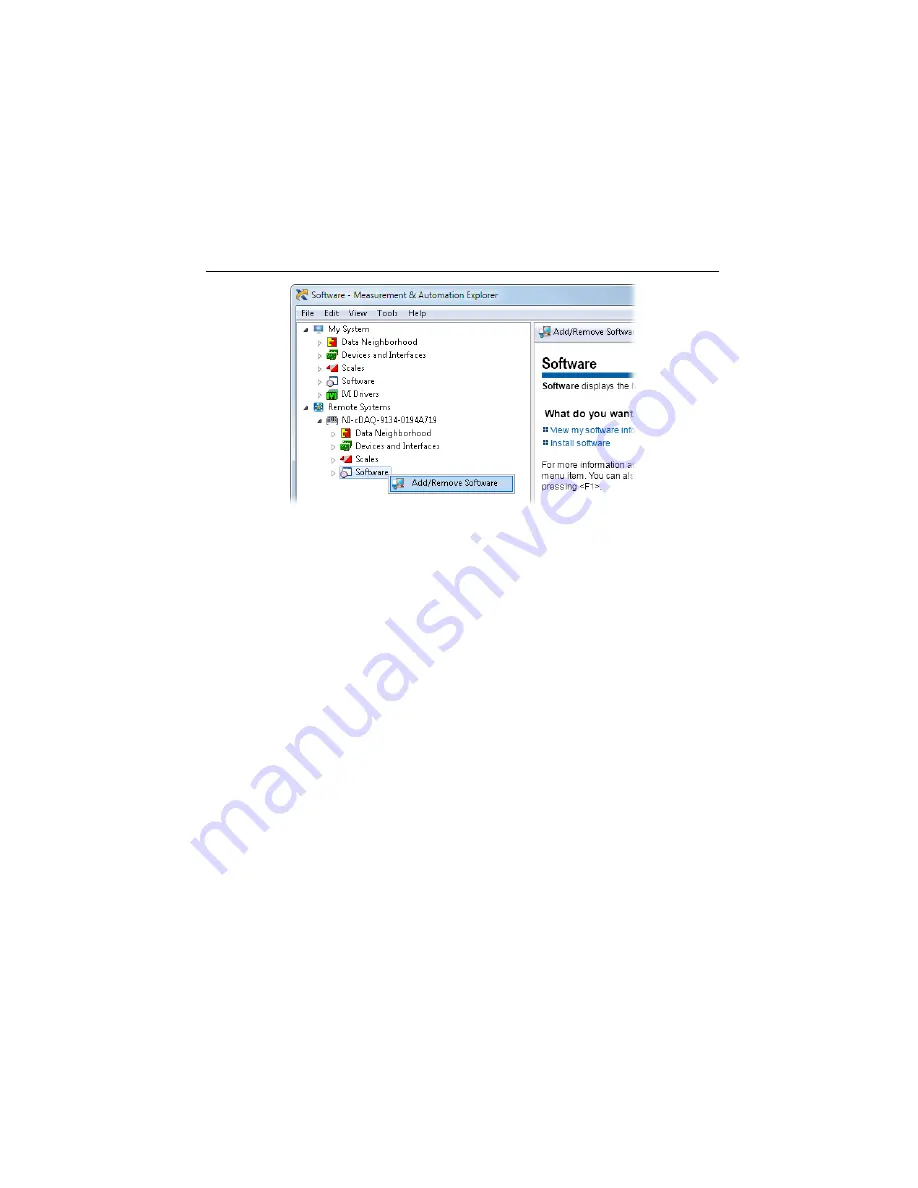
15. Expand
NI-cDAQ
<model number>-<serial number>
. Right-click
Software
and select
Add/Remove Software
.
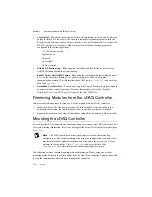
Figure 1-5.
Adding Software in MAX
16. Click
OK
in the Log In window. The password is blank by default.
17. In the window that opens, select
NI-DAQmx
, and then select
Install the feature
. Other
required dependencies will be selected automatically.
18.
(NI cDAQ-9134/9135)
Select
NI-XNET
and then select
Install the feature
.
19. Click
Next
to confirm the requested software features.
20. Click
Next
to install the software. After the installation completes, the cDAQ controller
reboots.
21. Click
Finish
.
22. In MAX, expand
Remote Systems
and select
NI-cDAQ
<model number>-<serial
number>
. Click the
System Settings
tab and verify that the System State reads
Connected - Running
.
23. Self-test your controller in MAX by expanding
NI-cDAQ
<model number>-<serial
number>
»Devices and Interfaces
. Right-click
NI cDAQ-
<model number>
and select
Self-Test
. Self-test performs a brief test to determine successful controller installation.
24. Run a Test Panel in MAX by expanding
NI-cDAQ
<model number>-<serial number>
»
Devices and Interfaces»NI cDAQ-
<model number>
, right-clicking your C Series
module, and selecting
Test Panels
to open a test panel for the selected module.
If the test panel displays an error message, refer to
ni.com/support
.
New users can view and use the Voltage - Continuous Input VI, available in the
LabVIEW Example Finder. Experienced users can use the LabVIEW Sample Projects,
LabVIEW Real-Time Control (NI-DAQmx) and LabVIEW Waveform Acquisition and Logging
(NI-DAQmx).

