29
Chapter 2 - Installation
MT128ISA/PCI
Windows 95 Multilinked Channel Access (VCOMM)
Before attempting to make a 128K MLP connection, verify that your ISP supports the 128K
Multilinking PPP protocol.
In this example, Universal modems will be set up for 128K MLP Internet access.
Verify the Universal modems have been set up on your system by clicking
Start>Settings>Control Panel>Modems.
1. If the modems are not installed, from the desktop, click on Start>Settings>Control
Panel>Modems>Add. Check the Don’t detect my modem; I will select it from a list box.
Click Next and Have Disk. Insert the installation diskette in the appropriate drive and
allow the system to install the MDMASU.INF file.
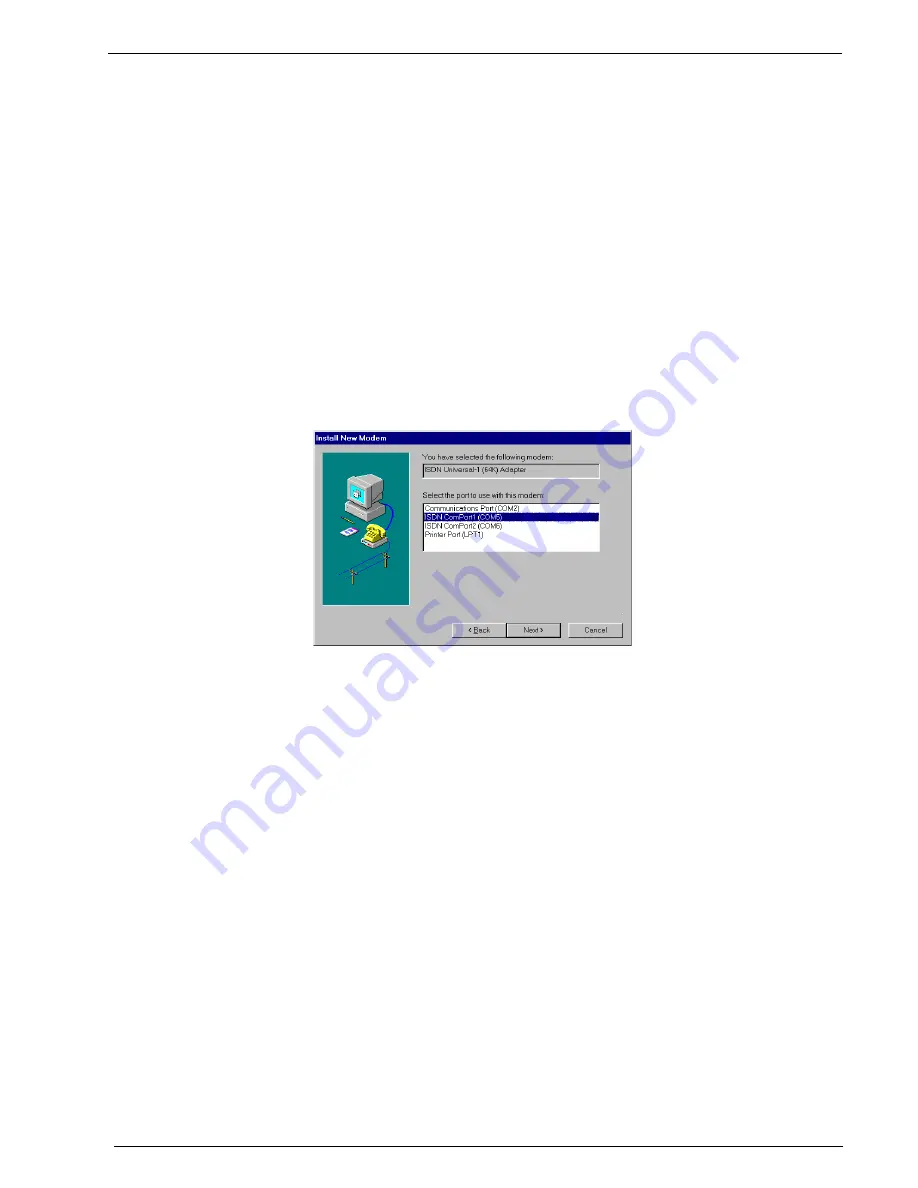
2. Click Next to select the ISDN-Universal-1 (64K) Adapter from the list box and click Next.
3. Select the ISDN COM Port (in this example, COM5) and Click Next>Finish. The system
will install the modem.
Figure 2-20. Selecting a COM port
4. When the Modem Properties screen appears, the ISDN-Universal-1 Adapter is listed.
Click on Add to install the second adapter.
5. Repeat installation steps 1-3 in this section to associate ISDN Universal-2 Adapter to the
ISDN ComPort2 (Com6). Click Finish>Close to complete the installation.
You are ready to set up multilinking.
1. From the desktop, select Start> Programs>Accessories>Dial-up Networking.
2. Double click on Make New Connection.
3. Provide a descriptive name for this new connection and select the ISDN Universal-1
Adapter. Use the Configure button to make changes to the port association, connection
speed, preferences call preferences, call connection options and modem status. Click
OK and Next when complete.
4. Enter the phone number this connection will dial. Click Next>Finish to complete the new
Dial-up networking connection.
5. To enable multilinking for this connection from the Dial-up Networking folder, right click on
the icon for this new connection and select Properties.
Содержание MultiModem ISDN MT128ISA-UV
Страница 1: ...Models MT128ISA UV MT128PCI SD MT128PCI SV User Guide...
Страница 5: ...Chapter 1 Introduction and Description...
Страница 10: ...Chapter 2 Installation...
Страница 59: ...Chapter 3 AT Commands...
Страница 62: ...Chapter 4 Troubleshooting...
Страница 70: ...Chapter 5 Warranty Service and Technical Support...
Страница 74: ...Appendices...


