30
MultiModemISDN User Guide
MT128ISA/PCI
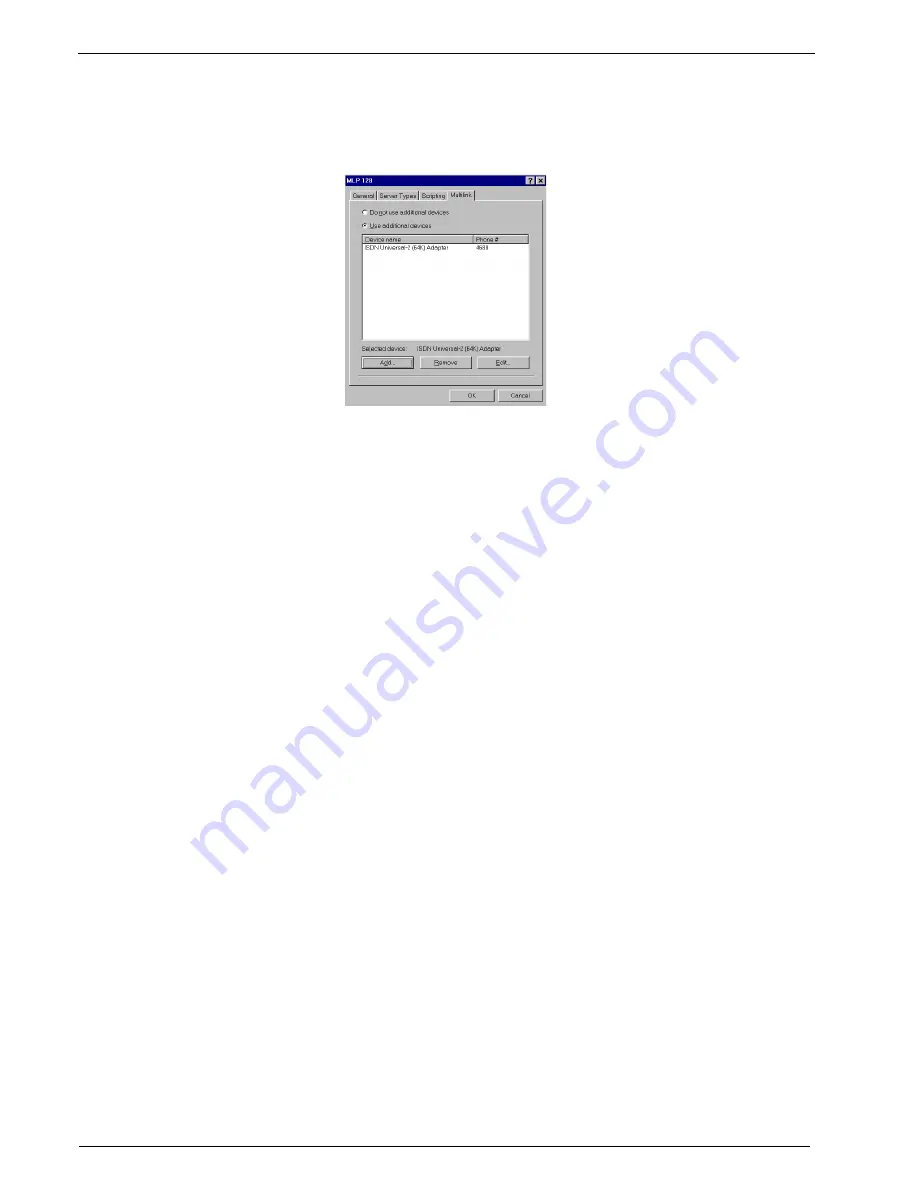
6. Select the Multilink tab and click on Use Additional Devices, then Add. From the list
box, select the ISDN-Universal-2 Adapter as in figure 2-21. Click OK, OK to complete
the link.
Figure 2-21. Setting up multilinking
Test your new connection by double clicking on your 128K Dial-Up Connection icon.
The Connect To dialog box is displayed. On the screen, enter your User name and
password, and click on Connect. The system dials and connects on the first channel and
then dials and connects the second channel.
Windows 95 and the CAPI Interface
To use functions based on the standard CAPI API (see Appendix B), you must install an
application such as RVS-COM Lite. Refer to Appendix C of this manual for RVS-COM Lite
installation instructions.
After installing RVS-COM, several new virtual modems become available to configure. The
following example uses the RVS ISDN V.120 modem. Before beginning, ensure the RVS-
COM Comm Center is running (the icon will appear on the Windows 95 Task Bar).
CAPI Single Channel Access: Windows 95
1. Make a new Dial-Up Connection by clicking Start>Programs>Accessories>Dial-Up
Networking. Double-click Make New Connection and enter a descriptive name for this
new connection. In the Select a Device field select the RVS ISDN V.120 modem and
click Configure. Select an available RVS ISDN COM port for this connection and click
OK, then Next.
2. Enter the phone number for the remote connection and click Next>Finish.
3. Right click on the new CAPI (RVS COM) Dial-Up Connection and select Properties. On
the Server Types tab, select the correct server type for your remote connection. If your
remote server does not use DHCP, enter the correct server and DNS TCP/IP address
information.
4. Click OK to complete the configuration.
Test your connection by clicking on the Single Channel (64K) CAPI connection just created.
Содержание MultiModem ISDN MT128ISA-UV
Страница 1: ...Models MT128ISA UV MT128PCI SD MT128PCI SV User Guide...
Страница 5: ...Chapter 1 Introduction and Description...
Страница 10: ...Chapter 2 Installation...
Страница 59: ...Chapter 3 AT Commands...
Страница 62: ...Chapter 4 Troubleshooting...
Страница 70: ...Chapter 5 Warranty Service and Technical Support...
Страница 74: ...Appendices...


