Page 18
CREASING
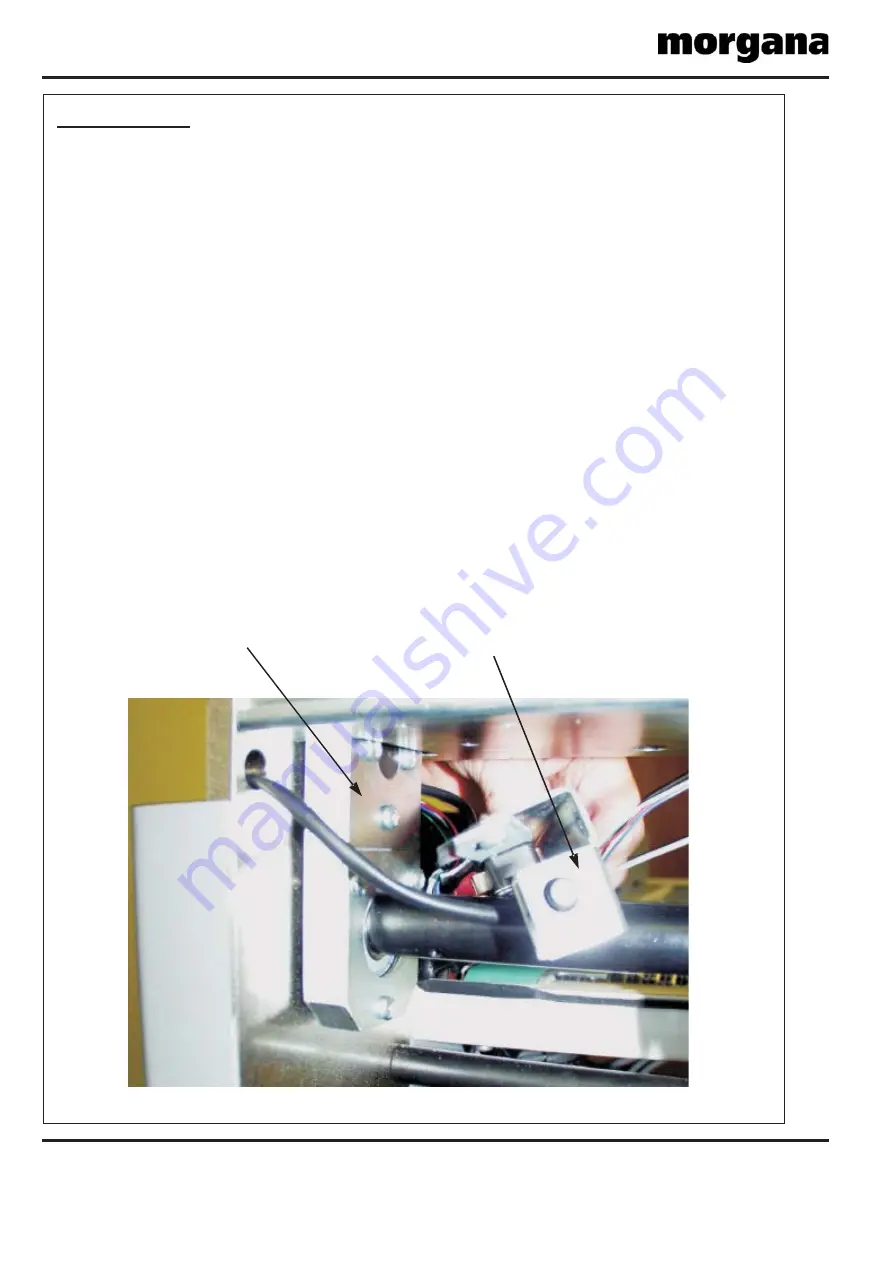
Micro Switch Assembly
Link Plate
SECTION 8
DRIVE LINK REFURBISHMENT
8.1 Remove the drip tray by removing the four securing screws fixed to the tie bars.
8.2 Remove both tie bars and drip tray.
8.3 Remove the micro switch assembly to gain access to the rear drive link.
8.4 Using a short dumpy posi drive screwdriver, unscrew the three screws from the side
of the link plate. Slide the side off (‘O’ Rings should be maintained in position).
The plastic drive link can be removed by sliding it forward.
8.5 Replace the drive link and outer plate.
8.6 Re-assemble in reverse order.
Содержание AutoCreaser Pro 50
Страница 9: ...SYSTEM AutoCreaser Pro 50 Page 9 BLANK PAGE ...
Страница 12: ...Page 12 CREASING BLANK PAGE ...
Страница 23: ...SYSTEM Page 23 AutoCreaser Pro 50 BLANK PAGE ...


