2-16
Installation
2Unpacking to Installation
1) Attach the transporting jigs to the left and right sides of the shoulder section, and securely fix with screws
and plain washers. (RV-4FR series: M6x20, each three screws for the right and left. RV-7FR series: M8x25,
each two screws for the right and left. RV-13FR series: M10x45, each two screws for the right and left.)
(The transporting jigs are mounted on robot arm at factory shipping)
2) Catch wires in the eye bolts installed on the transporting jigs, and quietly suspend the arm.
Note) At this time, make sure that the wires, etc., do not interfere with the robot arm or covers. Always
place cloth, etc., at interfering places.
3) When transferring to the installation place, take care not to apply vibration or impact.
4) After installing at the installation place, remove the above transporting jigs.
5) Always attached the fixing plate and transporting jigs, and follow the above procedures and methods to
transport the robot for secondary transportation, such as when changing the installation position.
If the arm is directly suspended without using the specified transporting jigs, or if it is suspended in the work
posture, the configuration devices could be damaged, and the transportation workers will be subject to risk
due to an inadequate center of gravity position.
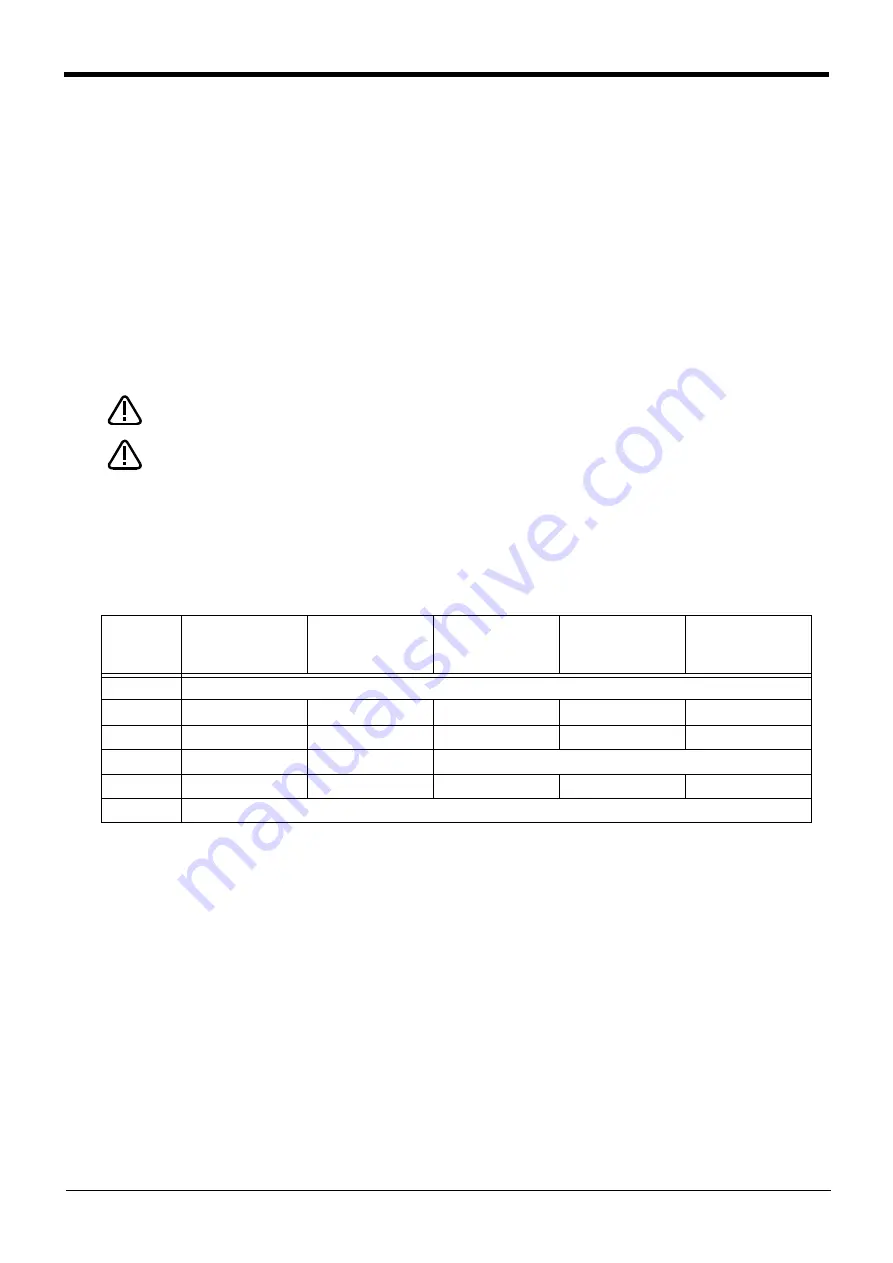
To reattach the fixing plate and transporting jigs again, set the axes of the robot to the
positions according to
.
If it is difficult to follow the transportation procedure shown in this section, take
countermeasures not to allow the joints of the robot arm freely move by fixing the robot
arm in such a way as to take advantage of the screw holes for fixing plates or the like.
Otherwise, applying an excessive power on the joints by external forces may cause a
malfunction.
Do not apply an excessive load to the robot arm while fixing it. Otherwise, the robot arm
may be damaged.
Table 2-3 : Transportation posture (RV-4FR/7FR/13FR series)
Axis
RV-4FR
RV-4FRL/4FRJL
RV-7FR
RV-7FRL
RV-7FRLL
RV-13FR/13FRL
RV-20FR
J1
0°
J2
Note1)
Note1)The value is a reference value. Release the brake and move the arm until it contact against the mechanical stopper.
-122°
-121°
-116°
-115°
-93°
J3
162°
165°
158°
164°
160°
J4
0°
0°
Note2)
Note2)RV-4FRJL (5-axis type robot) has no J4 axis.
0°
J5
45°
41°
48°
41°
23°
J6
0°
CAUTION
CAUTION


