31
SETUP
How to Assign the Video Power Control
t
n
e
m
n
g
i
s
s
A
r
e
w
o
P
o
e
d
i
V
r
e
b
m
u
N
t
u
p
n
I
g
n
it
t
e
S
tl
u
a
f
e
D
g
n
it
t
e
S
w
e
N
0
N
O
1
N
O
2
N
O
3
N
O
4
N
O
5
N
O
6
N
O
7
N
O
8
N
O
9
N
O
0
1
N
O
1
1
N
O
The MX132 VIDEO POWER CONTROL Setup allows
you to configure any Video Input to automatically turn on
the Video AC outlets on a McIntosh PC-3 Power Control
when that Input is selected. A video accessory component
with its power cord connected to the PC-3 Video outlet will
then receive power when the input is selected.
1. Press and hold the front panel Setup pushbutton ap-
proximately three seconds to enter the Setup Mode.
The SETUP pushbutton will illuminate, the word
SETUP will appear on the front panel display and the
MAIN SYSTEM SETUP MENU will appear on the
Monitor/TV screen. Refer to Figure 6.
Note: The Video Power Control Setup Menu display includes
a 0 input which corresponds to TUNER. If this input
is configured to ON, the Video AC outlets on a PC-3 will
turn on whenever the Tuner is selected.
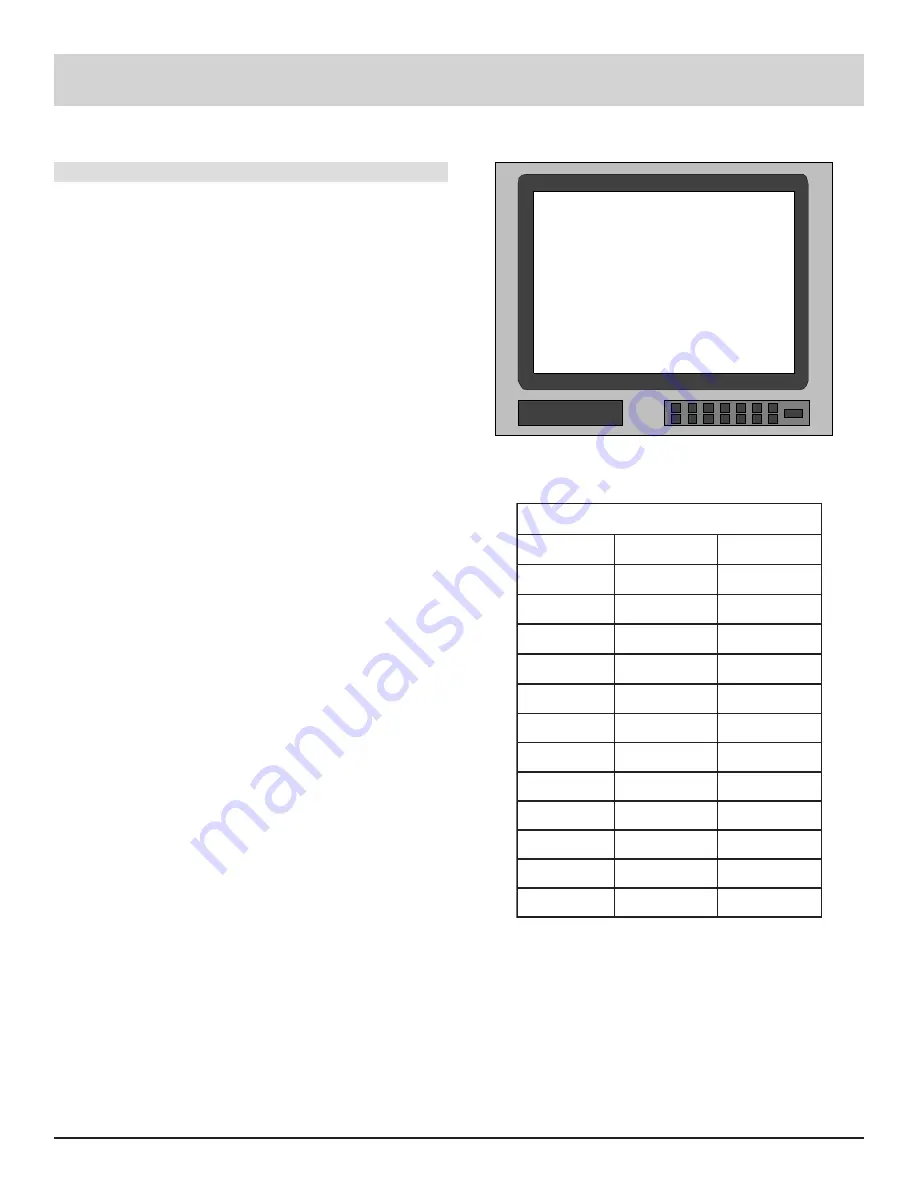
2. Press pushbutton number 6 on the Remote Control to
access the VIDEO POWER CONTROL MENU, which
will appear on the Monitor/TV screen. Refer to Figure
18.
Note: The very first time the VIDEO POWER CONTROL
MENU is accessed, the screen will indicate the factory
default settings.
3. Press a LEVEL Up or Down pushbutton on the Remote
Control until the Input you wish to configure Power
Control blinks on and off.
4. Press the Mode pushbutton on the Remote Control to
cycle the VIDEO POWER CONTROL ON or OFF.
5. Repeat Steps 3 and 4 to configure as many video inputs
as you desire.
6. After all Video Input control adjustments are complete,
press pushbutton E on the Remote Control to exit to
the MAIN SYSTEM SETUP MENU.
7. Press E a second time to exit the MAIN SYSTEM
SETUP MENU and the Adjustment Acceptance
MENU will appear on the Monitor/TV screen. Refer to
Figure 7.
8. If you are satisfied with adjustments you have made,
press Remote Control pushbutton number 1 for YES.
The changes will be saved in memory and you will exit
the Setup Mode to normal operation.
9. If you are not satisfied with the adjustments or changes
you have made, press number 0 on the remote control
for NO. The Setup Mode will exit to normal operation
without saving the changes in memory.
How to Assign Video the Power Control
Figure 18
MENU: VIDEO POWER CONTROL
( SELECT WITH LEVEL UP/DOWN
CHANGE WITH MODE BUTTON)
0. ON 4. ON 8. ON
1. ON 5. ON 9. ON
2. ON 6. ON 10. ON
3. ON 7. ON 11. ON
( PRESS E TO EXIT )
Note: The very first time the DIGITAL INPUT
MENU is accessed, the factory default settings
of all Digital inputs will be displayed, unless
analog input changes have been made.
www.eskonline.nl


