30
SETUP
How to Reassign the Digital Inputs
t
n
e
m
n
g
i
s
s
A
t
u
p
n
I
l
a
ti
g
i
D
r
e
tt
e
L
t
u
p
n
I
g
n
it
t
e
S
tl
u
a
f
e
D
g
n
it
t
e
S
w
e
N
A
1
D
C
B
1
T
A
S
C
1
V
L
D
2
D
C
E
1
V
T
F
1
D
V
D
How to Reassign the Digital Inputs
The Setup Mode allows reassignment any of the six digital
inputs. If an analog/digital input match exists, the digital
input will automatically track the analog input change. If
there is no analog/digital input match, one of the existing
digital inputs must then be reassigned to match the analog
input.
Note: An analog Input must already exist before a digital
Input can exist. Refer to the ANALOG INPUT
instructions to reassign AUX1 to DVD2.
EXAMPLE: How to reassign AUX1 as DVD2 digital.
1. Press and hold the front panel Setup pushbutton ap-
proximately three seconds to enter the Setup Mode.
The SETUP pushbutton will illuminate, the word
SETUP will appear on the front panel display and the
MAIN SYSTEM SETUP MENU will appear on the
Monitor/TV screen. Refer to Figure 6.
2. From the MAIN SYSTEM SETUP MENU, press 5 to
access the DIGITAL INPUT MENU. Refer to Figure
16.
Note: The very first time the DIGITAL INPUT MENU is
accessed, the factory default settings of all Digital
inputs will be displayed, unless analog input changes
have been made.
3. Since AUX1 did not have a matching digital input, in
this example, digital TV1 can be changed to digital
DVD2. Press a LEVEL Up or Down pushbutton on the
Remote Control until digital TV1 blinks on and off.
Note: Input reassignments are done only with non-numbered
Remote Control Input Pushbuttons. Assigned numbers
are entered with the number pushbuttons.
4. Press pushbutton DVD and then the number 2 on the
Remote Control, TV1 will be replaced with DVD2 on
the menu screen.
5. After completing the reassignment, press E on the Re-
mote Control to exit to the MAIN SYSTEM SETUP
MENU.
6. Press E a second time to exit the MAIN SYSTEM
SETUP MENU and the Adjustment Acceptance
MENU will appear on the Monitor/TV screen. Refer to
Figure 7.
7. If you are satisfied with adjustments you have made,
press Remote Control pushbutton number 1 for YES.
The changes will be saved in memory and you will exit
the Setup Mode to normal operation.
8. If you are not satisfied with the adjustments or changes
you have made, press number 0 on the remote control
for NO. The Setup Mode will exit to normal operation
without saving the changes in memory.
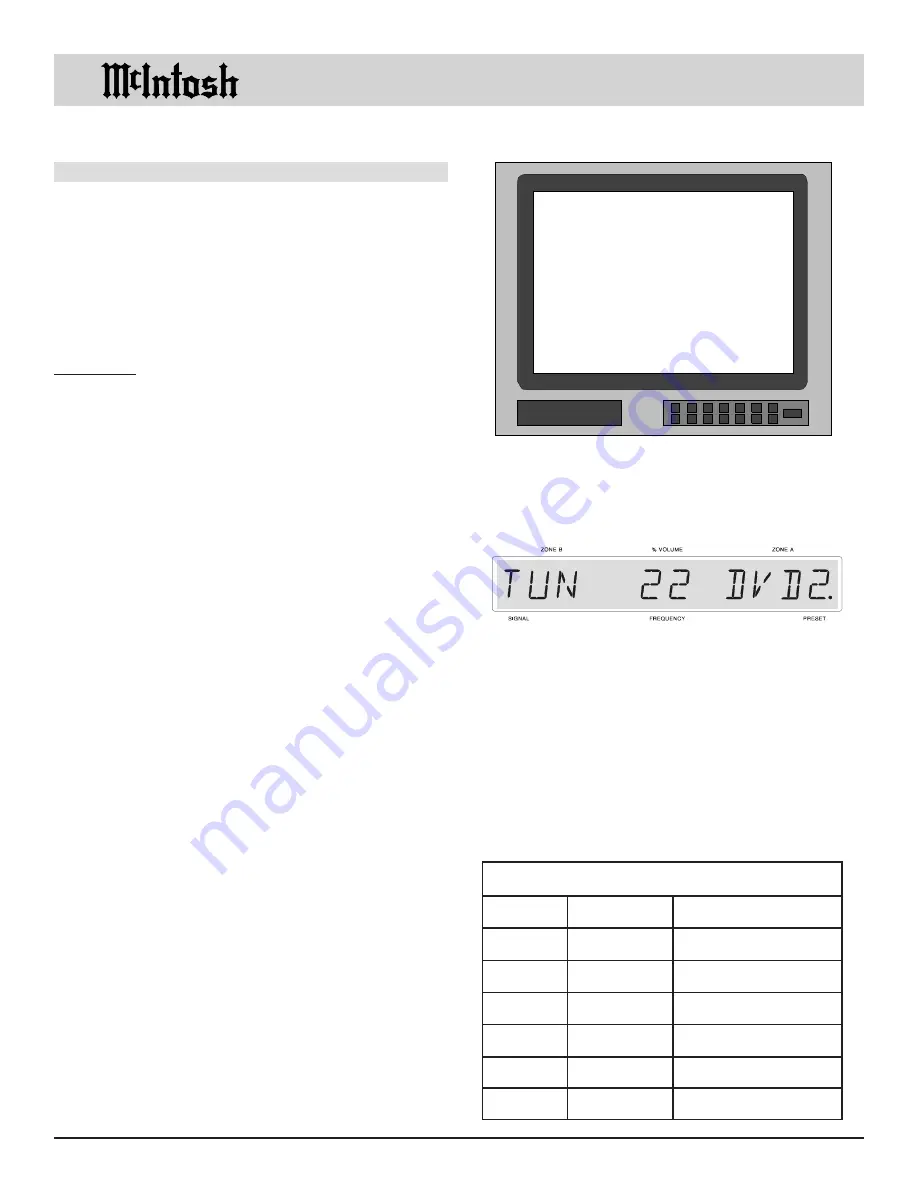
Note: When a digital input is assigned and selected a dot
appears after the ZONE A Input source on the front
panel display. Refer to Figure 17.
Turning Off a Digital Input
If you should desire to turn off an existing digital audio
input and use only the analog input, follow the instruc-
tions below.
1. Press a LEVEL Up or Down pushbutton to select the
digital input you wish to turn Off.
2. Press pushbutton 0 to turn the input off (press the same
input again to turn the input back on).
3. Repeat Steps 5, 6, 7 and 8.
Figure 17
Figure 16
MENU: DIGITAL INPUTS
( SELECT WITH LEVEL UP/DOWN
PRESS INPUT SOURCE BUTTON
AND NUMBER )
A. CD1
D.CD2
B. SAT1
E. TV1
C. LV1
F. DVD1
( PRESS E TO EXIT )
www.eskonline.nl


