User Manual of Digital Video Recorder
43
3.4
Adjusting Live View Settings
Purpose:
Live View settings can be customized according to different needs. You can configure the output interface,
dwell time for screen to be shown, mute or turning on the audio, the screen number for each channel, etc.
Steps:
1.
Enter the Live View Settings interface.
Menu> Configuration> Live View
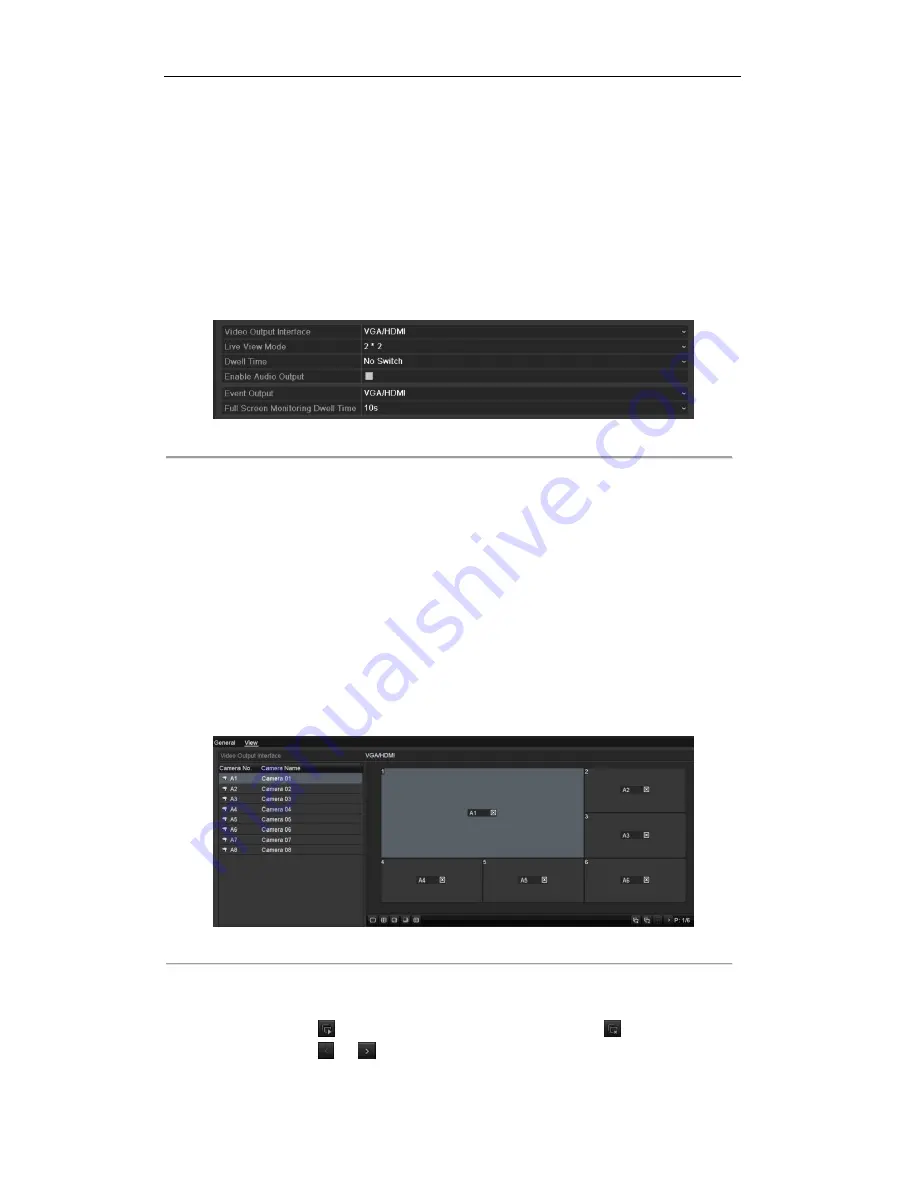
Figure 3. 6
Live View-General
The settings available in this menu include:
•
Video Output Interface:
Designates the output to configure the settings for. Outputs include
HDMI/VGA and CVBS (depends on the model).
•
Live View Mode:
Designates the display mode to be used for Live View.
•
Dwell Time:
The time in seconds to
dwell
between switching of channels when enabling auto-switch
in Live View.
•
Enable Audio Output:
Enables/disables audio output for the selected camera in the live view mode.
•
Event Output:
Designates the output to show event video; if available, you can select a different
video output interface from the Video Output Interface when an event occurs.
•
Full Screen Monitoring Dwell Time:
The time in seconds to show alarm event screen.
2.
Set the camera order.
1)
Select
View
tab.
Figure 3. 7
Live View- Camera Order
2)
Click a window to select it, and then double-click a camera name in the camera list you would like to
display. Setting an „X‟ means the window will not display any camera.
3)
You can also click
to start live view of all channels in order and click
to stop live view of
all channels. Click
or
to go to the previous or next page.
4)
Click the
Apply
button.
©2015 LT Security, Inc. All Rights Reserved. White papers, data sheets, quick start guides, and/or user manuals
are for reference only and may or may not be entirely up to date or accurate based upon the version or models.
Product names mentioned herein may be the unregistered and/or registered trademarks of their respective owners.


