User Manual of Digital Video Recorder
143
Telnet function provides an easy way to get access to the DVR. You can see the advanced information about the
device by inputting command; as well the configuration can also be realized through telnet connection.
Steps:
1.
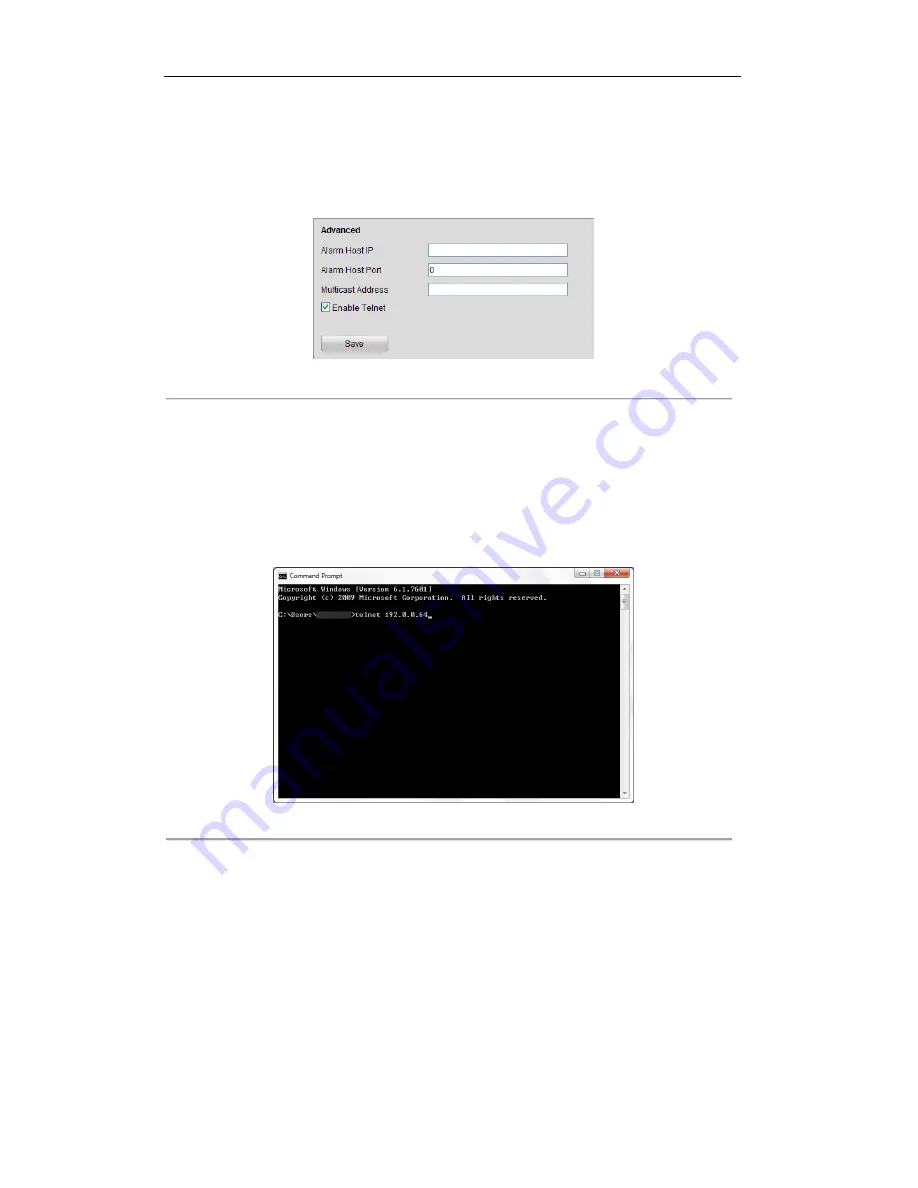
Enter the Advanced settings interface, as shown in the Figure 9. 31.
Configuration > Remote Configuration > Network Settings > Advanced
Figure 9. 31
Telnet Settings Interface
2.
Check the checkbox of the
Enable Telnet
.
3.
Click the
Save
button to save the setting.
4.
You can open the Command Prompt window in your PC, and input “telnet
IP Address
” to connect with the
DVR, as shown in the figure below.
Example:
If the IP address of the DVR is 192.0.0.64, you can input “telnet 192.0.0.64” and then press Enter to
connect to the DVR.
Figure 9. 32
Connect to DVR
Note:
The telnet function turns invalid after the device shutting down or rebooting, you have to enable it again
if required.
©2015 LT Security, Inc. All Rights Reserved. White papers, data sheets, quick start guides, and/or user manuals
are for reference only and may or may not be entirely up to date or accurate based upon the version or models.
Product names mentioned herein may be the unregistered and/or registered trademarks of their respective owners.


