1.
Position at least two routepoints on a new route, or open an
existing route for editing.
2.
Select
Autorouting
, followed by:
-
Entire Route
if you want the system to add new routepoints
between the first and the last routepoint of the open route.
-
Selection
if you want to manually select the routepoints that
define the limits for the autorouting, then select the relevant
routepoints. Selected routepoints are colored red. Only two
routepoints can be selected, and the system discards any
routepoints between your selected start and end points.
3.
Select
Accept
to start the automatic routing.
- When the automatic routing is completed the route appears
in preview mode, and the legs are color coded to indicate
save or unsafe areas. Navionics uses red (unsafe) and green
(safe), while C-MAP uses red (unsafe), yellow (dangerous) and
green (safe).
4.
Move any routepoints if required when the route is in preview
mode.
5.
Select
Keep
to accept the routepoints positions.
6.
Eventually repeat step 2 (
Selection
) and step 3 if you want the
system to automatically position routepoints for other parts of
the route.
7.
Select
Save
to complete the automatic routing and save the
route.
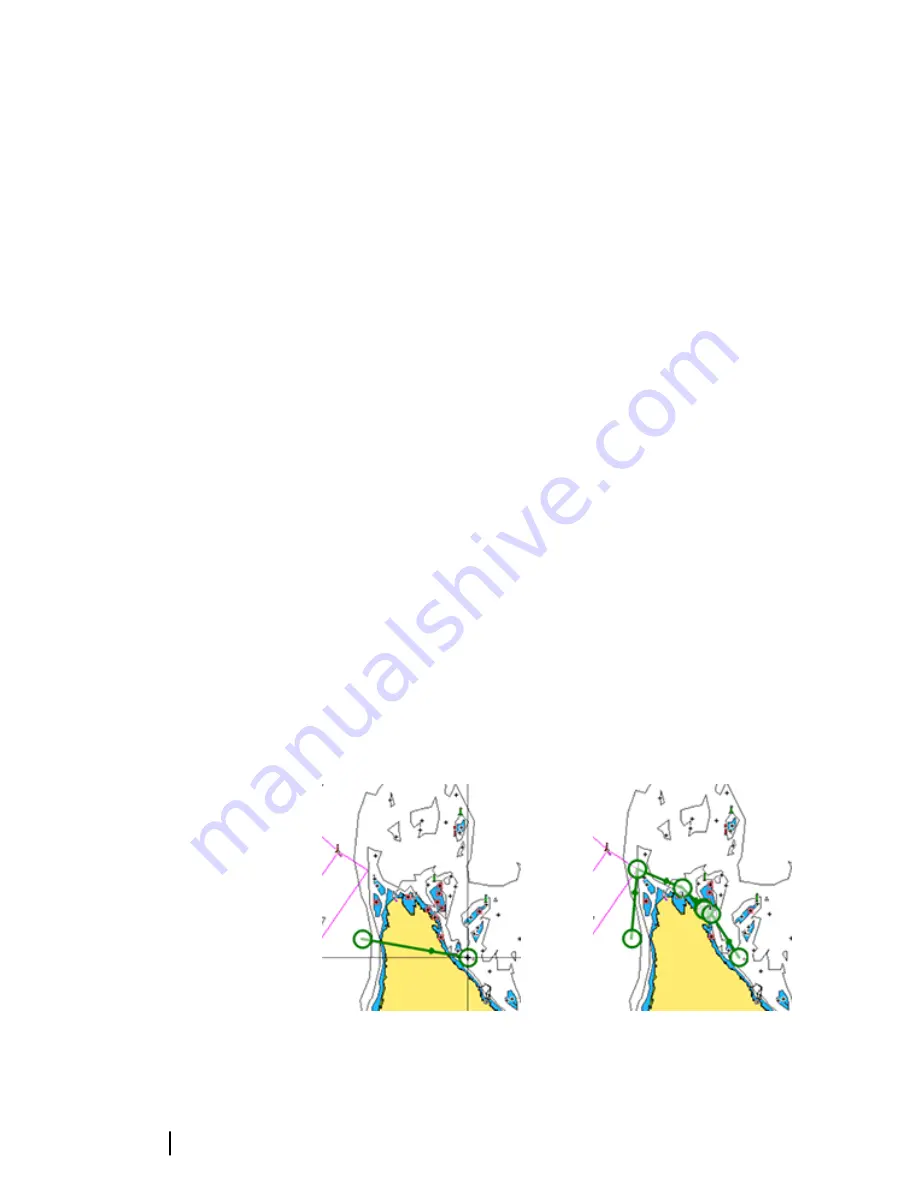
Autorouting and Easy Routing examples
•
Entire route
option used when first and last route points are
selected.
First and last routepoint
Result after automatic routing
54
Waypoints, Routes, and Trails
| HDS Gen3 Operator
Manual
Содержание HDS Gen3 Touch
Страница 1: ...ENGLISH HDSGen3 Operator Manual lowrance com...
Страница 2: ......
Страница 8: ...8 Preface HDS Gen3 Operator Manual...
Страница 14: ...14 Contents HDS Gen3 Operator Manual...
Страница 57: ...Waypoints Routes and Trails HDS Gen3 Operator Manual 57...
Страница 148: ...148 Alarms HDS Gen3 Operator Manual...
Страница 156: ...156 Touchscreen operation HDS Gen3 Operator Manual...
Страница 165: ......
Страница 166: ...988 10740 001 0980...


