53
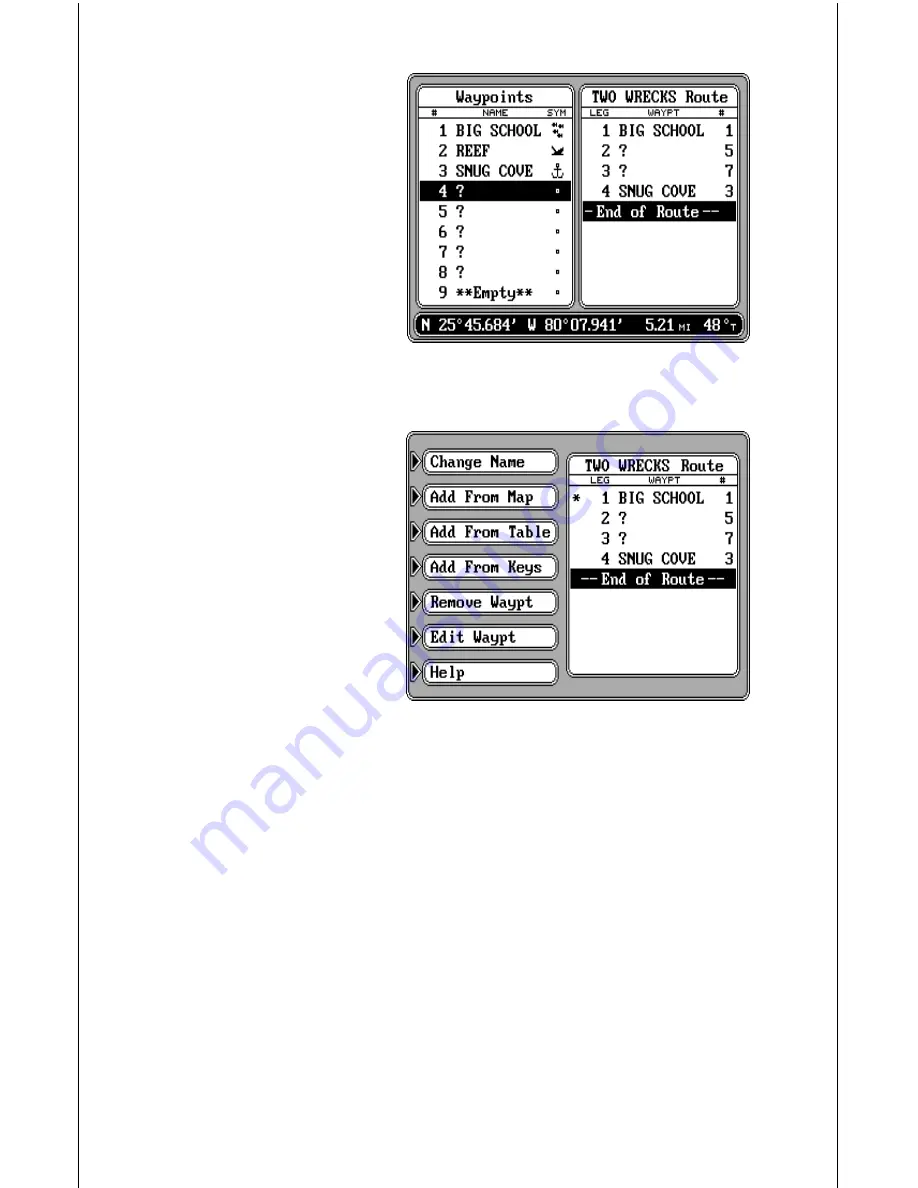
All of the waypoints (including
their number, name, and sym-
bol) can be viewed on the left
side of the screen. The first
nine are shown. To see more
waypoints, simply press the
down arrow key. The position
of the highlighted waypoint is
shown at the bottom of the
screen. Bearing and distance
from your present position to
the waypoint are shown next to
the waypoint’s latitude/longi-
tude.
The route name is shown at the
top right-hand side of the dis-
play. Beneath it is the list of
waypoints used in the route. Of
course, if you just created the
route, the list will be empty.
To add a waypoint to the route,
press the down arrow key until
the black box surrounds the
first waypoint that you wish to
add to the list, then press the
ENT key. The waypoint shows
at the top of the list under the route name on the right side of the screen.
When all of the waypoints have been added to the route, press the CLR
key. This returns you to the edit route menu as shown above. If the route
shown on this screen is the way you want it, press the ENT key to save it.
The unit returns to the route menu with your route shown on the list.
Add From Keys
You can enter each waypoint in the route directly from the keyboard. In
other words, you enter the latitude/longitude of each waypoint in the route.
This method also lets you choose the waypoint name, number, and
symbol.
To add waypoints to a route from the keyboard, first name a route as shown
earlier. Next, press the key adjacent to the “Add From Keys” label. The
screen shown at the top of the next page appears. Use the arrow keys to
move between fields. Enter the waypoint name, symbol, and position, then


